SPECIAL OFFER ✦ BUY 2 GET 1 FREE! ✦ ADD 3 PRODUCTS TO YOUR CART, AND THE DISCOUNT APPLIES AUTOMATICALLY!
SPECIAL OFFER ✦ BUY 2 GET 1 FREE! ✦ ADD 3 PRODUCTS TO YOUR CART, AND THE DISCOUNT APPLIES AUTOMATICALLY!
SPECIAL OFFER ✦ BUY 2 GET 1 FREE! ✦ ADD 3 PRODUCTS TO YOUR CART, AND THE DISCOUNT APPLIES AUTOMATICALLY!
SPECIAL OFFER ✦ BUY 2 GET 1 FREE! ✦ ADD 3 PRODUCTS TO YOUR CART, AND THE DISCOUNT APPLIES AUTOMATICALLY!
Learning how to make a Photoshop mockup is one of the fastest ways to showcase your logos, branding, product packaging, or digital artwork in a realistic setting. Instead of producing costly physical samples, you can visualize your ideas professionally with just a few Photoshop tools.
In this guide, you will learn the essential steps to create a convincing mockup, from preparing your files and using Smart Objects to applying realistic lighting, perspective, and texture for professional-looking results.
What You Need Before Creating a Mockup
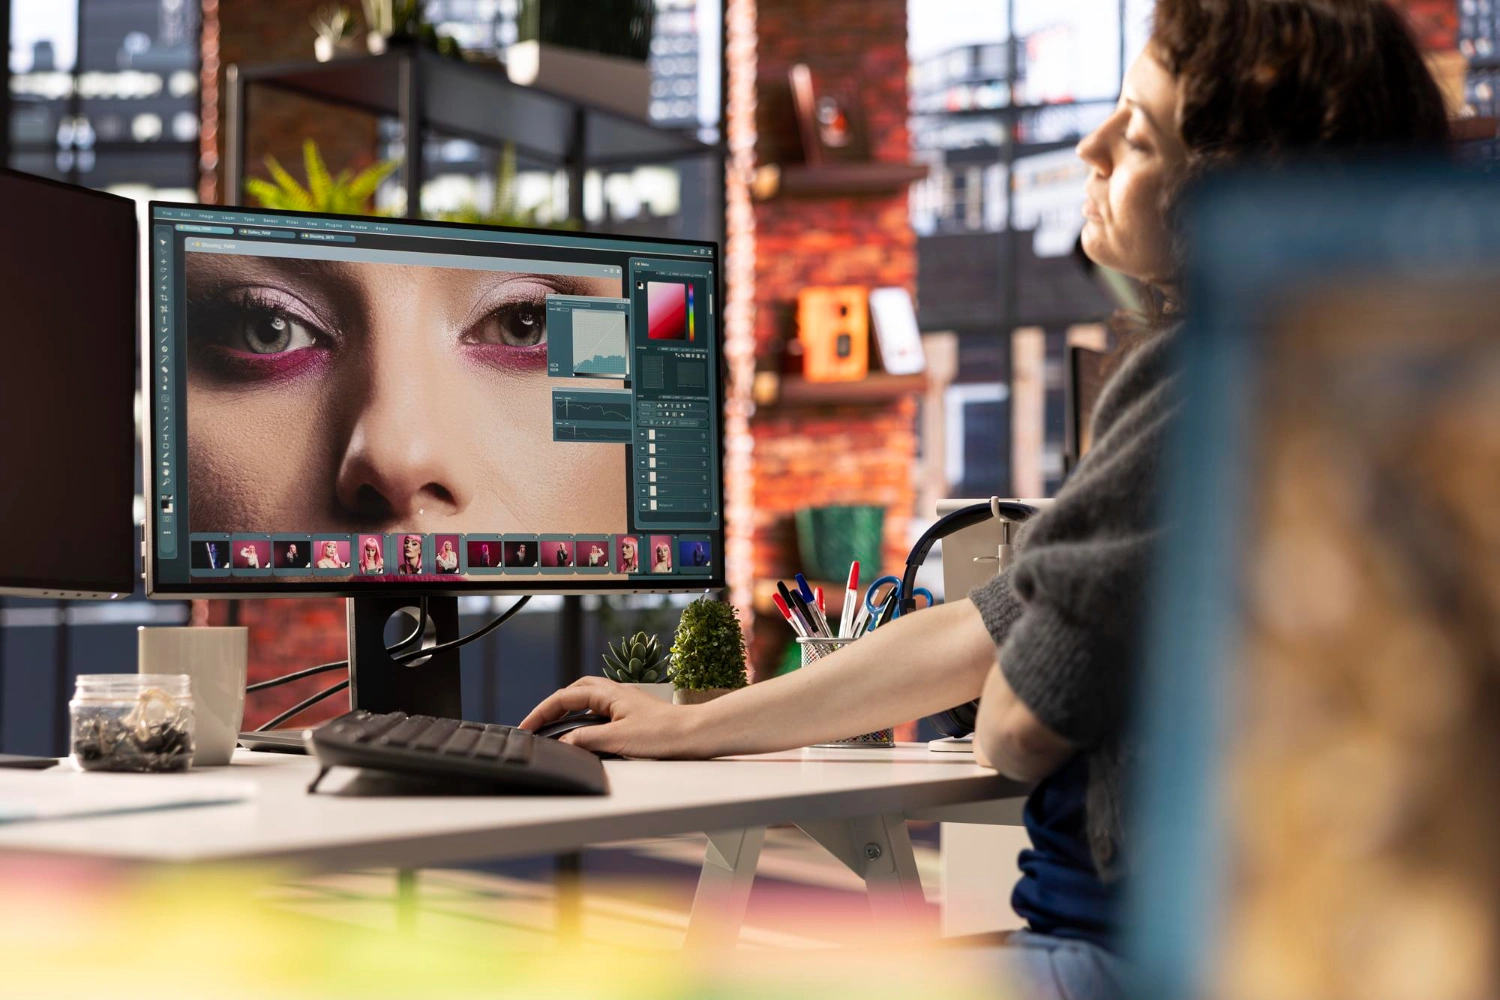
A high-resolution base image, a clean design file, and a basic understanding of Smart Objects are the essentials before building a mockup. (Photo by Rawpixel.com on Magnific)
Before you start editing, prepare these essentials to create a more realistic Photoshop mockup:
1. Choose a High-Resolution Base Image
Start with a high-quality image of the product or object you want to showcase. A sharp image with a clean background and good lighting will make it much easier to create a realistic mockup.
2. Prepare Your Design File
Use a high-resolution version of your logo, artwork, or graphic to keep it sharp when resized. If possible, work with PNG or vector files for the best quality and flexibility.
3. Learn the Basics of Smart Objects in Photoshop
Before creating a mockup, make sure you understand the basics of Smart Objects. This Photoshop feature lets you edit, resize, and transform your design without permanently changing the original file, making it easy to update your artwork without having to recreate the mockup from scratch.
How to Make Your Own Photoshop Mockup: Step by Step
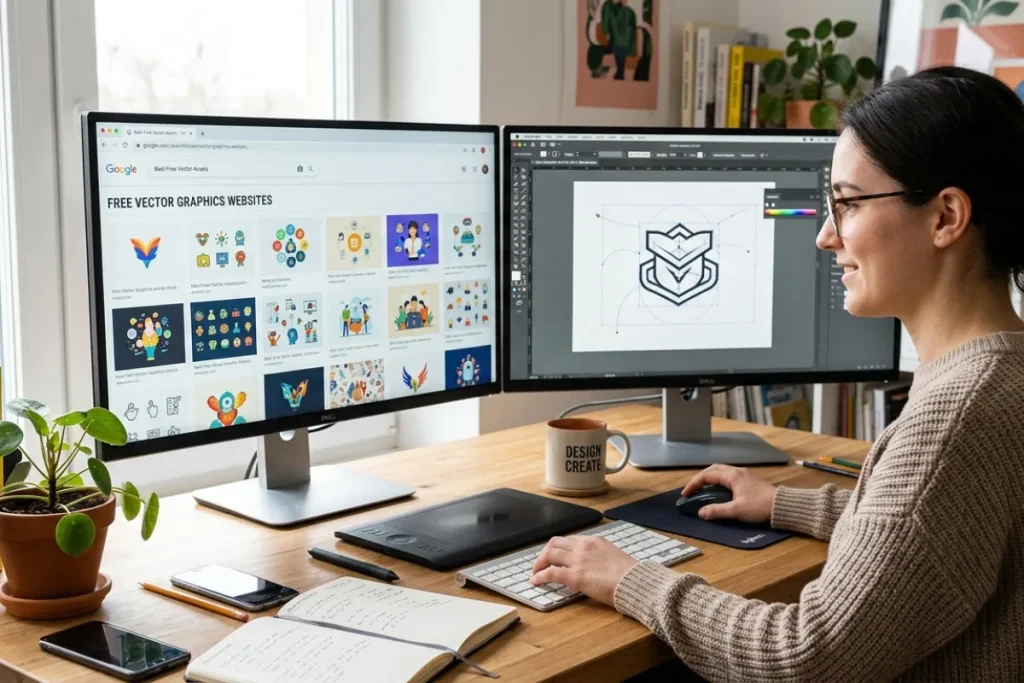
Creating a realistic Photoshop mockup relies on Smart Objects, perspective warping, and careful color and lighting adjustments. (Photo via Adobe)
Once your files are ready, it’s time to start building your mockup. The following steps show you how to create realistic mockups in Photoshop using built-in tools and a non-destructive workflow:
Step 1: Open Your Base Image and Import Artwork
Start by opening the product image you want to turn into a mockup in Photoshop. Once it’s ready, go to File > Place Embedded and import your logo or artwork as a separate layer.
Keeping your design on its own layer makes it easier to edit and reposition throughout the mockup process.
Step 2: Select the Product Area
Use the Object Selection Tool to select the part of the product where your design will be placed. If the object has curved or intricate edges, switch to the Pen Tool for a more accurate selection.
Then, apply a Layer Mask to ensure your artwork stays neatly within the selected area for a more realistic result.
Step 3: Position Your Design
Place your artwork within the masked area, then use the Free Transform tool (Ctrl+T on Windows or Cmd+T on Mac) to resize, rotate, or reposition it as needed.
Take your time to match the design to the product’s proportions, since accurate placement is key to making the mockup look realistic.
Step 4: Convert the Design into a Smart Object
Before making any perspective adjustments, right-click your artwork layer and select Convert to Smart Object. This preserves the original quality of your design during editing and allows you to update or replace the artwork later without affecting the rest of your mockup.
Step 5: Transform and Warp the Design
Go to Edit > Transform > Distort or Warp to fit your design to the product’s shape and perspective. The Warp feature is one of the most effective Photoshop mockup tools for fitting artwork to curved or uneven surfaces, helping your design blend naturally with the product.
Step 6: Blend the Design with the Texture
To make your mockup look more realistic, adjust the Blending Mode of your design layer to blend naturally with the product’s texture.
Start by experimenting with options like Multiply, Overlay, Screen, or Linear Burn to preserve the original shadows and highlights. Then, fine-tune the effect until the artwork looks like it’s part of the surface rather than placed on top of it.
Step 7: Match Colors and Lighting
Apply Adjustment Layers, such as Curves, Levels, or Hue/Saturation, and clip them to your design layer to fine-tune the colors. Small adjustments can make a big difference, helping your design look like part of the object instead of a separate layer.
Step 8: Export Your Finished Mockup
Once you’re happy with the final result, save your project as a PSD file so you can make changes later if needed. Then, go to File > Export > Export As and export your mockup as a PNG or JPEG, depending on where you’ll use or share it.
Pro Tips for Creating Photorealistic Mockups
Matching lighting direction and preserving surface texture are what separate a convincing mockup from an obviously edited one. (Photo by Freepik on Magnific)
Creating a photorealistic mockup is not just about placing a design on a product. The small finishing touches are what make it look real, so keep these tips in mind to refine your design and achieve a more convincing result:
Use high-resolution images to prevent pixelation and keep your mockup looking sharp.
Match the lighting direction and add subtle shadows so the design blends naturally with the product.
Preserve surface textures by using blending modes or Blend If instead of simply reducing opacity.
Keep the background clean to ensure the product remains the main focus.
Preview your mockup on different screens to maintain consistent colors and quality.
Conclusion
Mastering how to make a Photoshop mockup helps you visualize ideas professionally before moving into production. By using Smart Objects, realistic transformations, and proper blending techniques, you can create convincing designs that look like real products.
Ready to take your designs further? Explore Tridimensi’s curated 3D asset collection to find high-quality visual resources for branding, presentations, and digital projects.