SPECIAL OFFER ✦ BUY 2 GET 1 FREE! ✦ ADD 3 PRODUCTS TO YOUR CART, AND THE DISCOUNT APPLIES AUTOMATICALLY!
SPECIAL OFFER ✦ BUY 2 GET 1 FREE! ✦ ADD 3 PRODUCTS TO YOUR CART, AND THE DISCOUNT APPLIES AUTOMATICALLY!
SPECIAL OFFER ✦ BUY 2 GET 1 FREE! ✦ ADD 3 PRODUCTS TO YOUR CART, AND THE DISCOUNT APPLIES AUTOMATICALLY!
SPECIAL OFFER ✦ BUY 2 GET 1 FREE! ✦ ADD 3 PRODUCTS TO YOUR CART, AND THE DISCOUNT APPLIES AUTOMATICALLY!
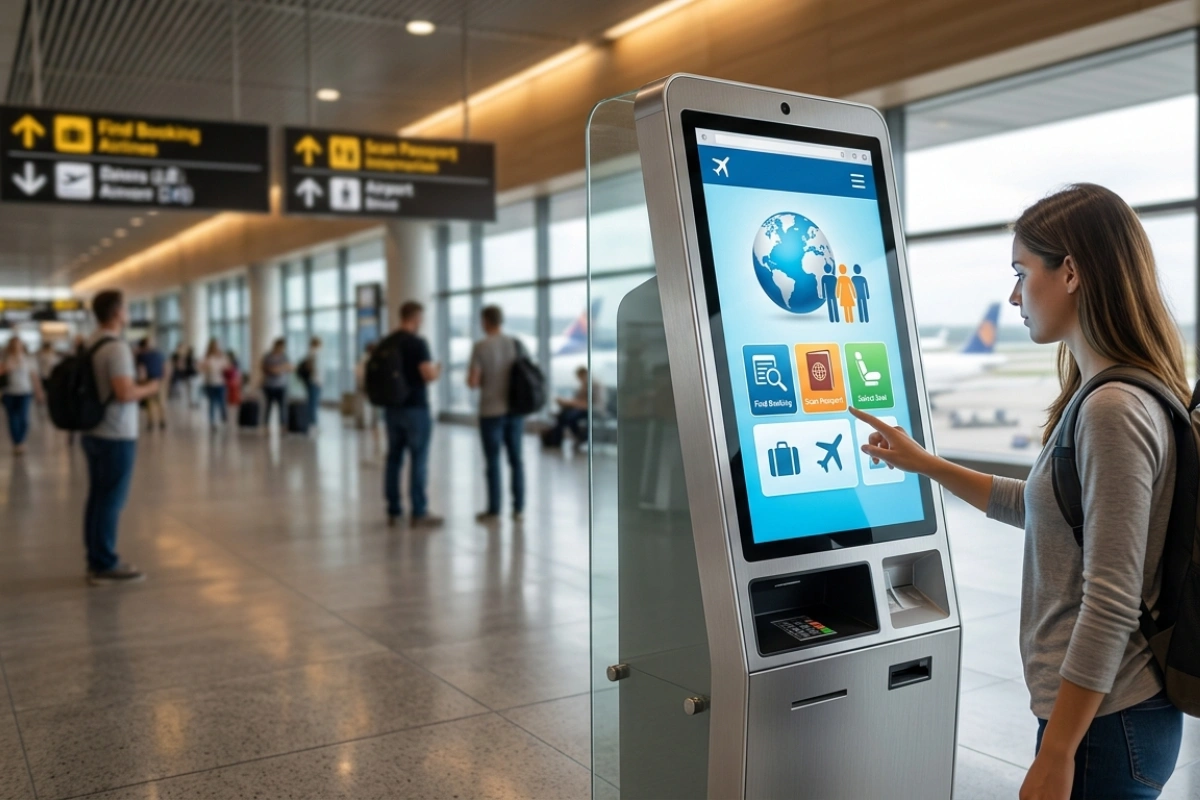
Kiosk mode Chrome browser setups are the backbone of most digital signage displays, self-check-in stations, and public-facing screens. Instead of showing a full browser with tabs and an address bar, kiosk mode locks the screen to a single website in full-screen.
This guide walks through setting it up properly, plus how to exit it when maintenance is needed.
Key Takeaways:
Chrome Kiosk Mode locks a display to one website without tabs, address bars, or browser controls, ideal for digital signage and public screens.
The –kiosk flag enables full-screen kiosk mode, with optional flags and auto-launch settings for more reliable unattended displays.
Pair kiosk mode with a restricted user account to prevent visitors from accessing the underlying operating system and settings.
Does Google Chrome Have a Kiosk Mode?
Chrome has supported kiosk mode worsk on Windows, macOS, Linux, and ChromeOS
Chrome has supported kiosk mode natively for years, and it works on Windows, macOS, Linux, and ChromeOS. No extensions or third-party software are required to get a single-site, full-screen display running.
It’s worth knowing this is different from simply pressing F11 for full-screen browsing. Regular full-screen mode still lets a visitor exit with one keypress and access the address bar underneath; true kiosk mode hides that interface entirely and is meant to be far harder to escape by accident.
Why Use Kiosk Mode for Digital Signage?
Kiosk mode removes the address bar, tabs, and browser menu entirely, so there’s no way to navigate away accidentally.
Digital signage needs a display that stays locked to one page, no matter who walks by or what they tap. Kiosk mode removes the address bar, tabs, and browser menu entirely, so there’s no way to navigate away accidentally. It also prevents visitors from opening new tabs or browsing the open internet on a public device.
Beyond preventing accidental navigation, this also protects against intentional misuse. A locked-down display in a lobby or retail floor is far less likely to be repurposed for casual browsing when there’s simply no visible way to reach a search bar.
Locks the screen to a single URL with no visible browser UI
Prevents accidental navigation on touchscreens
Works well for menus, wayfinding displays, and event signage
How to Open a Browser in Kiosk Mode
It starts with a single command-line flag added to how Chrome launches
It starts with a single command-line flag added to how Chrome launches. The exact command differs slightly by operating system, but the core flag, –kiosk, stays the same everywhere.
A few optional flags are worth adding too, since they suppress crash-restore prompts and other pop-ups that would otherwise interrupt an unattended display.
On Windows:
Close all running Chrome windows completely.
Right-click the desktop and create a new shortcut.
Point the shortcut to Chrome’s install path, followed by –kiosk and your target URL.
Double-click the shortcut to launch Chrome in full-screen kiosk mode.
On macOS:
Open Terminal.
Run: open -a “Google Chrome” –args –kiosk https://yourwebsite.com
Chrome will launch full-screen with no address bar or tabs visible.
On Linux:
Open a terminal window.
Run: google-chrome –kiosk https://yourwebsite.com
The browser opens directly into kiosk mode on the target URL.
Useful Extra Flags for a Cleaner Kiosk
A bare –kiosk flag works, but a few additional flags make an unattended display noticeably more stable. These prevent pop-ups from an unexpected crash or update from interrupting the screen.
–disable-infobars removes notification bars, like extension warnings.
–disable-session-crashed-bubble stops the “Chrome didn’t shut down properly” prompt.
–no-first-run skips the first-launch welcome screens on a fresh profile.
Setting Up Auto-Launch on Boot
For unattended displays, Chrome should launch into kiosk mode automatically every time the device restarts. This avoids needing someone on-site to manually start the browser after a power cycle or scheduled reboot.
Add the kiosk shortcut or command to your operating system’s startup folder or login items.
Set the device to auto-log in to a dedicated, restricted local account.
Disable sleep and screen-lock settings so the display stays active continuously.
Test a full restart before deploying the device publicly.
How to Get Chrome Out of Kiosk Mode
How to get Chrome out of Kiosk Chrome
It depends on how tightly the setup was locked down. On Windows, pressing Alt+F4 typically closes the browser window and ends kiosk mode. On macOS, Command+Q does the same, closing Chrome entirely rather than just exiting full-screen.
Standard exit: Alt+F4 (Windows) or Cmd+Q (macOS) closes the kiosk browser window.
Locked-down setups: may require Ctrl+Alt+Delete or an admin login to regain OS-level access.
Permanent removal: delete or edit the kiosk shortcut to remove the –kiosk flag before the next reboot.
Keep in mind that kiosk mode only restricts the browser itself, not the operating system underneath it. Pairing it with a dedicated, restricted user account is what actually prevents visitors from reaching the desktop or system settings.
If a display needs frequent maintenance, it’s worth documenting the exact exit steps somewhere your team can find quickly. A locked kiosk with no notes on how to get back in can turn a five-minute content update into an hour of troubleshooting.
Common Issues When Setting Up Kiosk Mode
A few problems come up repeatedly when teams configure kiosk mode for the first time
A few problems come up repeatedly when teams configure kiosk mode for the first time. Knowing them ahead of time saves a round of troubleshooting on launch day.
Chrome won’t enter kiosk mode: this usually means another Chrome window was already open. Close every Chrome process fully, including background ones in Task Manager, before launching the kiosk shortcut.
Flags aren’t applying: double-check the shortcut’s target field for typos, and confirm the file path to Chrome’s executable is correct for your system.
Display goes to sleep: adjust your OS power settings separately, since kiosk mode itself doesn’t override sleep or screen-lock behavior.
Updates disrupt the setup: Chrome auto-updates can occasionally reset custom flags, so a quick periodic check after major updates is good practice.
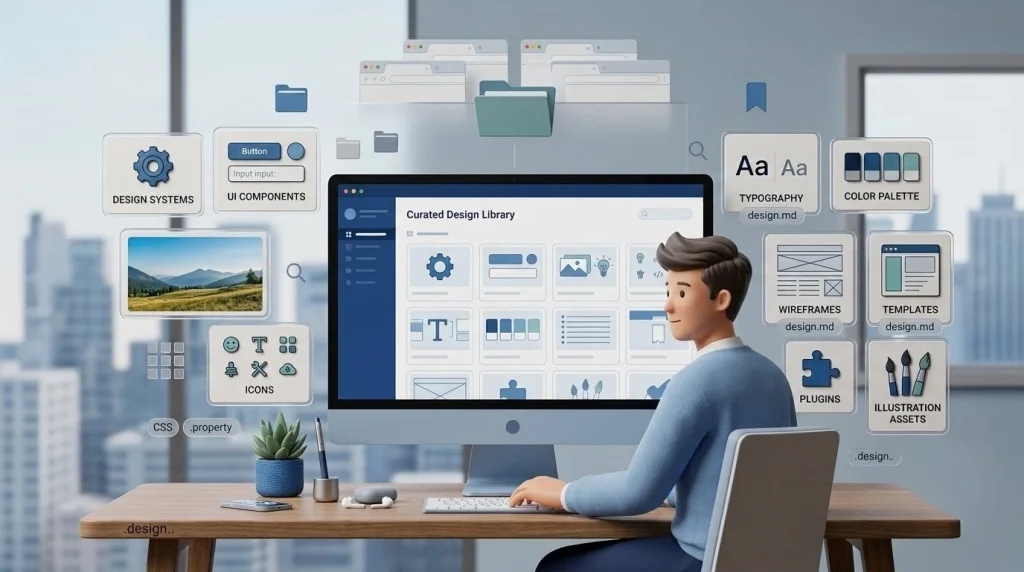
Once the technical setup is locked down, what actually shows on the screen matters just as much as the browser configuration. A cluttered or low-quality webpage undercuts even the most secure kiosk setup, since visitors are staring at that single screen with nothing else to look at.
Using polished, ready-made 3D visuals from a resource like Tridimensi can make a signage page feel considerably more premium without needing a full design team on hand.
Final Thoughts
Kiosk mode Chrome browser setups turn an ordinary display into a locked, single-purpose screen ready for public use. Between the –kiosk flag, an auto-launch shortcut, and a restricted user account, most signage deployments can be running securely within the hour.
Once the technical side is sorted, explore Tridimensi’s Unlimited Access for unlimited downloads of 3D assets that make your signage content look as polished as the setup behind it.