SPECIAL OFFER ✦ BUY 2 GET 1 FREE! ✦ ADD 3 PRODUCTS TO YOUR CART, AND THE DISCOUNT APPLIES AUTOMATICALLY!
SPECIAL OFFER ✦ BUY 2 GET 1 FREE! ✦ ADD 3 PRODUCTS TO YOUR CART, AND THE DISCOUNT APPLIES AUTOMATICALLY!
SPECIAL OFFER ✦ BUY 2 GET 1 FREE! ✦ ADD 3 PRODUCTS TO YOUR CART, AND THE DISCOUNT APPLIES AUTOMATICALLY!
SPECIAL OFFER ✦ BUY 2 GET 1 FREE! ✦ ADD 3 PRODUCTS TO YOUR CART, AND THE DISCOUNT APPLIES AUTOMATICALLY!
More businesses want to know how to create an AI assistant that can answer questions, guide visitors, and support customers around the clock. The good news is that you no longer need a full engineering team to make it happen.
So, how to create an AI assistant for free? This guide walks through the practical steps, from picking the right tools to designing an assistant that actually fits your brand. By the end, you’ll have a clear roadmap to launch your own.
Key Takeaways:
No-code and low-code platforms let most businesses build a functional AI assistant without hiring developers.
A well-trained assistant depends more on quality data than on the underlying model itself.
Visual design and brand consistency directly affect how much users trust and use your assistant.
1. Define What Your AI Assistant Should Do
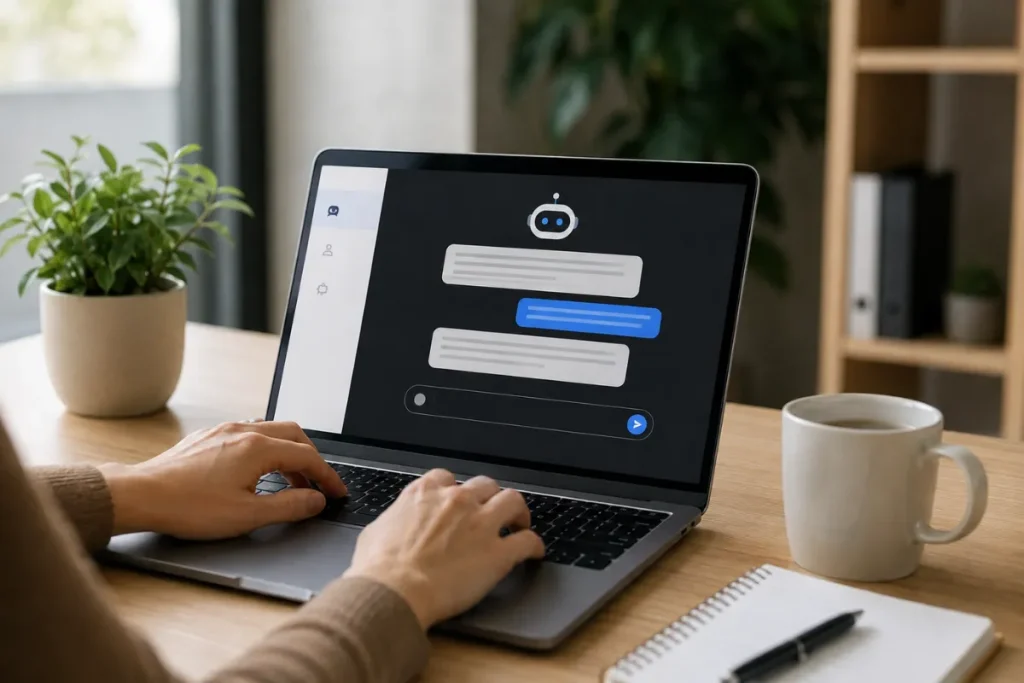
Laptop and notes.
Before choosing any tool, decide exactly what problem your assistant will solve. A support assistant answering FAQs needs a very different setup than one handling bookings or lead qualification.
Write down the top 5-10 tasks or questions your assistant should handle on day one. This scope will guide every subsequent decision, including which platform and data sources you need.
List common customer questions from support tickets or live chat logs.
Decide whether the assistant should only answer questions or also take action, such as booking a call.
Set a clear boundary for topics it should hand off to a human.
2. Choose the Right Platform or Framework
Laptop and notes on the desk.
There are two main paths when you create an AI assistant: no-code platforms or custom development using an API. No-code tools are faster to launch, while custom builds offer more flexibility for complex workflows.
Popular no-code options include Chatbase, Voiceflow, and Intercom’s Fin, which let you upload documents and go live within hours. If you need deeper customization, frameworks built on OpenAI, Anthropic’s Claude, or open-source models give you full control over behavior and integrations.
No-code: Chatbase, Voiceflow, Tidio, best for quick launches.
Custom API-based: OpenAI, Claude, or Gemini APIs, best for advanced logic.
Hybrid: Platforms like Zapier or Make connecting an AI model to your existing tools.
3. Gather and Organize Your Knowledge Base
A laptop displaying a file explorer interface organizing folders and documents for an AI knowledge base project.
An AI assistant is only as good as the information it’s trained on. Collect your FAQs, product documentation, past support conversations, and policy pages into one organized source.
Clean, well-structured content produces far more accurate answers than a messy pile of files. Remove outdated information before feeding it into your assistant, since it will treat every document as equally valid.
Export your existing FAQ pages and help center articles.
Update or remove outdated product details and pricing.
Break long documents into shorter, topic-specific sections for easier retrieval.
4. Train and Configure Your Assistant
A laptop screen showing an AI setup wizard with document uploading, tone configuration, and custom fallback settings.
Most modern platforms let you train an assistant by simply uploading your knowledge base and setting a tone of voice. You’ll also configure fallback responses for questions it can’t answer confidently.
Test your assistant with real questions your customers actually ask, not just the ones you expect. This step often reveals gaps in your knowledge base that need to be filled before launch.
Upload your knowledge base documents to the platform.
Set a clear, on-brand tone in the assistant’s system instructions.
Define fallback messages that redirect users to human support when needed.
5. Design the Assistant’s Look and Feel
A laptop screen displaying a design studio interface with 3D icon sets, color palettes, and a live chat widget preview.
How your AI assistant looks matters almost as much as how it responds. A chat widget that clashes with your website’s design can feel untrustworthy, even if the answers are accurate.
Consistent colors, icons, and motion details help the assistant feel like a natural extension of your brand rather than a bolted-on plugin. Premium visual resources, such as the curated 3D icons and background assets from Tridimensi, can give your chat widget and supporting landing page a more polished, professional look without hiring a dedicated designer.
Match the assistant’s colors and fonts to your existing brand guidelines.
Use subtle animations or 3D icons to make the widget feel modern, not robotic.
Keep the chat window’s placement consistent across desktop and mobile.
6. Integrate the Assistant Into Your Website or App
A laptop showing code integration tools alongside an active website preview with embedded chat widgets and third-party app connections.
Once trained and styled, your assistant needs to be embedded where your users actually are. Most platforms provide a simple JavaScript snippet or plugin for popular website builders such as WordPress, Webflow, and Shopify.
For businesses using custom apps, API integration lets the assistant tap into internal tools such as CRMs, calendars, and order databases. Test the integration thoroughly across browsers and devices before making it publicly visible.
Add the embed code to your website’s header or footer template.
Connect relevant tools, such as your calendar or CRM, if the assistant takes actions.
Run a cross-browser test to confirm the widget loads correctly everywhere.
7. Test With Real Users Before Full Launch
A laptop screen displaying a performance dashboard with live chat interaction logs, heatmaps, and flagged unanswered user questions.
Soft-launch your assistant to a small group of users or a single page before rolling it out site-wide. Watch how people actually phrase their questions, since real conversations rarely match your internal assumptions.
Collect a log of unanswered or poorly answered questions during this period. Use that data to refine your knowledge base and adjust your assistant’s tone or fallback behavior.
Enable conversation logging to review real interactions.
Flag any repeated questions the assistant fails to answer well.
Adjust the knowledge base and retest before a full public rollout.
8. Monitor, Improve, and Scale
A laptop screen showcasing advanced analytics with weekly interaction metrics, knowledge base status, and feature expansion modules.
Launching your assistant isn’t the finish line; ongoing monitoring keeps it useful as your business evolves. Review conversation analytics weekly to spot new question patterns or points of confusion.
As your product or service changes, update the knowledge base regularly so the assistant never gives outdated answers. Many teams also use this stage to expand the assistant’s role by adding features such as multilingual support or proactive prompts based on user behavior.
Review chat logs weekly to catch recurring gaps.
Update the knowledge base whenever products, policies, or pricing change.
Expand features gradually, such as adding new languages or use cases.
Conclusion
Learning how to create an AI assistant doesn’t require a large technical team, just a clear plan, quality data, and consistent design. By following the steps in this guide, you can launch an assistant that genuinely helps your visitors while reflecting your brand well.
If you’re polishing the visuals around your new AI assistant, from chat widgets to the landing page it sits on, explore Tridimensi’s Unlimited Access for thousands of premium 3D assets ready to bring your project to life.