SPECIAL OFFER ✦ BUY 2 GET 1 FREE! ✦ ADD 3 PRODUCTS TO YOUR CART, AND THE DISCOUNT APPLIES AUTOMATICALLY!
SPECIAL OFFER ✦ BUY 2 GET 1 FREE! ✦ ADD 3 PRODUCTS TO YOUR CART, AND THE DISCOUNT APPLIES AUTOMATICALLY!
SPECIAL OFFER ✦ BUY 2 GET 1 FREE! ✦ ADD 3 PRODUCTS TO YOUR CART, AND THE DISCOUNT APPLIES AUTOMATICALLY!
SPECIAL OFFER ✦ BUY 2 GET 1 FREE! ✦ ADD 3 PRODUCTS TO YOUR CART, AND THE DISCOUNT APPLIES AUTOMATICALLY!
Every artist needs a method that balances creativity with control. For 3D creators, box modeling provides exactly that. It’s a technique built on gradual refinement, turning rough shapes into detailed objects with clear proportions. The result is a process that feels both reliable and creatively rewarding
To appreciate this creative potential, we need to break it down to its essentials. By examining the foundation, we can understand why artists rely on it as a reliable entry point into 3D modeling. Let’s dive into this modeling technique!
Key Takeaway:
Box modeling is a technique that starts with simple geometric shapes and gradually refines them into complex forms.
This technique balances speed and precision, making it efficient for concepting and production.
It offers precise control over proportions and topology, making it suitable for animation-ready assets.
Introduction to 3D Box Modeling
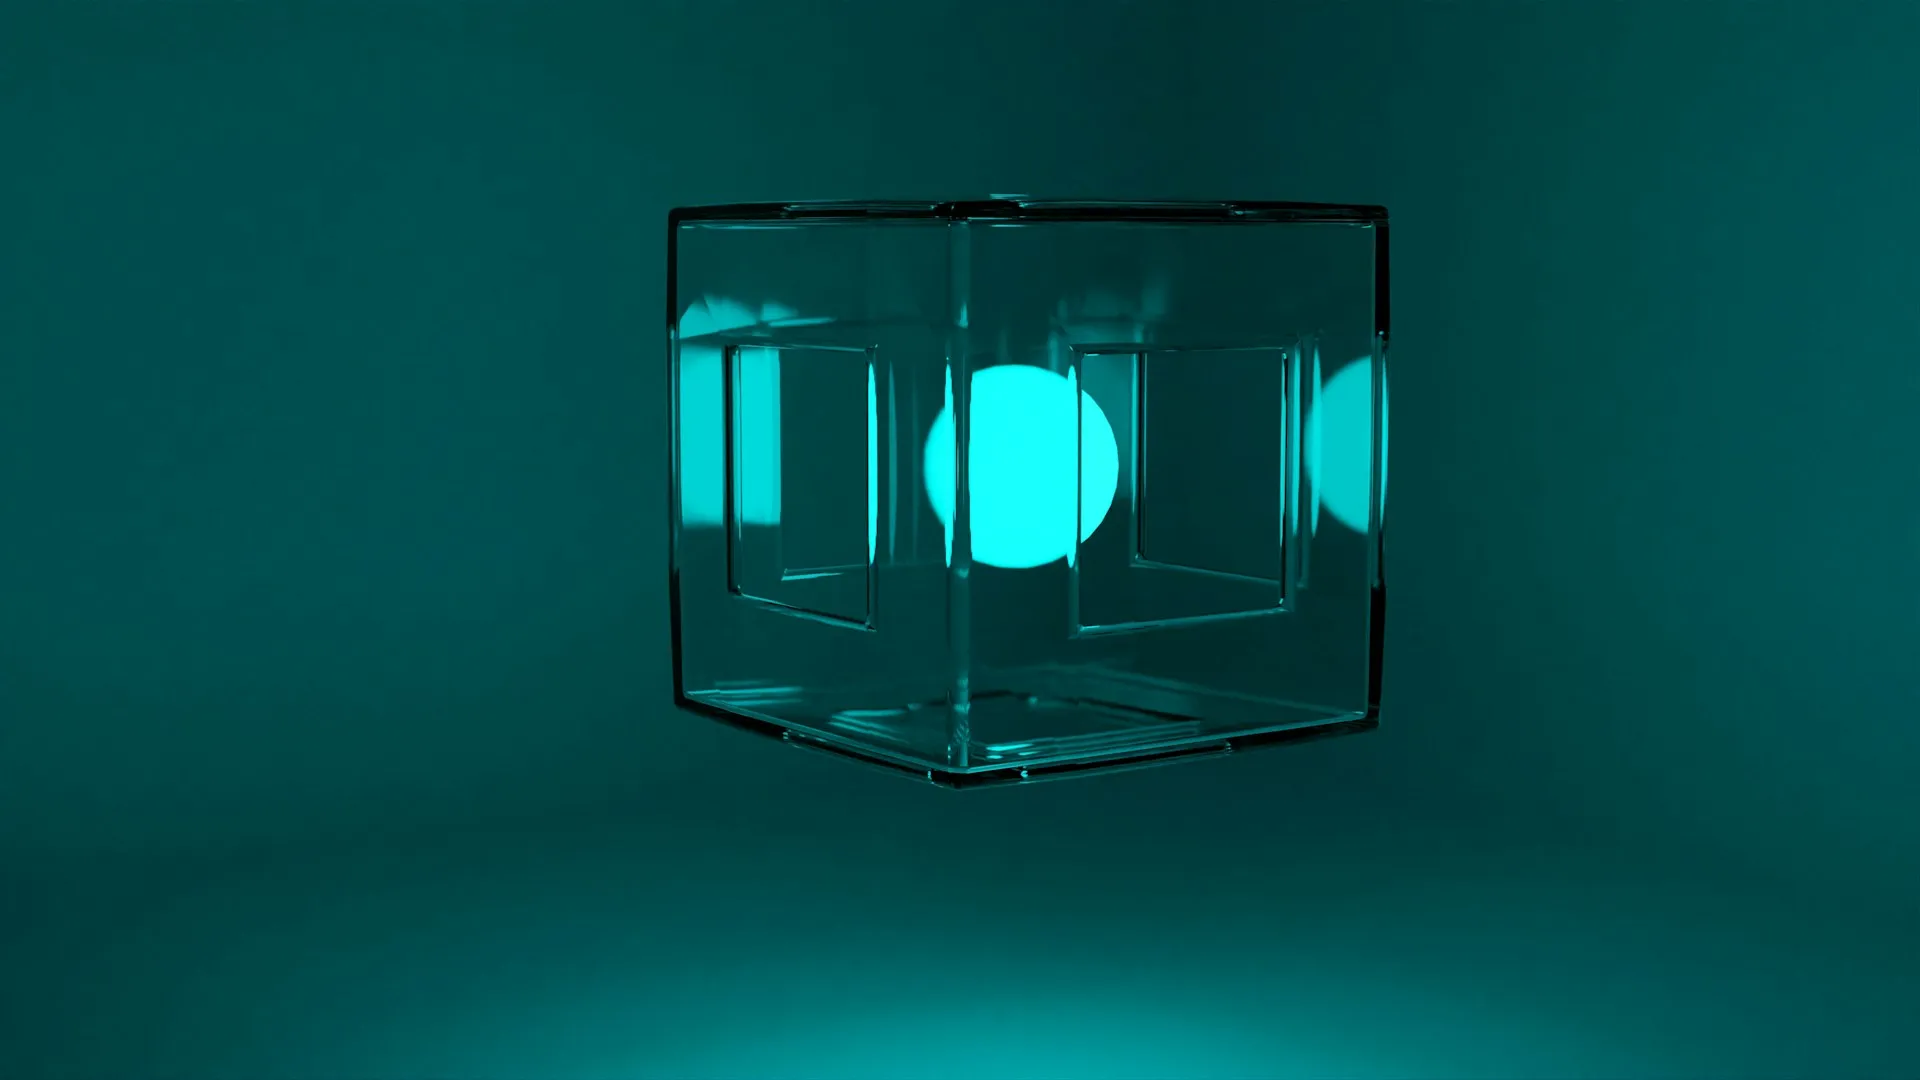
3D Rendering from Primitive Shapes (Source: Unsplash)
Box modeling is a 3D design method that begins with a basic shape, usually a sphere, cube, or cylinder. This simple form serves as the foundation, and from there, you can gradually reshape it by pushing, pulling, scaling, or extruding different parts of the mesh. Even adding edges, bends, and adjusting the object to your desired model goal.
The method is widely favored because it offers a structured, step-by-step approach to building forms with balanced proportions. Instead of jumping straight into fine details, artists can slowly refine the base, foundation mesh, making the process easier to control and adjust along the way.
Beyond its simplicity, box modeling is incredibly versatile. It’s used in character design, hard-surface modeling for vehicles, machinery, and architectural visualization. This balance between flexibility and structure makes the box modeling approachable, even for beginners.
Before diving into the details, it helps to know why box modeling has become a go-to method for many 3D artists. This approach offers a mix of speed, flexibility, and reliability, making it a practical choice for both beginners and seasoned professionals alike.
1. Ease and Speed
Compared to more advanced modeling techniques, box modeling is relatively simple to grasp. By starting with basic shapes and gradually refining them, artists can move faster than if they were placing individual vertices one by one.
2. Control
Working from simple geometry gives modelers precise control over proportions and structure. Each adjustment can be made step by step, making it easier to shape the model exactly as intended without feeling overwhelmed.
3. Versatility
Box modeling adapts well to many styles of 3D art, from low-poly assets for games to high-resolution models for film and animation. Whether you’re aiming for clean simplicity or detailed realism, this method provides a reliable foundation.
4. Predictable Topology
Since box modeling often relies on quadrilateral faces, it produces clean and consistent topology. This makes the model easier to subdivide, animate, and rig later on, reducing technical headaches during production.
5. Iterative Process
One of the biggest advantages is being able to watch the model evolve step by step. This gradual workflow lets artists quickly spot and correct proportions, experiment with details, and refine the design without losing control of the overall shape.
Although box modeling is a structured method, it is adaptable enough to allow for creativity at every turn. By starting simple and gradually refining the shape, artists can steadily transform a plain cube into a detailed 3D model ready for use in any project.
1. Conceptualize
Every project begins with an idea. Understanding the goal, aesthetic, and overall look of your model aids in decision-making and saves time in later stages.
2. Set Up Your Workspace
Open your chosen 3D program and prepare the scene. Setting up views, adding reference images, and adjusting the layout ensures a smoother workflow.
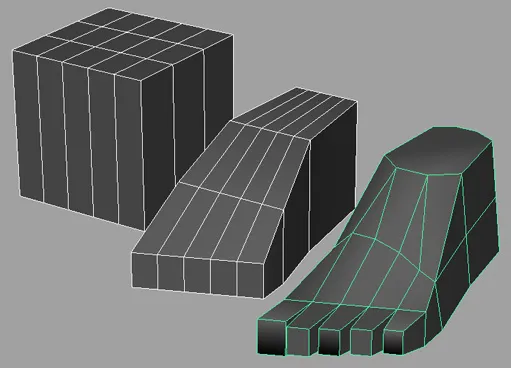
3. Base Shape and Blocking
Base Shaping (Source: CGI Knowledge)
Most models start from a primitive, usually a cube. This shape is then extruded, scaled, and rotated to establish the object’s silhouette, giving you the basic proportions to work with.
4. Adding Geometry
Edge loops and subdivisions are introduced to add complexity. More vertices and edges mean finer control, allowing curves and important features to take form.
5. Refinement and Detailing
Box Modeling Detailing Phase (Source: Adobe)
At this stage, the rough blockout is manipulated into something recognizable. Adjusting vertices, beveling edges, and adding cuts help define contours, mechanical parts, or architectural accents.
Applying subdivision modifiers smooths out blocky areas, while materials and textures bring surfaces to life. Color, reflectivity, and surface detail all add realism and personality to the model.
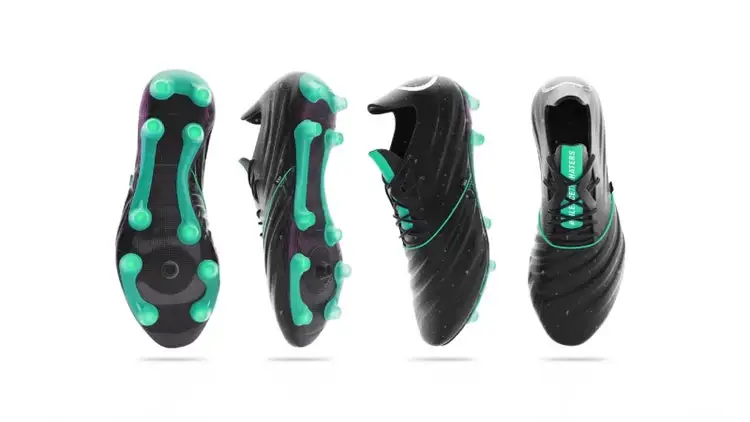
7. Lighting, Rendering, and Iteration
Lighting and Rendering in 3D Model (Source: Studio Minosa)
Good lighting and camera placement showcase your model’s form and textures. Reviewing it from multiple angles ensures proportions look right. Small tweaks are made until the result feels polished.
8. Final Export
Once complete, the model can be exported for use in animation, games, or presentations. Finally marking the journey of an innocent cube into a finished 3D creation.
The simplest method is usually the go-to path before greatness. By building gradually and refining steadily, artists can focus on expression rather than complexity. It’s this approachable nature that makes the process both enjoyable and endlessly rewarding for creators of all levels.
To further refine your modeling technique, you need the top assets to mimic. Simply grab an asset from Tridimensi, and you already have a clear vision and path to model your own box assets. So, grab now, and start polishing your 3D work.