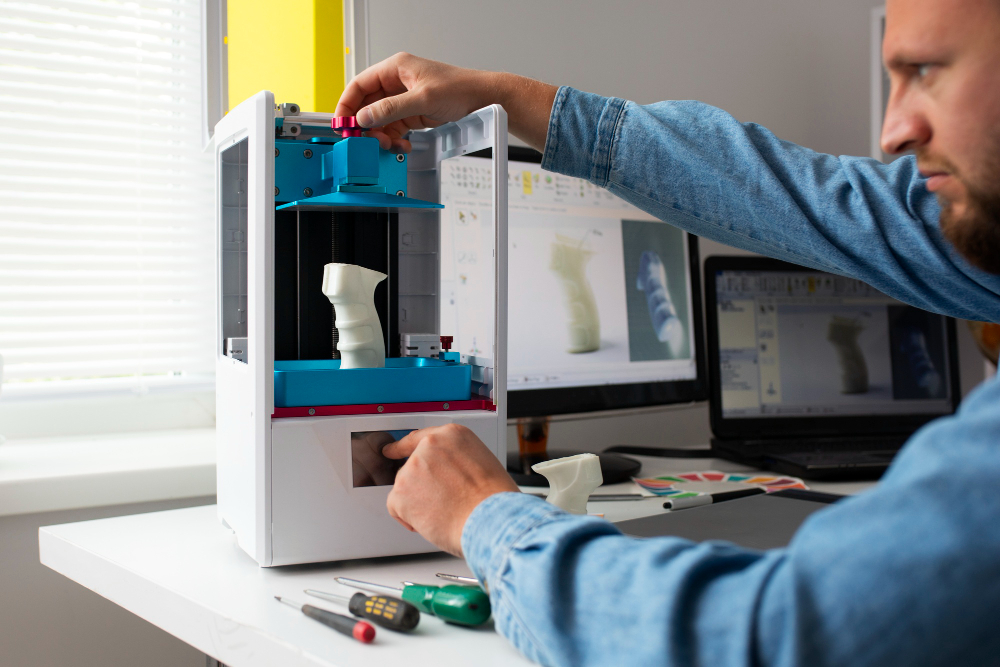
Because designing 3D prints is a precision-demanding task, understanding how to design 3D prints properly is essential for producing strong, accurate, and high-quality results. From choosing the right software to planning support structures, every decision you make affects the final outcome.
This article will walk you through the essential steps and practical 3D print design tips you need to get started.
Key Takeaways:
- Learning how to design 3D prints properly helps prevent failed prints, wasted material, and structural issues.
- Successful 3D models start with clear goals, the right software, strong geometry, proper wall thickness, and smart support planning.
- Following basic design guidelines and validating files before slicing leads to cleaner prints, better performance, and more consistent results.
Why Design Matters Before You Print?
Many beginners rush into printing without realizing that a good model and knowing how to design 3D prints properly are the keys to success. Without this foundation, they often end up with warped parts, weak layers, structural failures, or prints that rely on unnecessary supports.
If beginners take the time to learn basic 3D printing design guidelines, the benefits are significant. They can achieve more accurate results, reduce material waste, and create prints that actually function as intended instead of relying on costly trial and error.
Also Read: How to Make a 3D Game in Scratch in 5 Easy Steps
Easy 3D Print Design Guide for Beginners
This beginner guide to 3D print design covers 7 simple steps that help beginners turn their ideas into successful, high-quality prints.
Step 1: Choose Your Design Software
Your first step is choosing the right modeling software. For beginners, Tinkercad is a great option because it installs quickly, uses a simple block-based interface, and works smoothly with most slicing tools.
If you need more capability, Fusion 360 offers advanced parametric features for detailed, professional-grade designs. Blender is another option that provides extensive creative control, although it comes with a steeper learning curve.
Step 2: Sketch Your Concept First
Even today, humble things like a pencil and paper are what you need before starting to use the design software for real. Since this step is all about rough sketches, feel free to sketch your idea roughly and note its dimensions, proportions, and critical features.
Next, decide what the object is meant to do. If it’s decorative, focus on appearance and feel free to experiment. If the design leans on functionality, you should prioritize accuracy and strength around key dimensions.
Step 3: Build Your Basic Geometry
Once you’ve chosen Tinkercad, Fusion 360, or Blender, you’ll notice each one starts differently. In Tinkercad, you’ll build forms by combining basic shapes like cubes, cylinders, and spheres. Meanwhile, in Fusion 360 or Blender, you’ll sketch a profile and extrude it into 3D.
No matter the software, focus on clean proportions and proper scale. Avoid very small details, since most printers struggle with features under about 0.5 millimeters.
Also Read: Exploring 3D Art Styles for Games: From Realism to Stylized
Step 4: Optimize Wall Thickness and Structure
In many 3D printing design guidelines, wall thickness is one of the biggest factors that determines whether a print succeeds or fails. Walls need to be thick enough to stay sturdy but not so thick that you waste material.
For FDM printing, aim for 0.75 to 1.00 millimeters, or roughly three times your nozzle diameter. Thin walls may collapse, while overly thick walls increase print time without adding real benefit.
As for the interior structures, skip solid infills in favor of grid patterns. Most slicers generate 15 to 20 percent infill as default, so it’s important to strike a balance between strength and material use.
Step 5: Handle Overhangs and Add Supports
When learning how to design 3D prints, it’s crucial to understand that overhangs steeper than 45 degrees rarely print well without supports. Since the printer deposits material into the open air, steep sections can sag or warp.
Thankfully, most design or slicing software can flag risky areas, and using tree supports can help you since they add material only where it’s needed. In some cases, simply rotating the model or splitting it into smaller parts can eliminate the need for supports entirely.
Also Read: How to Make Money Making 3D Models in 8 Easy Ways
Step 6: Refine Details and Surfaces
At this stage, add details that support your design’s function and look while thinking about how layer lines will appear once printed. Horizontal surfaces usually show them more than vertical ones, so if appearance matters, print important surfaces vertically.
Whenever possible, avoid extremely thin features, because details under 0.5 millimeters often fail to print. If you still insist on printing them, test print them before you start printing the final design.
Step 7: Export and Validate Your File
Finally, export your finished design as an STL or OBJ file, as STL is the most common choice since nearly all slicers handle it well. Meanwhile, choose OBJ if you need to keep color or texture for multi-color prints.
Before moving on, inspect the mesh for errors and make sure it’s manifold, meaning the model is fully closed with no gaps. Once all is set, open the file in your slicer, review the layer preview, and confirm that supports are placed only where needed.
Also Read: Choosing the Best 3D Game Engines for Your Next Project
Understand and Implement the Necessary Steps for 3D Printing!
Learning how to design 3D prints takes practice, patience, and a good grasp of modeling basics, slicing settings, and printer limits. Once you understand these essentials, creating functional or artistic objects becomes a rewarding and highly customizable experience.
If you want extra support along the way, 3D resources from Tridimensi can help! Their outstanding 3D models and assets give beginners, hobbyists, and product designers a reliable starting point, making the process of printing 3D designs easier, faster, and more enjoyable.