SPECIAL OFFER ✦ BUY 2 GET 1 FREE! ✦ ADD 3 PRODUCTS TO YOUR CART, AND THE DISCOUNT APPLIES AUTOMATICALLY!
SPECIAL OFFER ✦ BUY 2 GET 1 FREE! ✦ ADD 3 PRODUCTS TO YOUR CART, AND THE DISCOUNT APPLIES AUTOMATICALLY!
SPECIAL OFFER ✦ BUY 2 GET 1 FREE! ✦ ADD 3 PRODUCTS TO YOUR CART, AND THE DISCOUNT APPLIES AUTOMATICALLY!
SPECIAL OFFER ✦ BUY 2 GET 1 FREE! ✦ ADD 3 PRODUCTS TO YOUR CART, AND THE DISCOUNT APPLIES AUTOMATICALLY!
Creating compelling product imagery no longer requires costly photoshoots or physical prototypes. By mastering how to do 3D product rendering, designers and marketers can generate lifelike visuals that highlight every detail, helping products stand out in a crowded and competitive marketplace.
Key Takeaways:
Focus on creating clean, precise product models before moving on to finer details.
Lighting, textures, and materials are essential in creating realistic, high-quality renders.
Iteration and refinement are essential; adjusting details can make the difference between a basic render and a photorealistic one.
How to Do 3D Product Rendering for Marketing
The journey from a plain model to a final render requires careful planning. By following the 3D professional rendering stages, creators maintain consistency, reduce errors, and ensure each detail contributes to producing a visually compelling product presentation. Let’s break down these pro 3D stages!
1. Modeling – Establishing the Digital Blueprint
3D Modeling Step (Source: Unsplash)
The modeling stage is the creation step of any rendering project. This is where a digital replica of the product is created using 3D tools or specialized modeling software. The objective is to ensure that proportions, measurements, and overall geometry match the real product as closely as possible, at least in silhouette.
In practice, the model is often presented in a clay or grayscale format first. This step is crucial because it allows designers and clients to review the shape and accuracy before diving into surface details.
Tips:
Begin with a thorough design brief and precise references so the model mirrors the physical product.
Share grayscale versions with stakeholders to catch issues before investing time in texturing.
2. Texturing – Applying Materials and Surface Details
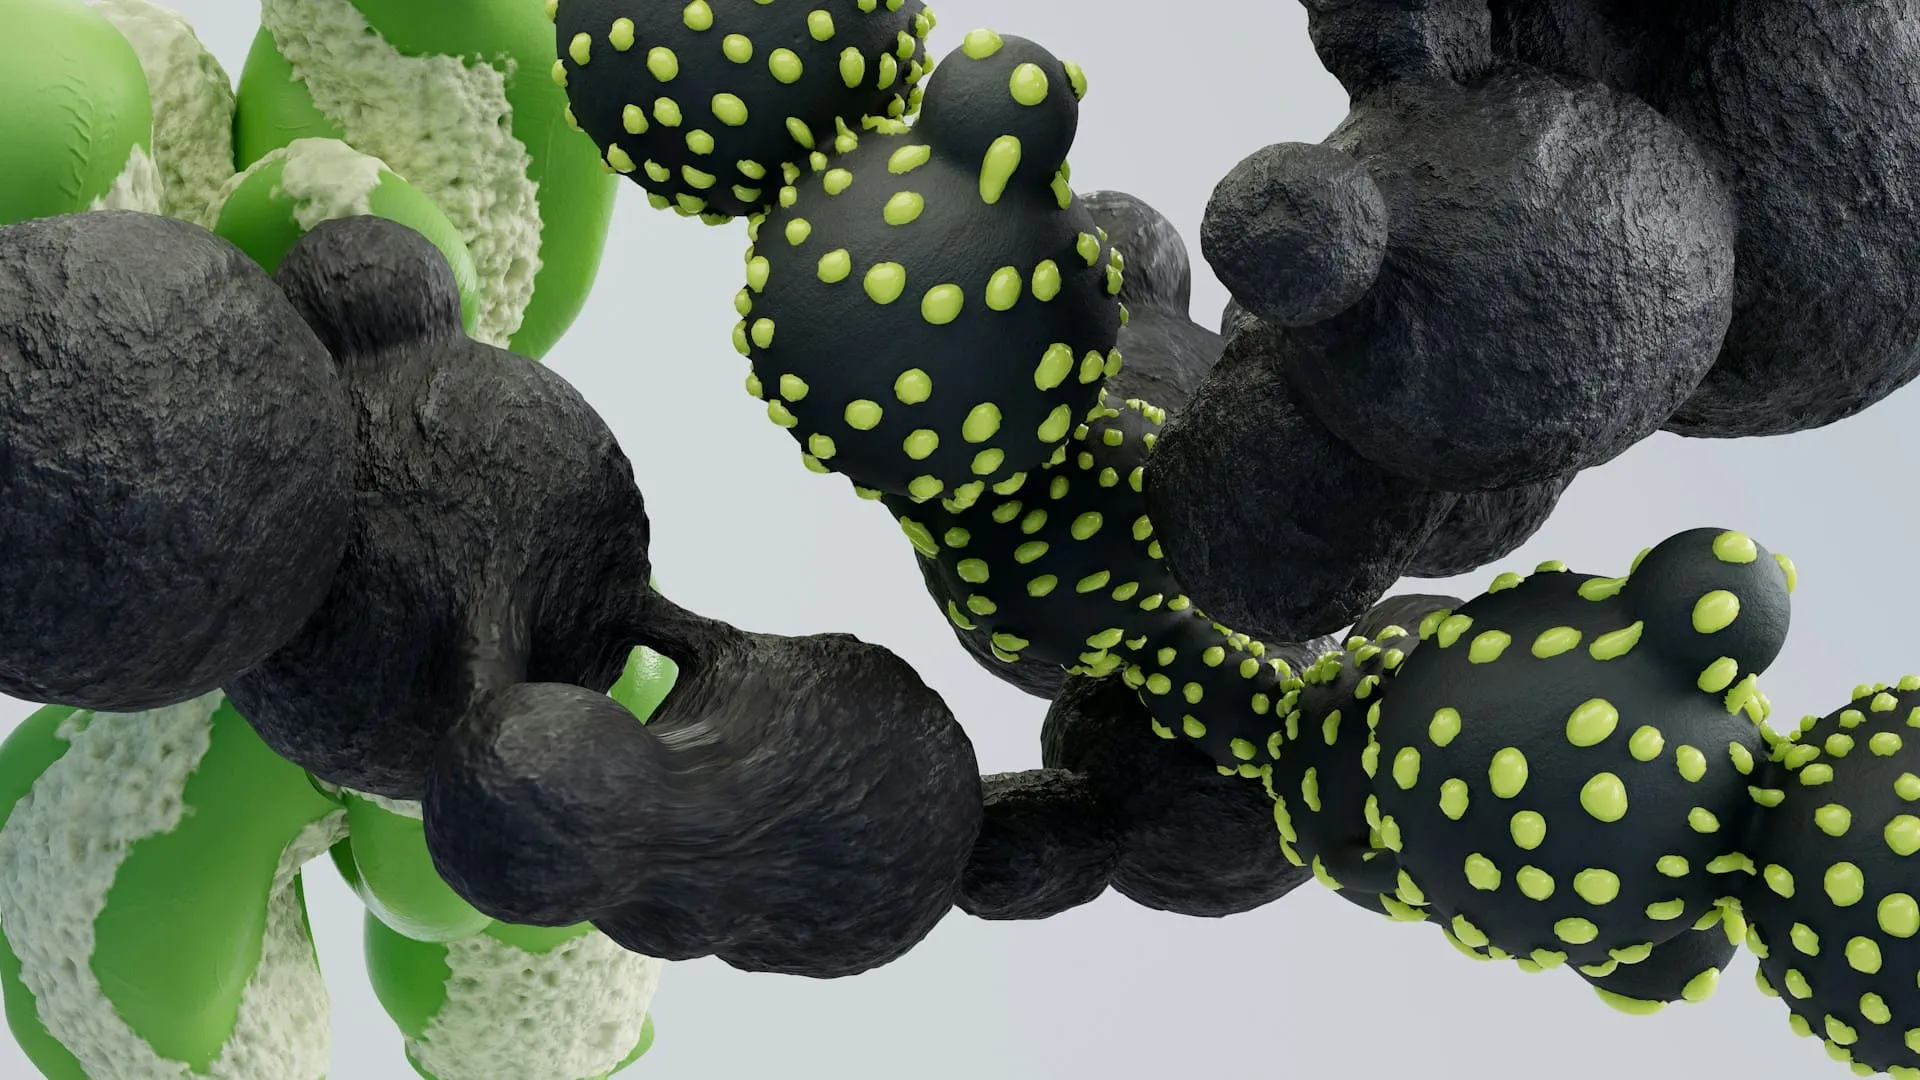
Rock Textures (Source: Unsplash)
Texturing is what transforms a plain 3D model into something visually compelling. At this stage, materials, colors, and fine surface details are carefully added. One of the most important techniques here is UV mapping, which ensures that the texture fits the model seamlessly, avoiding stretching or unwanted seams.
For greater authenticity, artists often include tiny imperfections such as fingerprints, scratches, or slight wear on surfaces. Anyone learning how to do 3D product rendering should dedicate extra attention to this stage, as small details contribute to an image that feels more natural and convincing to the human eye.
Tips:
Blend procedural textures with scanned materials for a more realistic and varied surface.
Pay attention to UV maps to avoid distortion and visible texture seams.
3. Lighting – Defining Atmosphere and Realism
3D Lighting (Source: Unsplash)
Lighting is one of the most powerful tools for shaping how a product appears. It influences not only visibility but also mood, depth, and realism. The classic three-point lighting setup (key light, fill light, and rim light) is a popular one, but you can always expand to your own taste, depending on the product and the style of presentation.
Proper lighting highlights important textures and emphasizes the product’s silhouette. When you’ve mastered this 3D product rendering process, lighting enhances the overall realism, making the digital product feel tangible.
Tips:
Test different light angles and intensities to reveal surface details without producing harsh shadows.
Experiment with colored lighting or soft glows when aiming for a more artistic or branded effect.
Rendering is where all the earlier steps come together. This process converts the 3D scene into a polished image or animation, simulating how light interacts with the model’s materials and textures. High-quality renders are essential for marketing, as they often replace traditional photoshoots, offering flexibility, speed, and cost savings.
Different rendering engines offer various settings, from photorealistic options to stylized outputs. You might need tutorials to further improve your software skills. For brands exploring how to do 3D product rendering efficiently, fine-tuning rendering settings is an essential skill that saves hours without sacrificing visual impact.
Tips:
Optimize rendering configurations to balance image quality with reasonable render times.
Use multiple camera angles and detailed close-ups to highlight specific product features.
5. Post Production – Enhancing and Finalizing the Product
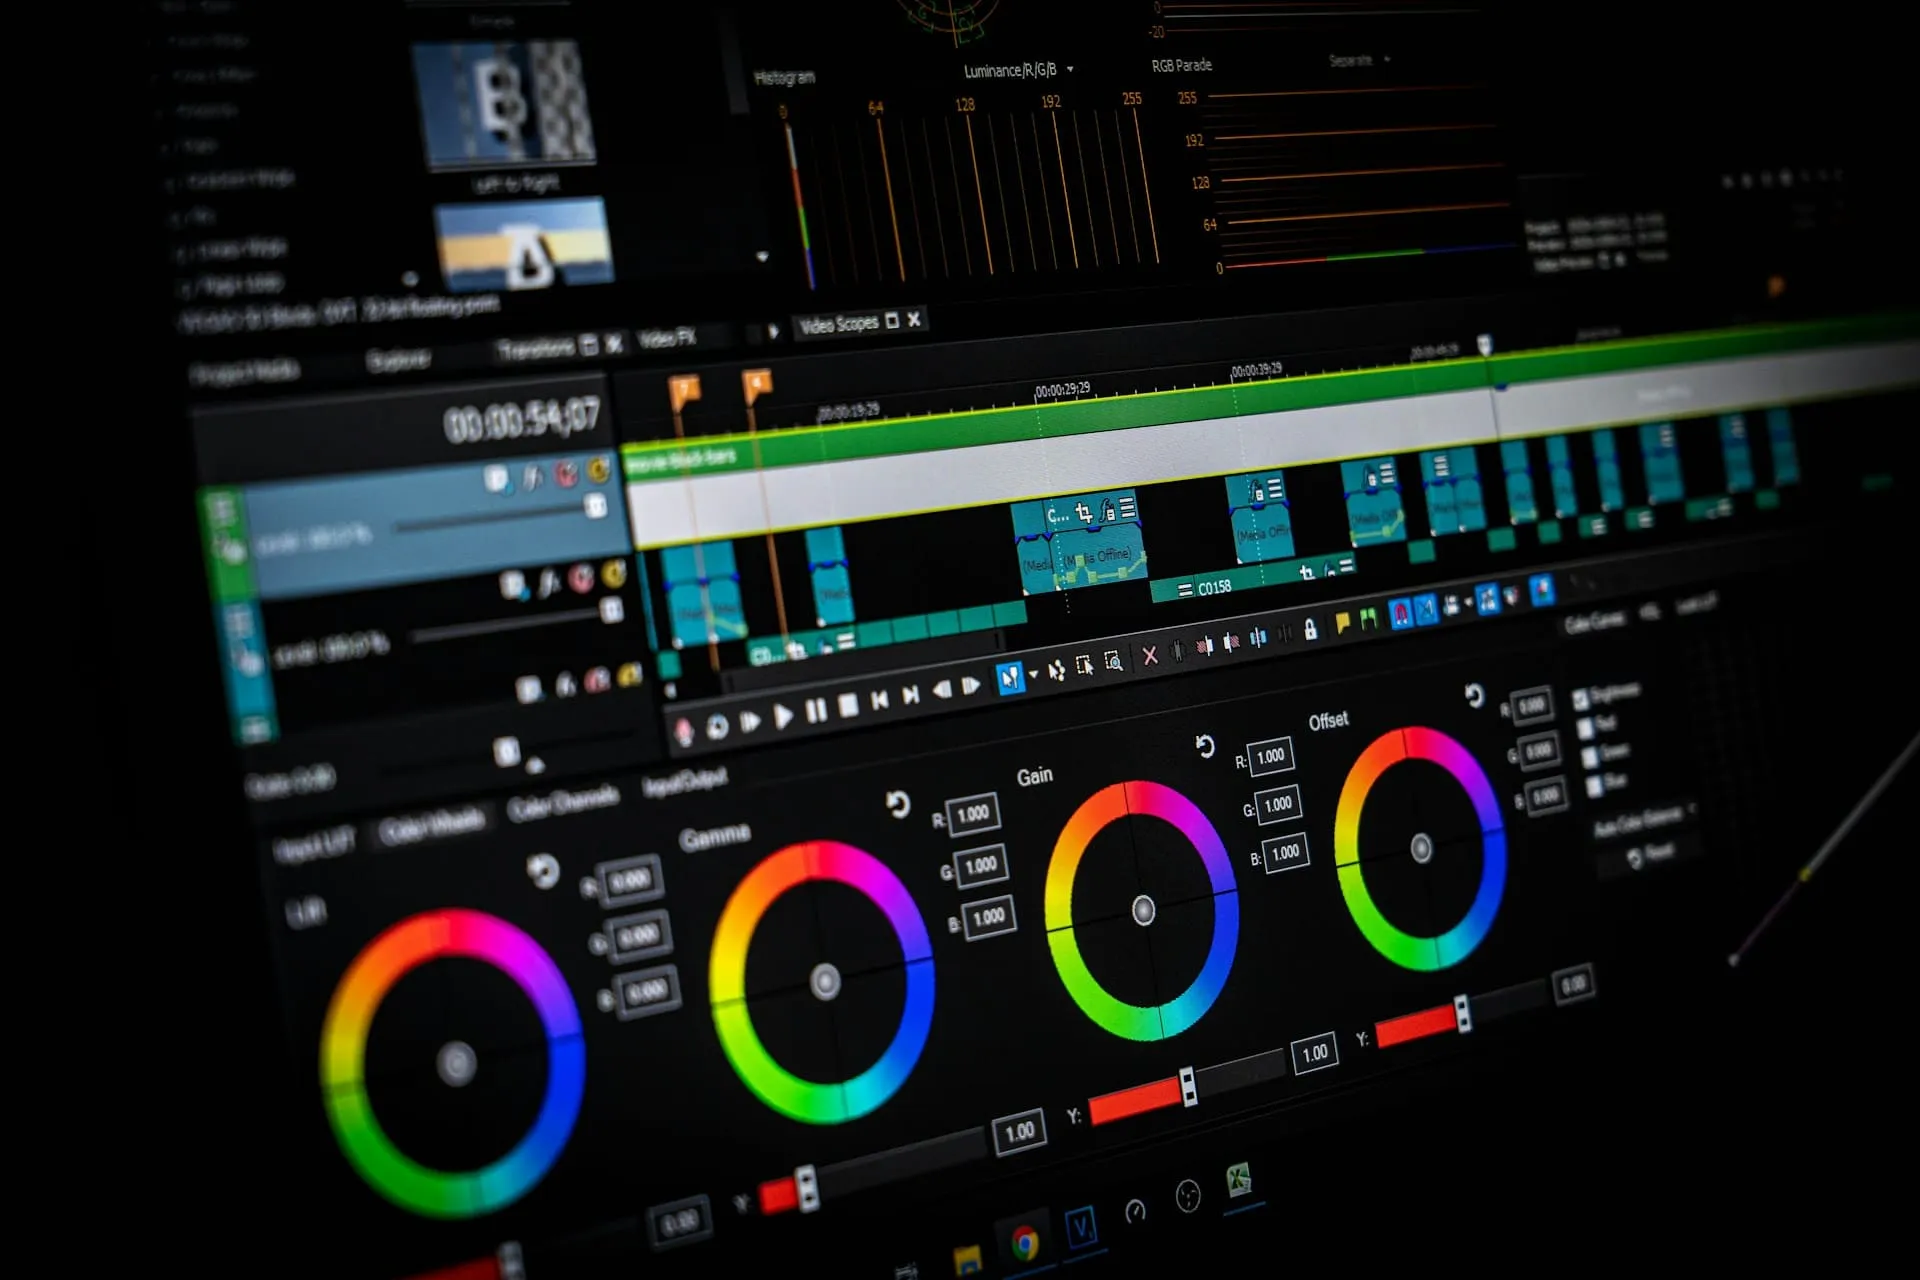
Post Render Editing (Source: Unsplash)
Even after rendering, your product elevates with additional refinement. Post-production involves adjusting colors, improving contrast, and correcting any visual inconsistencies. It’s also the stage where minor imperfections are retouched, ensuring the final output looks polished and professional across every platform.
Consistency is especially important. Applying the same color grading across all visuals helps maintain a unified brand identity. At the same time, over-editing should be avoided, as excessive effects can make the image appear artificial.
Tips:
Apply consistent color grading to create a cohesive visual identity across campaigns.
Use enhancements sparingly to keep renders looking realistic and authentic.
6. Integration – Using Renders in Marketing Channels
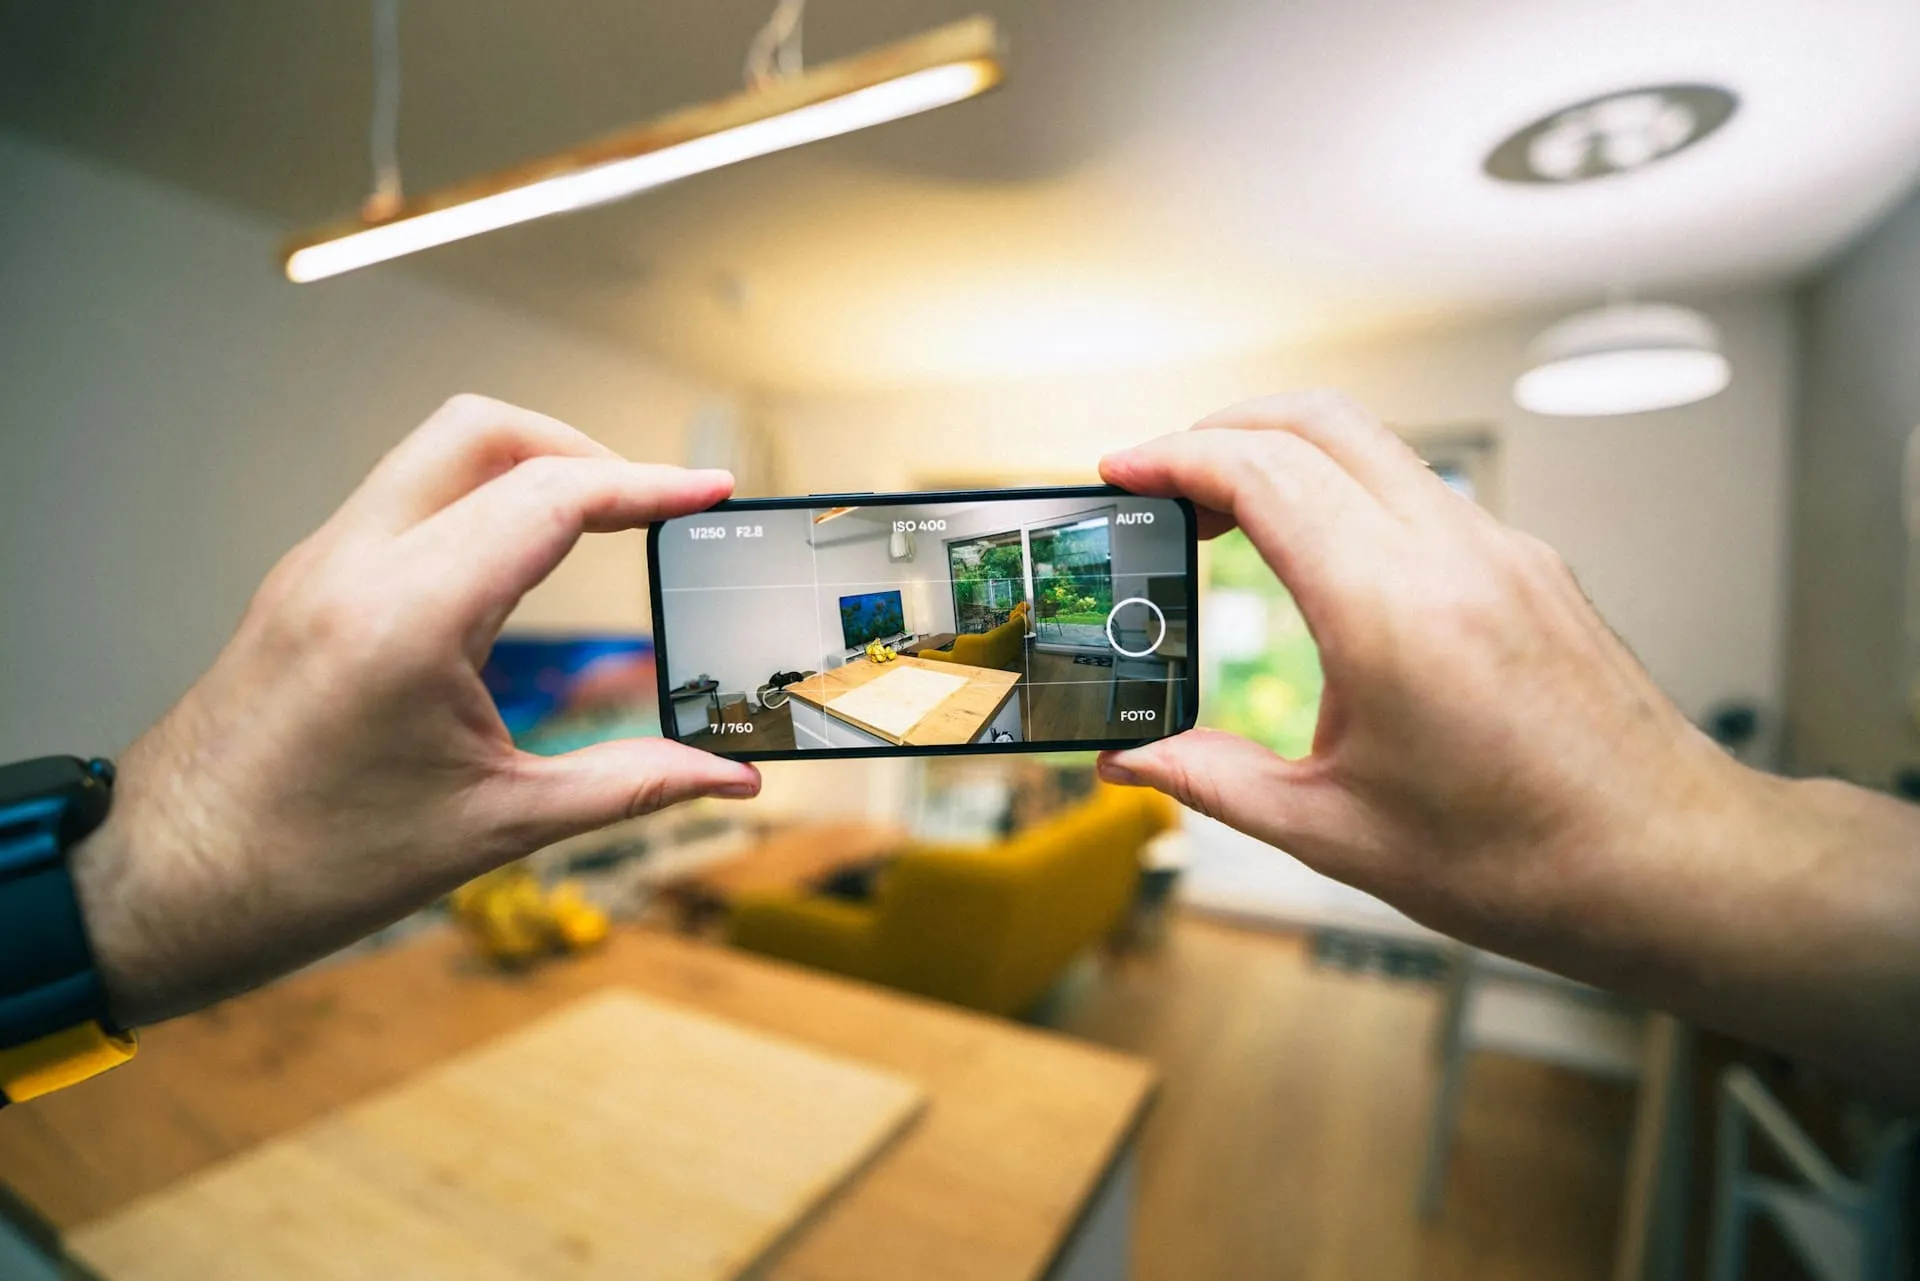
AR Integration (Source: Unsplash)
The last stage is integration, where you deploy your assets across different marketing platforms. Adaptability is key during integration. Content optimized for social media may differ from what works best in augmented reality or e-commerce platforms.
Integration includes embedding 3D viewers on product pages, building interactive AR experiences for mobile users, or creating animated sequences for advertisements. By doing so, businesses provide customers with engaging ways to interact with the products.
Tips:
Add interactivity to 3D models for better engagement and sales conversions.
Adjust renders for mobile, desktop, and AR applications to ensure optimal performance across all devices.
Through professional 3D product rendering, marketers and designers gain the flexibility to refine visuals endlessly. This capability supports faster approvals, reduces production expenses, and helps ensure every product is presented most appealingly and effectively as possible.
To enjoy more professional-quality shortcuts, you should visit Tridimensi. Here, you can quickly grab the best elements needed to make a compelling 3D product marketing design.