SPECIAL OFFER ✦ BUY 2 GET 1 FREE! ✦ ADD 3 PRODUCTS TO YOUR CART, AND THE DISCOUNT APPLIES AUTOMATICALLY!
SPECIAL OFFER ✦ BUY 2 GET 1 FREE! ✦ ADD 3 PRODUCTS TO YOUR CART, AND THE DISCOUNT APPLIES AUTOMATICALLY!
SPECIAL OFFER ✦ BUY 2 GET 1 FREE! ✦ ADD 3 PRODUCTS TO YOUR CART, AND THE DISCOUNT APPLIES AUTOMATICALLY!
SPECIAL OFFER ✦ BUY 2 GET 1 FREE! ✦ ADD 3 PRODUCTS TO YOUR CART, AND THE DISCOUNT APPLIES AUTOMATICALLY!
Have you ever visited a website that took forever to load because of large images? Learning how to optimize images for the web is one of the easiest ways to improve page speed, boost SEO, and create a better experience for your visitors.
The good news is that image optimization doesn’t require expensive software or advanced technical skills. By choosing the right format, resizing images correctly, and compressing files before uploading, you can significantly reduce load times without sacrificing visual quality.
Let’s go through the process step by step.
Step 1: Choose the Best Image format for Web
Various image formats best for web
Selecting the right file format is the first step to optimizing images. Each format is designed for different types of content.
JPEG: Best for photos and colorful images with a good balance of quality and file size.
PNG: Ideal for logos, icons, and images with transparent backgrounds.
WebP: A modern format that offers smaller file sizes with excellent quality, making it the best choice for most websites.
SVG: Perfect for logos and vector graphics that remain sharp at any size.
AVIF: Delivers even better compression than WebP but may have limited support in some older browsers.
If you’re unsure which format to choose, use WebP for most images, SVG for vector graphics, PNG when transparency is needed, and AVIF if compatibility isn’t a concern.
Step 2: Resize Images Before Uploading
Resizing image before uploading
One of the biggest performance mistakes is uploading images that are much larger than necessary. For example, uploading a 4000-pixel-wide image that only displays at 800 pixels forces visitors to download unnecessary data.
Before uploading an image, always match its dimensions to the maximum size at which it will appear on your website.
Best Practices
Check the image’s maximum display width.
Resize the image before uploading it.
Create multiple image sizes for responsive layouts.
Avoid relying on HTML or CSS to shrink oversized images.
Even if CSS displays an image at a smaller size, the browser still downloads the original file. Resizing images beforehand reduces bandwidth usage and improves page loading speed.
Popular tools for resizing images include:
Adobe Photoshop
Adobe Express
Figma
Canva
Preview (macOS)
Free online image resizers
Taking a minute to resize each image can save several megabytes across an entire website.
Step 3: Compress Images Without Noticeable Quality Loss
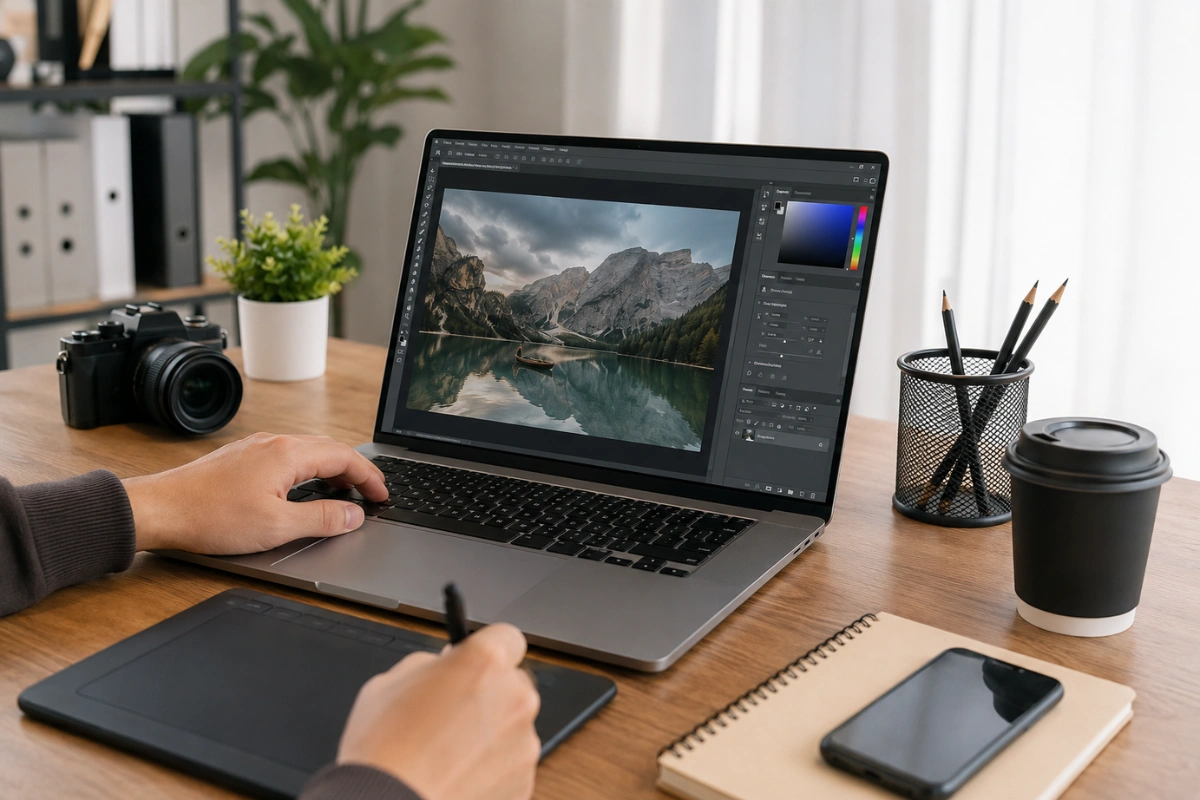
Image compressiong for websites without quality loss
After resizing, compress your images to reduce file size without noticeably affecting quality. There are two main types of image compression for websites:
Lossy: Removes some image data to create much smaller files. A quality setting of 70–85% offers a good balance between image quality and loading speed.
Lossless: Reduces file size without sacrificing image quality, making it ideal for graphics and illustrations.
Recommended tools:
TinyPNG
Squoosh
ImageOptim
ShortPixel
Adobe Photoshop
Most tools let you preview the results before exporting. When combined with proper resizing, compression can reduce image file sizes by 60–90% while maintaining excellent visual quality.
Step 4: Use Responsive Images SEO
Using responsive images SEO
Visitors use different devices, so serving one image size to everyone isn’t efficient. Responsive images let browsers automatically load the best image size based on the user’s screen.
Use the srcset and sizes attributes to provide multiple image versions.
Including width and height helps prevent Cumulative Layout Shift (CLS). If you use WordPress or another modern CMS, responsive images are usually generated automatically.
Step 5: Enable Lazy Loading
Enable lazy loading
Lazy loading delays image loading until they’re about to appear on the screen, helping improve page speed and reduce bandwidth usage.
Simply add the loading=”lazy” attribute to your image tag:
Most modern browsers and CMS platforms support lazy loading automatically. However, avoid using it for above-the-fold images, such as hero banners, since they should load immediately to improve Largest Contentful Paint (LCP) and overall SEO.
Step 6: Optimize File Names and Alt Text
Optimizing file names and alt text
Image optimization isn’t just about file size. Search engines use file names and alt text to understand images, while alt text also improves accessibility.
Best Practices
Use descriptive file names with relevant keywords.
Separate words with hyphens and keep filenames lowercase.
Write concise, natural alt text that accurately describes the image.
Avoid keyword stuffing.
Example
✅ red-running-shoes.webp
❌ IMG_4589.jpg
Optimizing file names and alt text helps improve both SEO and the user experience.
Step 7: Use a Content Delivery Network (CDN)
Using a CDN to deliver images faster by caching them on servers around the globe.
A CDN stores your images on servers worldwide and delivers them from the location closest to each visitor, improving loading speed and reducing latency.
Popular CDN options include:
Cloudflare – Free image caching and global delivery.
Cloudinary – Automatic image optimization with support for WebP and AVIF.
BunnyCDN – Affordable with excellent performance.
Amazon CloudFront – Built for high-traffic websites.
Many hosting providers and website builders already include CDN integration, making setup quick and easy.
Step 8: Audit Your Images Regularly
Regularly auditing your images helps catch oversized files, outdated formats, and duplicates that slow down your website.
As your website grows, regularly review your images to keep your site fast and efficient.
Check for:
Oversized or uncompressed images
JPEG or PNG files that can be converted to WebP or AVIF
Missing alt text
Duplicate images
Slow-loading pages caused by large files
Use tools like Google PageSpeed Insights, GTmetrix, or Lighthouse to identify areas for improvement.
Step 9: Automate Image Optimization
If you upload images frequently, automation saves time by resizing and compressing images automatically.
Knowing how to optimize images for the web is one of the simplest ways to improve website performance, user experience, and search visibility. Choosing the right file format, resizing images correctly, compressing files, enabling responsive images, and using lazy loading together can dramatically reduce page load times.
Once your images are fully optimized, high-quality visuals become just as important as fast loading speeds. If you’re creating landing pages, presentations, marketing campaigns, or digital products, explore Tridimensi’s Unlimited Access to download over 5,000 premium 3D assets with unlimited downloads and commercial usage rights. It’s an easy way to create visually impressive content without compromising your website’s performance.