SPECIAL OFFER ✦ BUY 2 GET 1 FREE! ✦ ADD 3 PRODUCTS TO YOUR CART, AND THE DISCOUNT APPLIES AUTOMATICALLY!
SPECIAL OFFER ✦ BUY 2 GET 1 FREE! ✦ ADD 3 PRODUCTS TO YOUR CART, AND THE DISCOUNT APPLIES AUTOMATICALLY!
SPECIAL OFFER ✦ BUY 2 GET 1 FREE! ✦ ADD 3 PRODUCTS TO YOUR CART, AND THE DISCOUNT APPLIES AUTOMATICALLY!
SPECIAL OFFER ✦ BUY 2 GET 1 FREE! ✦ ADD 3 PRODUCTS TO YOUR CART, AND THE DISCOUNT APPLIES AUTOMATICALLY!
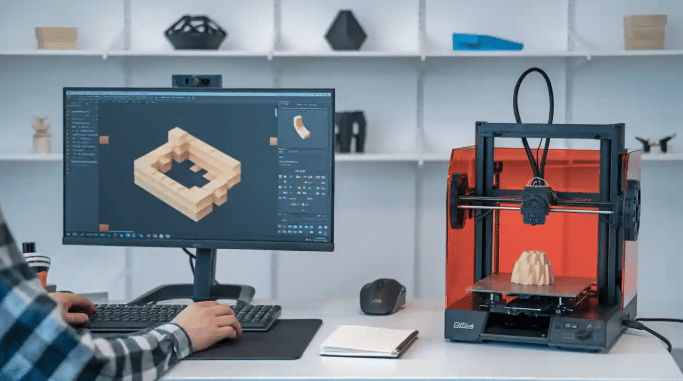
Stepping into the world of 3D creation can feel both exciting and overwhelming, especially for beginners. Learning how to use Blender for 3D printing helps you transform digital ideas into real, tangible objects with ease, making the creative process far more accessible than it seems.
If you want to understand the Blender to 3D printer workflow for beginners, this guide will walk you through the essential steps to get started. Explore the full article to learn how to prepare and export your models for successful 3D printing.
Key Takeaways:
Blender offers powerful modeling tools and built-in checks that make preparing 3D-printable models more accessible.
A clean, watertight mesh is essential for reliable slicing and successful physical prints.
Following a structured workflow helps beginners move confidently from digital design to a finished 3D object.
Blender’s Role in 3D Printing
Understanding how to use Blender for 3D printing starts with recognizing why the software is so widely adopted in maker communities. Well, Blender is a free, open-source modeling tool packed with features that allow you to build everything from simple geometric pieces to intricate, organic forms.
For those looking for a blender for 3D printing tutorial, Blender also includes the 3D-Print Toolbox add-on. This built-in helper scans your model for issues such as non-manifold edges, thin walls, distorted normals, and overhangs that might cause print failures.
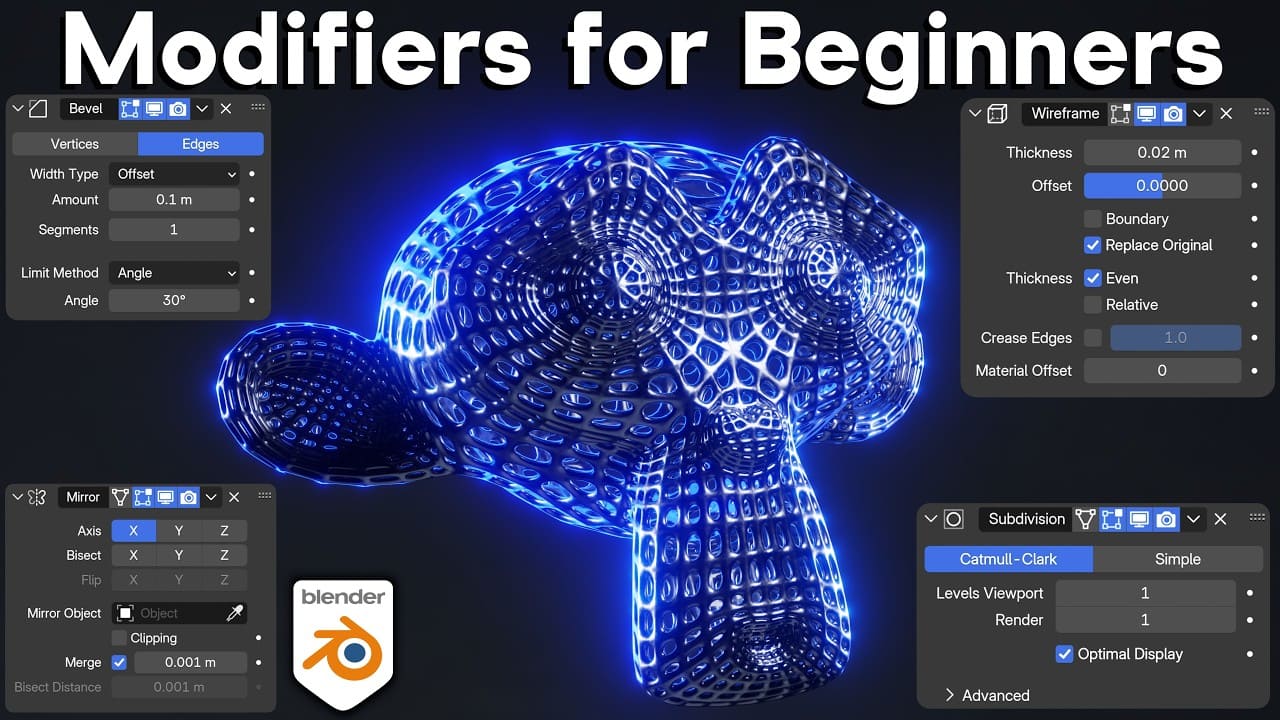
Even though Blender shines in sculpting and creative modeling, preparing your final design for manufacturing still requires attention to scaling, mesh integrity, and ensuring every component is watertight. Its flexibility and robust modifier system, with tools like Mirror, Subdivision Surface, and Boolean, make it ideal for shaping clean, printable meshes.
Below is a practical guide to take your model from concept to a slicer-ready file. This refined version keeps the spirit of your original steps while making them clearer and easier to follow.
1. Create the Base Model
Creating Base Model in Blender (Source: GameDev.tv)
Start by adding a primitive object such as a cube (Shift + A > Mesh > Cube). Switch to Edit Mode (Tab) to begin shaping the form using loop cuts (Ctrl + R), extrusions (E), and scaling tools (S).
If your design requires symmetry, apply a Mirror modifier early and combine it with Subdivision Surface for smoother geometry. These early steps lay the groundwork for how to use Blender for 3D printing effectively.
2. Apply Modifiers
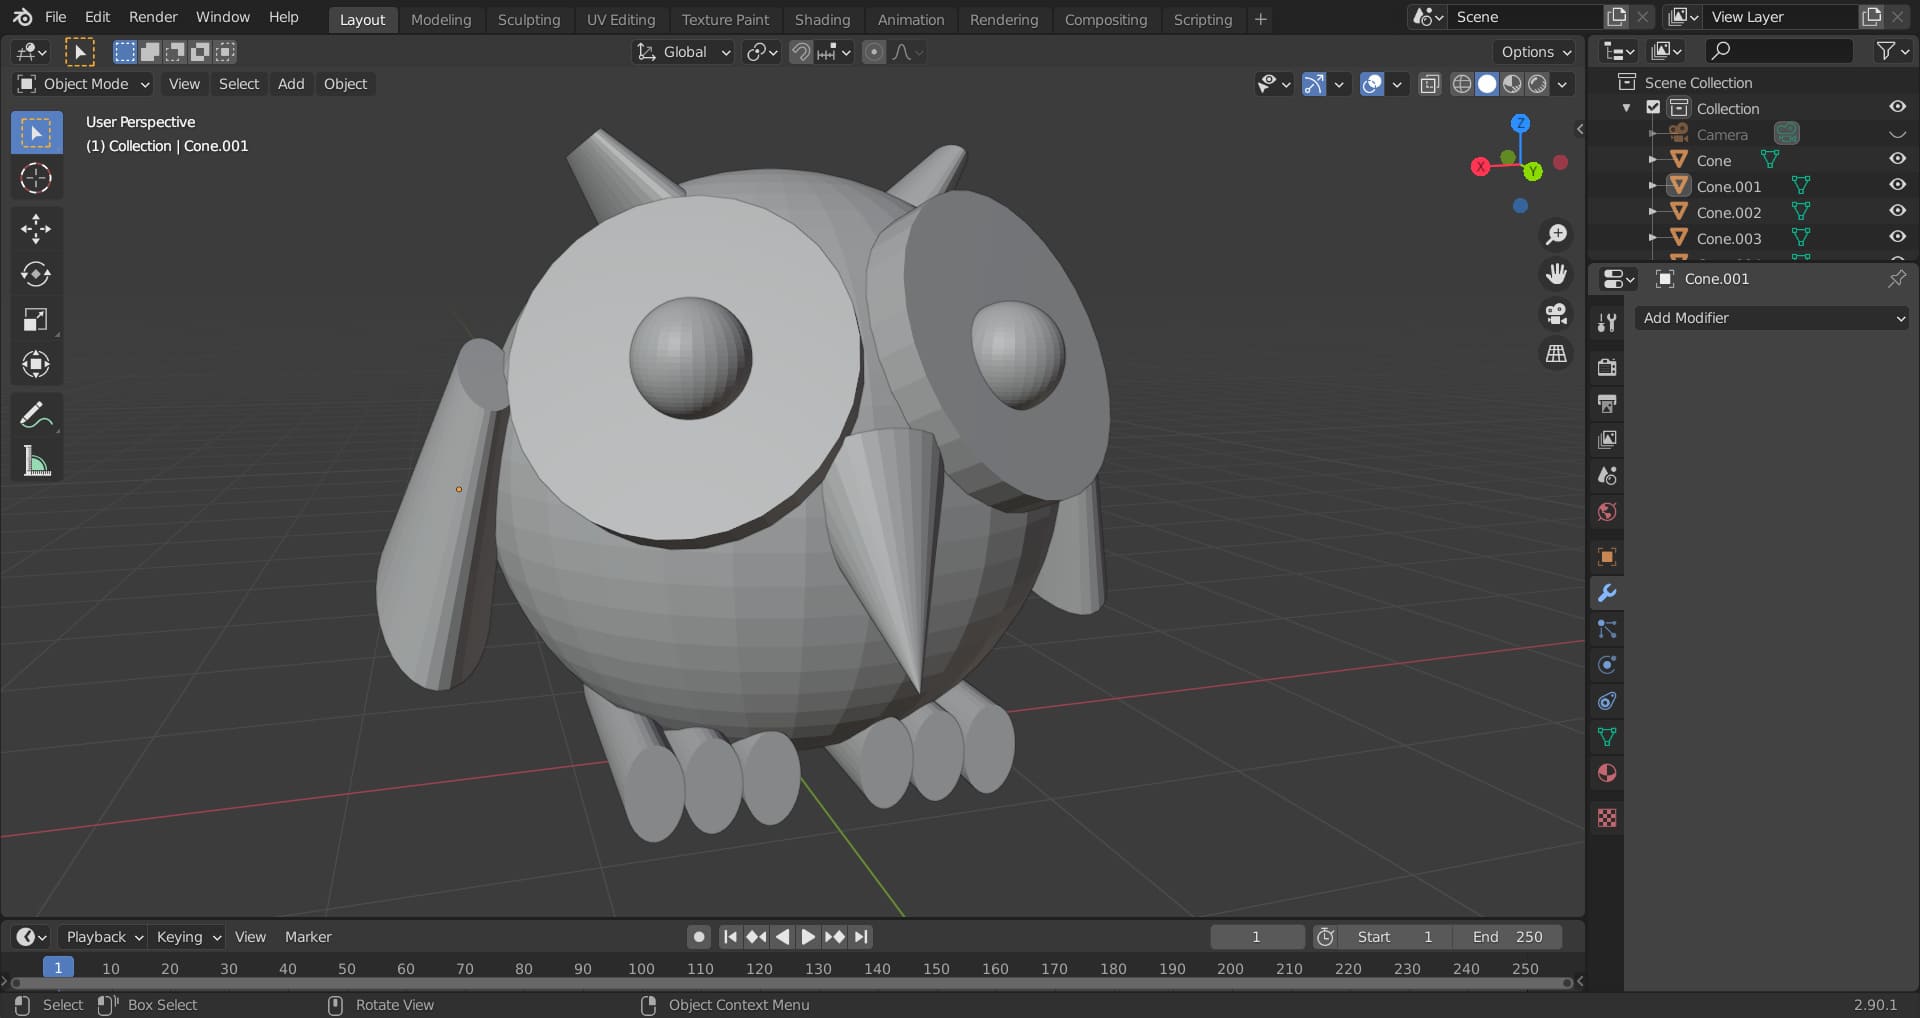
Adding Modifiers (Source: Ryan King Art on YouTube)
Once you’re satisfied with the structure, commit your modifiers. Head to the Properties panel (wrench icon) and press Ctrl + A over each modifier to apply it. This ensures Blender finalizes all deformations before you refine the mesh.
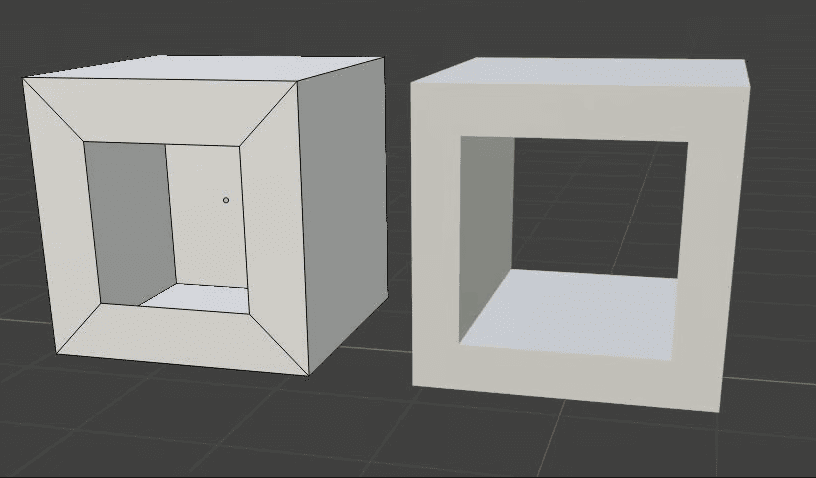
3. Inspect for Manifold Issues
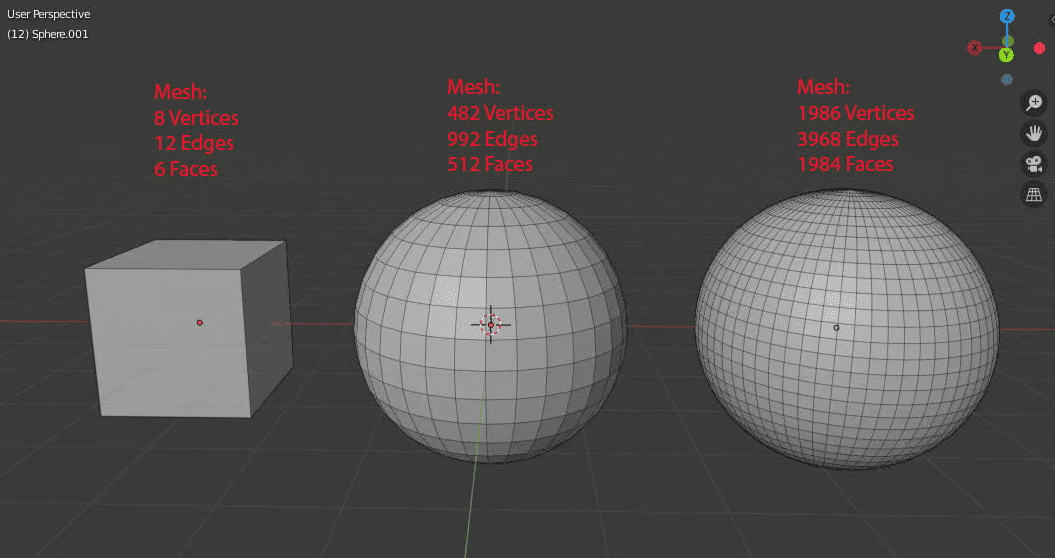
Non-manifold hole (left) and manifold hole (right) (Source: All3DP)
Enable the 3D-Print Toolbox (Edit > Preferences > Add-ons > “3D-Print Toolbox”). In Edit Mode, open the N-panel and find the 3D-Print tab. Use “Check All” to scan for non-manifold edges, loose geometry, or internal faces.
Fix highlighted areas by selecting Select > Non-Manifold, deleting stray pieces, and using Make Manifold or manually filling gaps with F. Running multiple checks as you adjust the mesh helps catch new errors early and prevents print issues later on.
Look for thin surfaces, intersecting parts, or steep overhangs flagged in the report. Tools like Smooth in Sculpt Mode or Boolean operations help correct problematic areas. After adjustments, rerun “Check All” to confirm the mesh remains clean.
5. Ensure the Mesh is Watertight
Watertighting the Mesh (Source: Blender Stack Exchange)
A print-ready model must be completely sealed. Make sure no open boundaries remain, and no internal faces exist. If the design includes multiple components, consider separating them (P > Selection) to prevent unwanted bridges or merged geometry in slicing software.
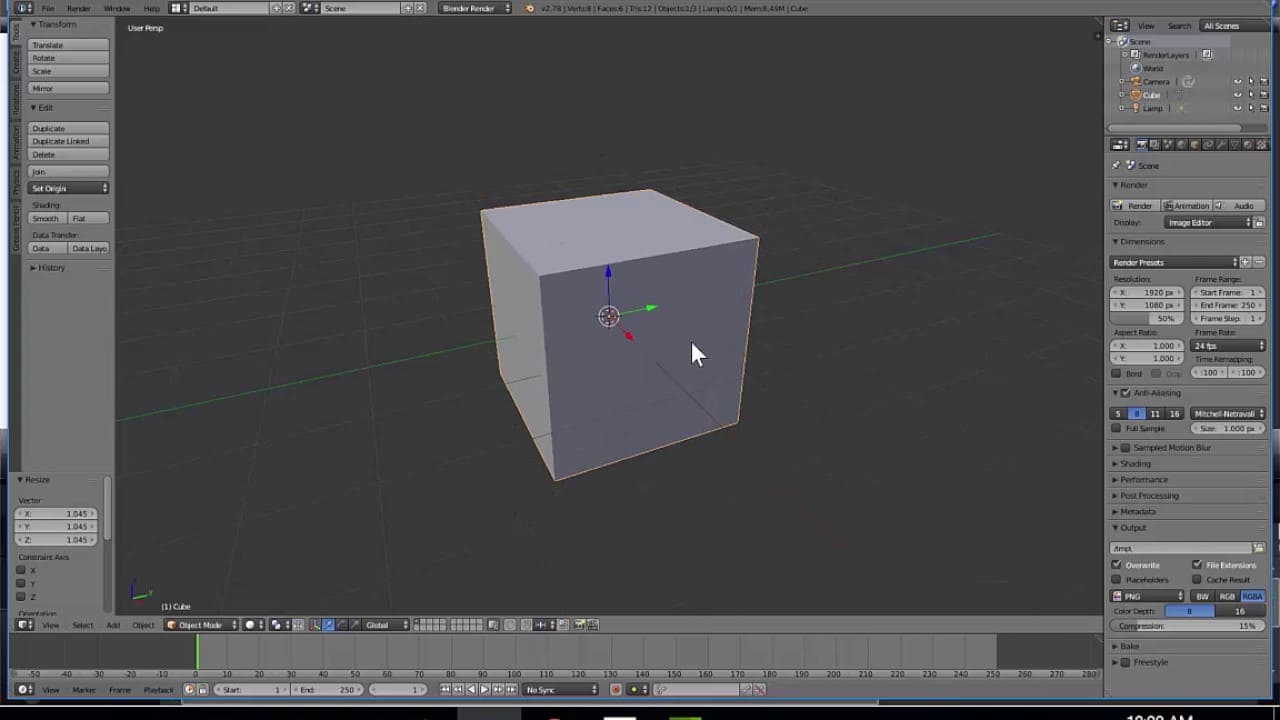
6. Adjust the Scale
Scaling the Model (Source: Phil Adams)
Switch your units to Metric or Millimeters (Properties > Scene > Units). Adjust the size of the model to real-world dimensions. And then apply scale (Ctrl + A > Apply > Scale). If the base needs flattening for bed adhesion, use a Boolean operation with a small cube to create a perfectly level underside.
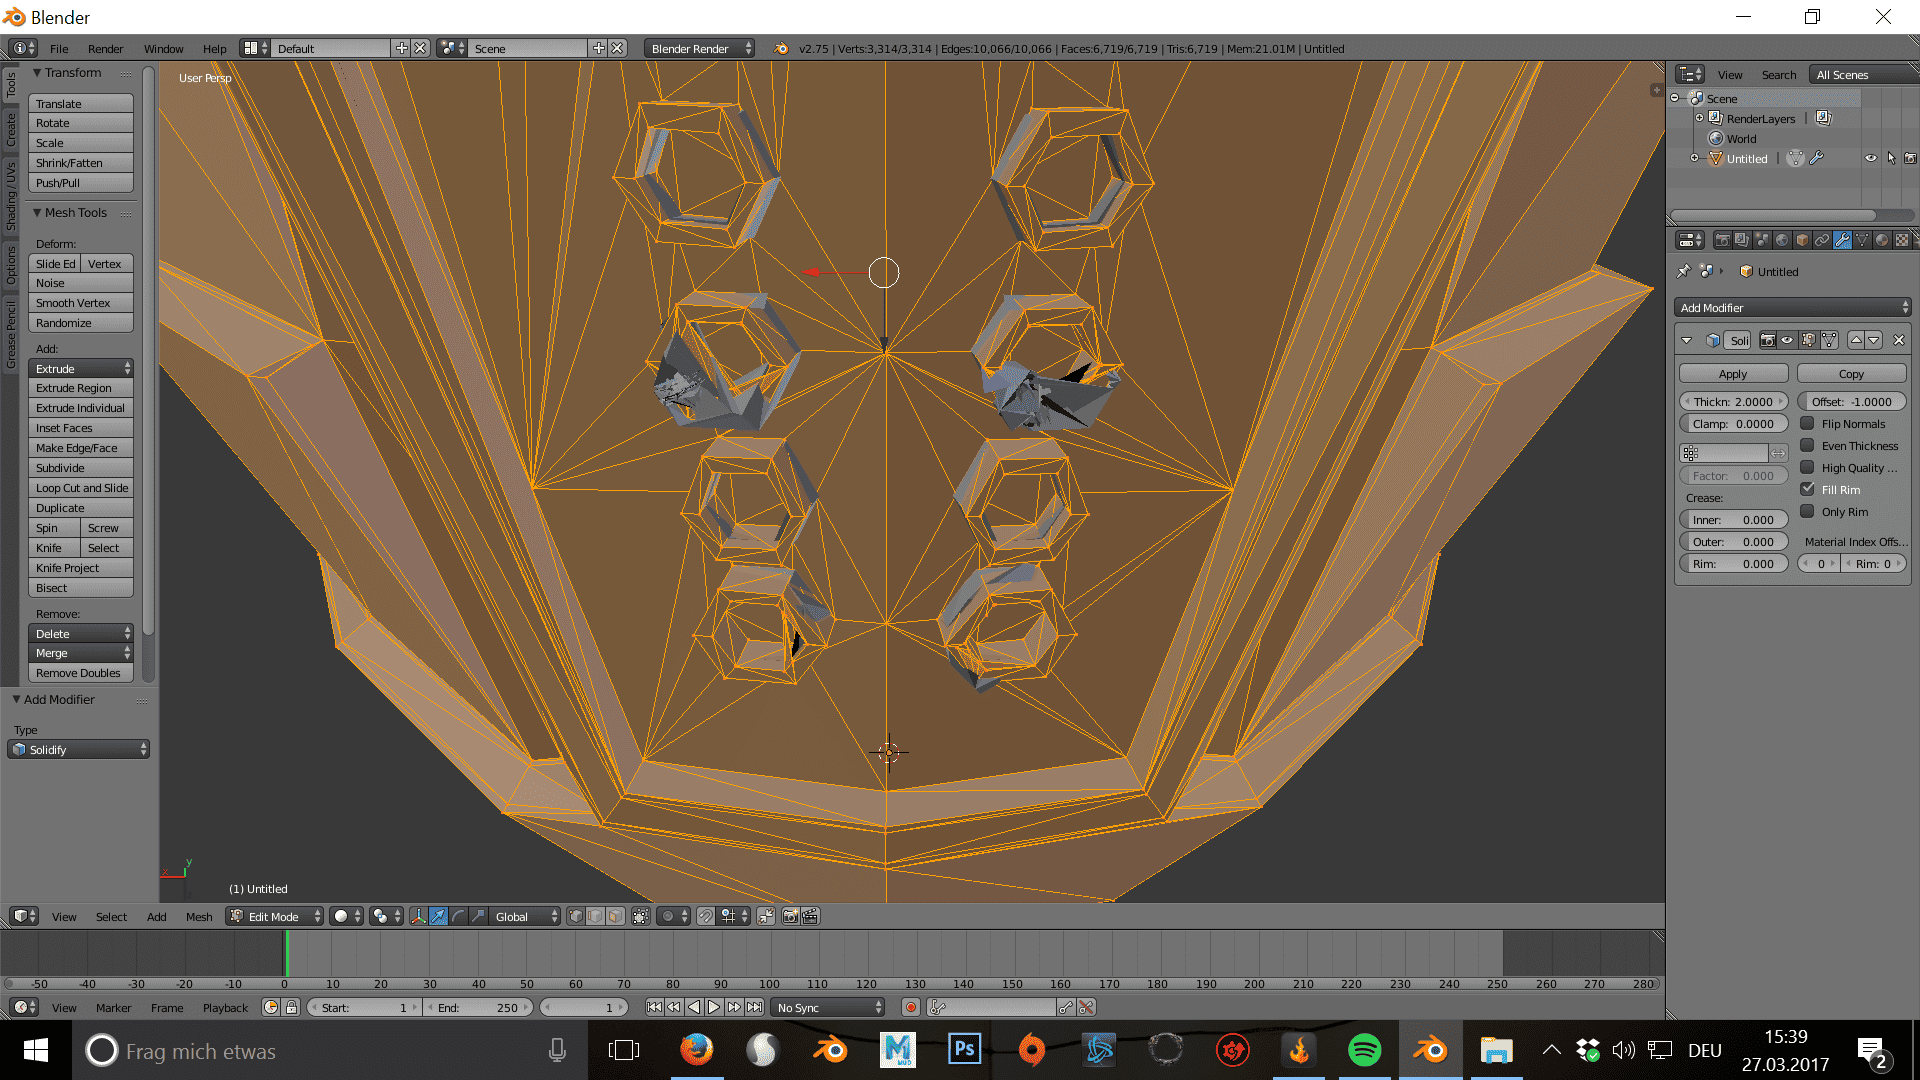
Optimizing with 3D Printer (Source: Creality Cloud)
If your model is hollow or needs extra durability, add a Solidify modifier to give it consistent wall thickness (usually around 2 mm). If the mesh is too dense, simplify it using Limited Dissolve (Edit Mode > Mesh menu). This keeps file sizes manageable without sacrificing the detail needed for printing.
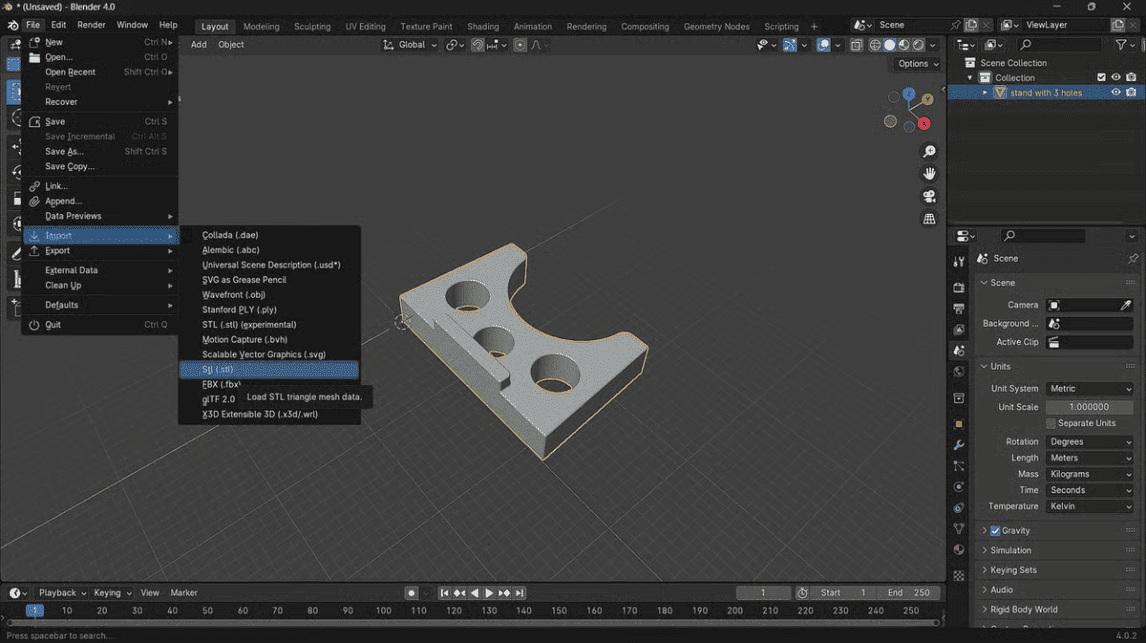
8. Export to STL or OBJ
Exporting to Format (Source: All3DP)
Select your final model and choose File > Export > STL (.stl) or OBJ. Enable “Selection Only” to export precisely what you need. Confirm that the scale is set correctly (1.0 for meter-based projects, or adjust depending on your unit setup). After exporting, load the file into your slicer to validate layers and geometry one last time.
Ready to Master How to Use Blender for 3D Printing?
Learning the essentials of Blender and 3D printing opens up a world of creative possibilities. With steady practice, every model becomes easier to shape, refine, and print. Keep experimenting, stay curious, and let each project push your skills a little further.
If you’re just starting your journey into 3D creation, we offer ready-to-use assets, backgrounds, and simple animations to make your learning process smoother. Here, at Tridimensi, our resources help beginners experiment confidently while bringing their Blender projects to life with ease.