Creating a 3D character is just the beginning, making it move is where the magic happens. Rigging, the process of adding a skeleton to a 3D model for animation, can be time-consuming and technically complex. But what if you could skip the hassle and get it done in minutes?
That’s where Mixamo, Adobe’s free auto-rigging tool, comes in. Whether you’re a game developer, animator, or just starting out in 3D, Mixamo offers a super fast and beginner-friendly way to bring your static character to life with no need to set up bones or skin weights manually.
In this quick tutorial, we’ll walk you through the simplest way to rigging your 3D character using Mixamo step by step.
2. Login first to access it
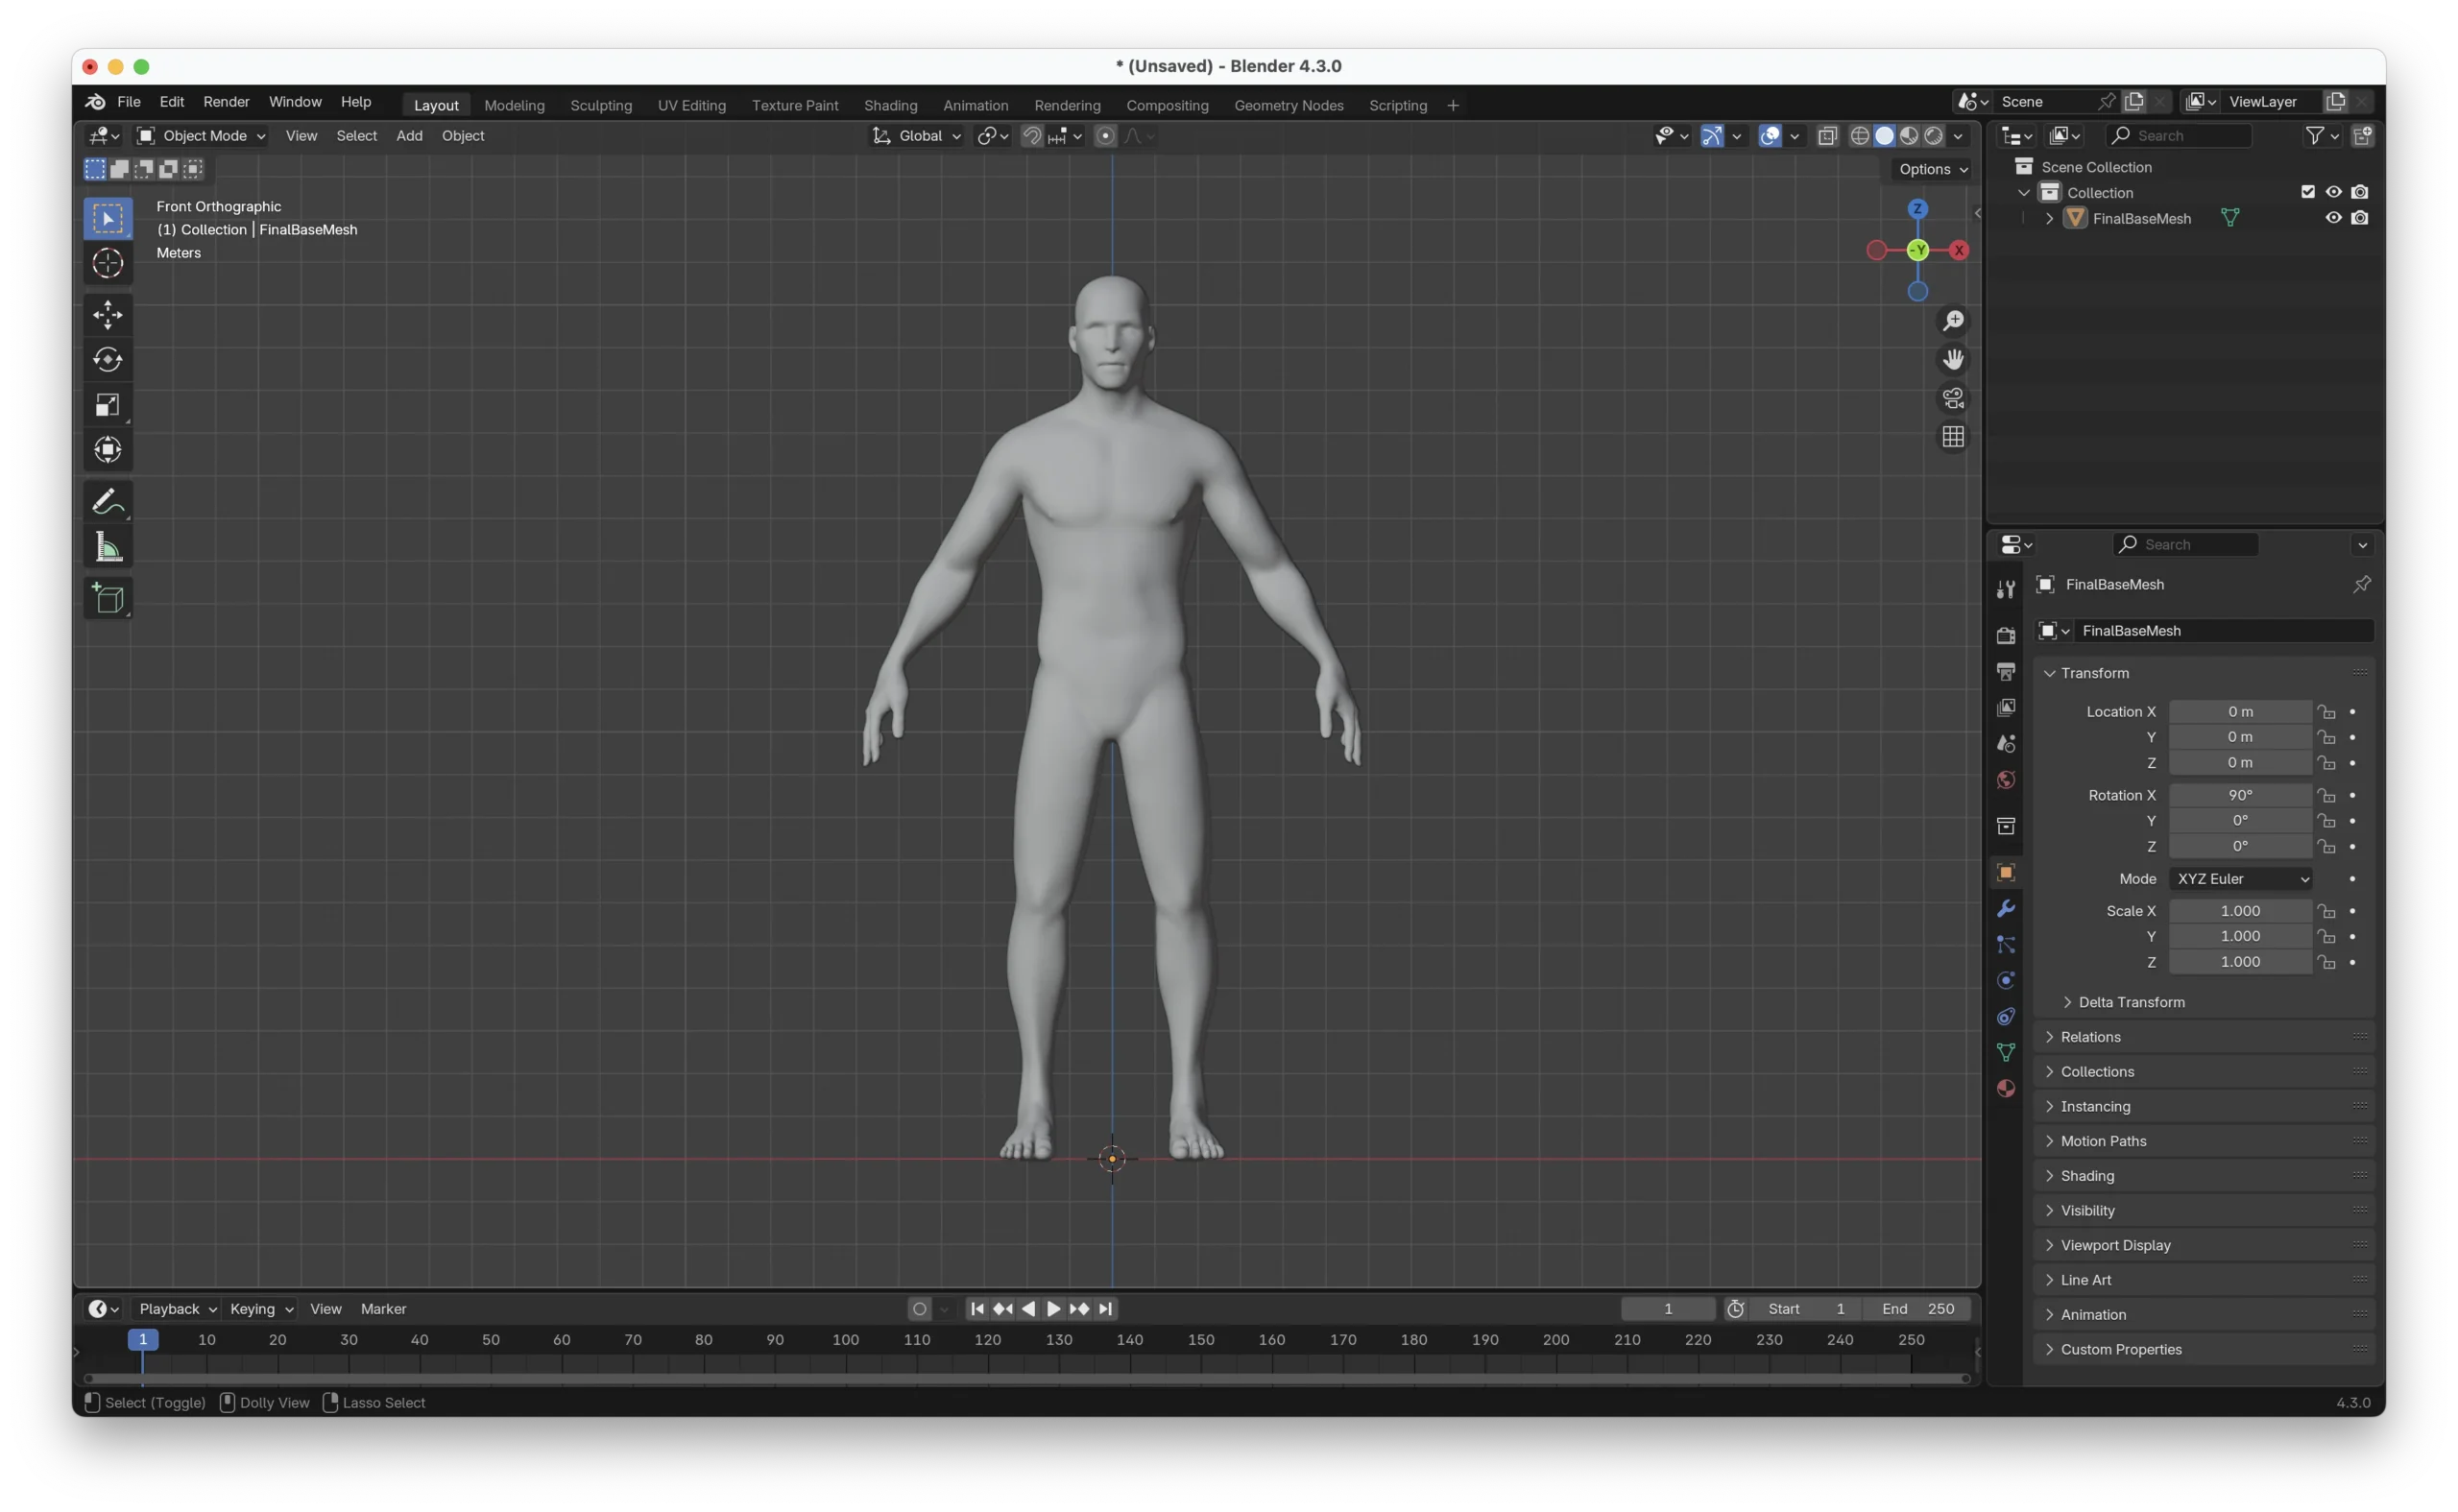
3. Prepare the 3d character to be rigged
4. Export the 3D character to FBX and OBJ formats
5. Click upload in Mixamo, then a pop up like this will appear
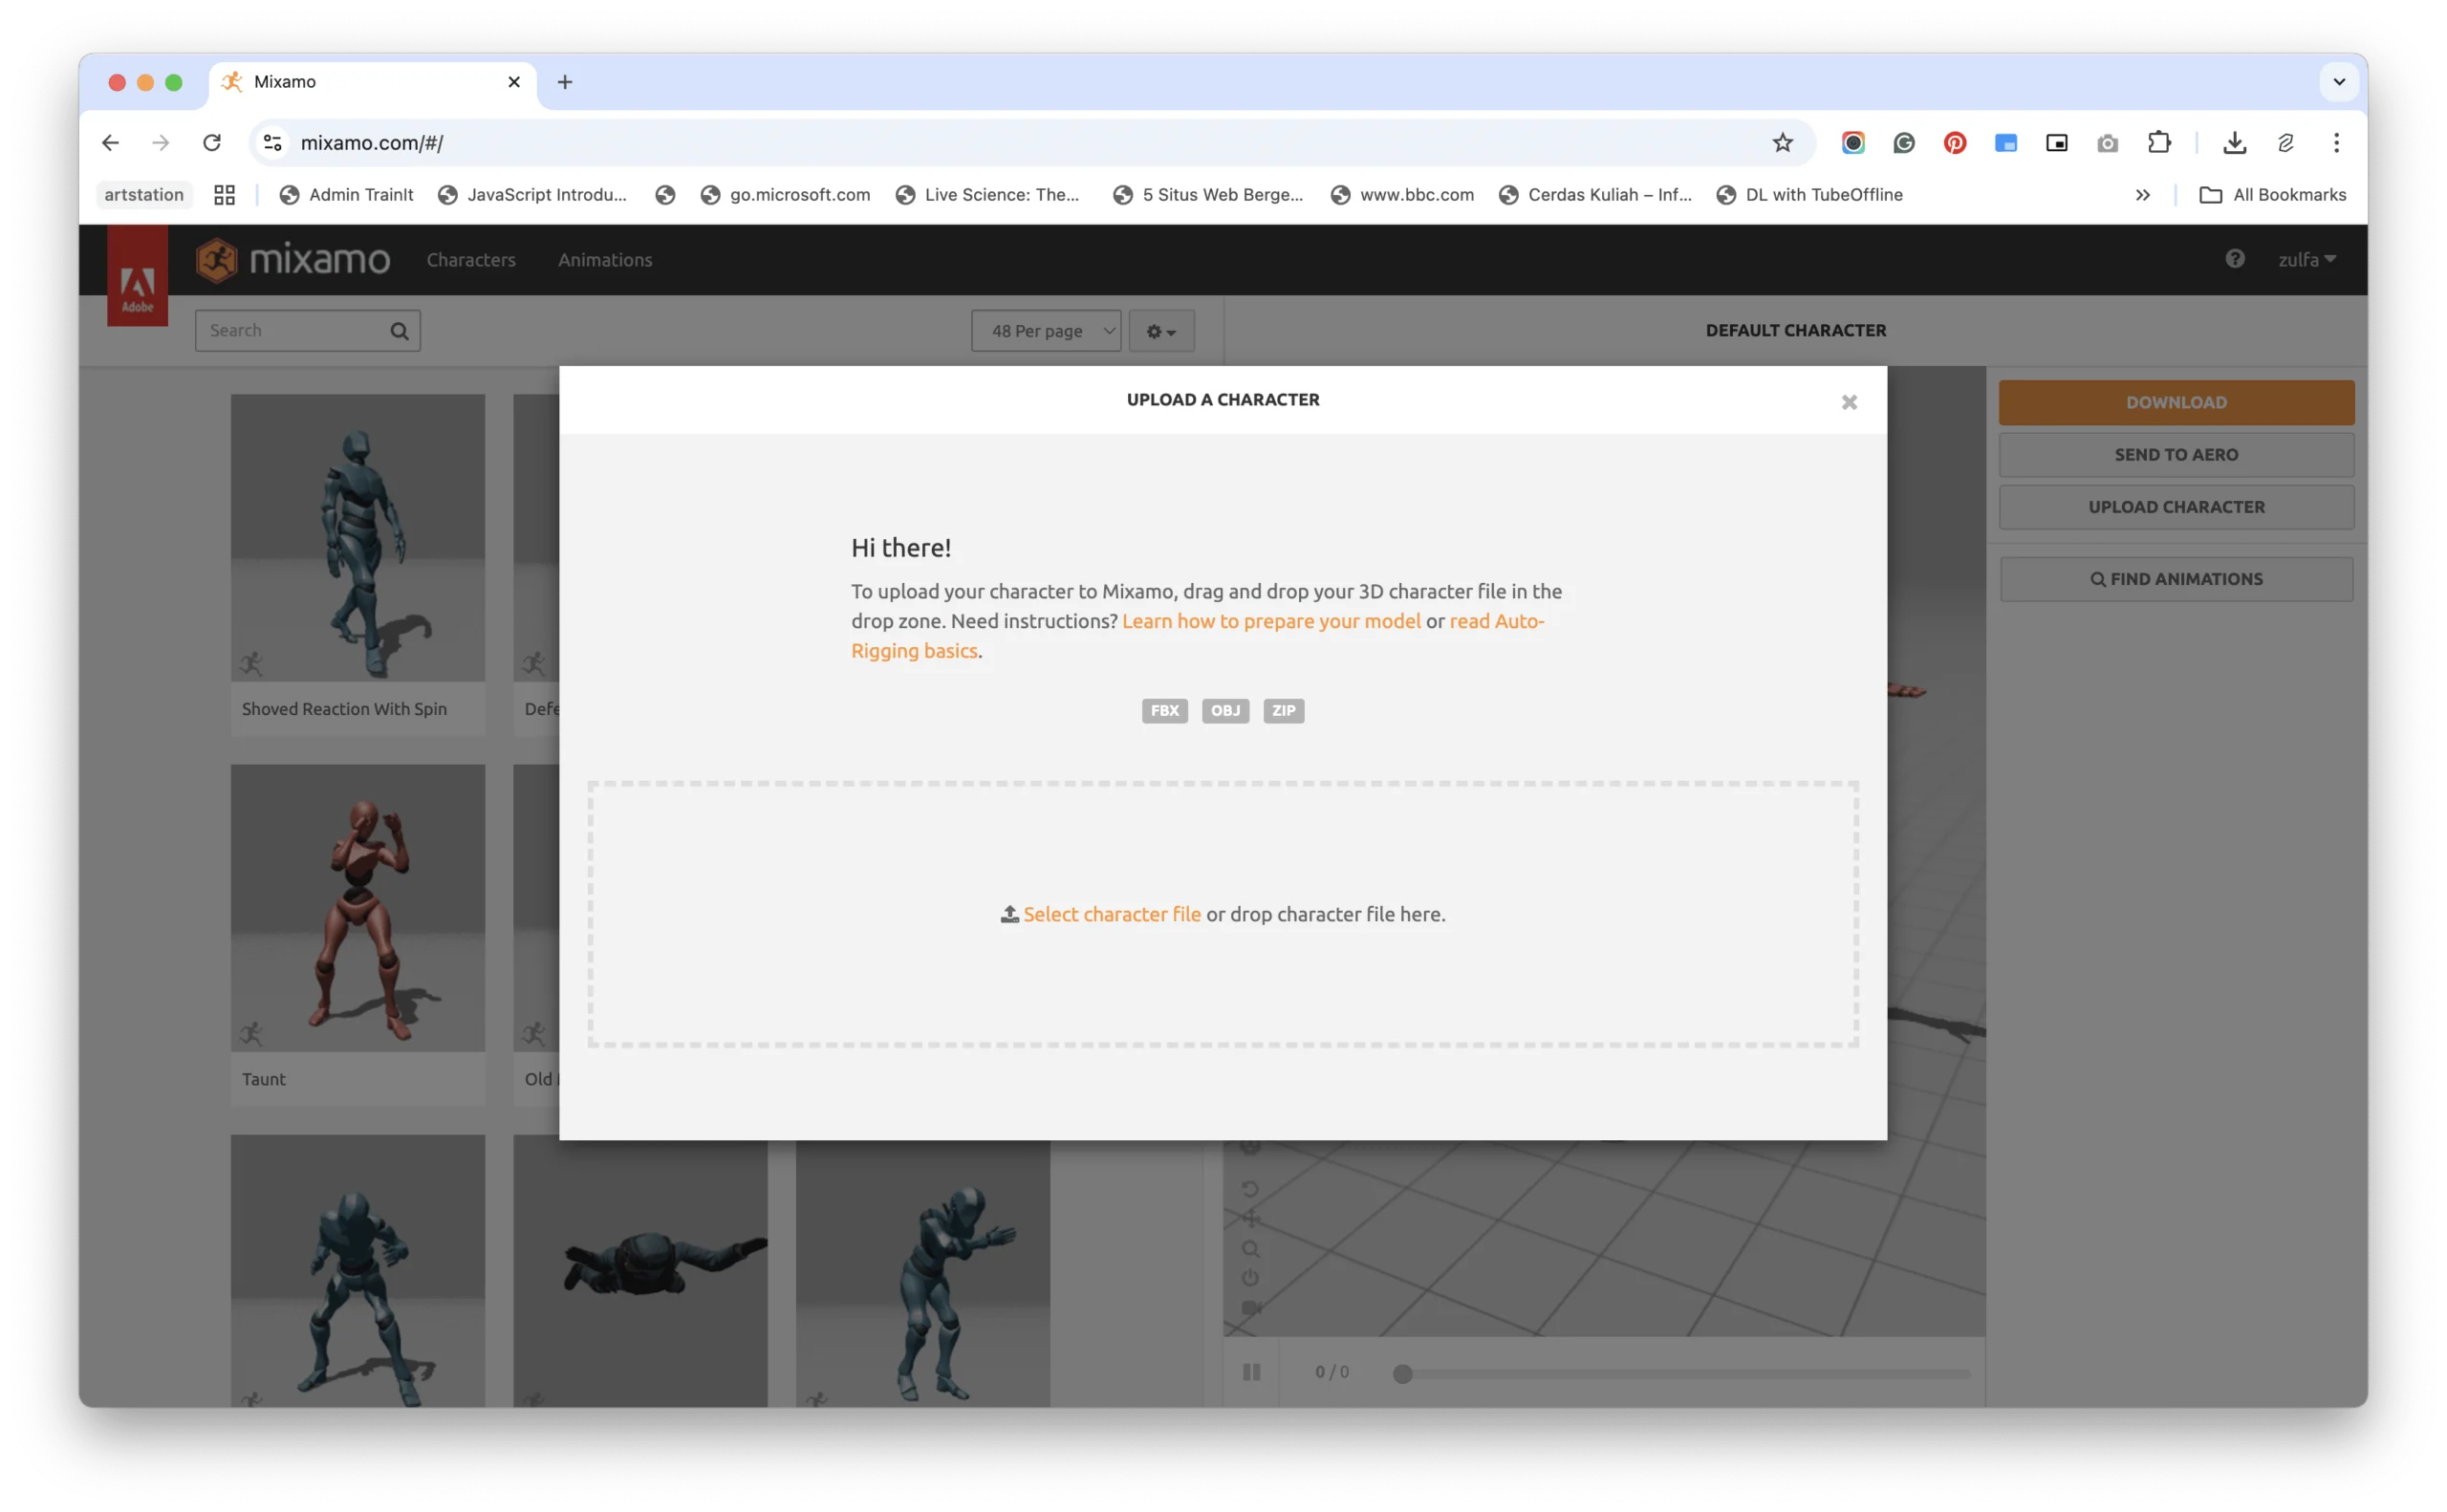
6. Drag and drop the 3D character file
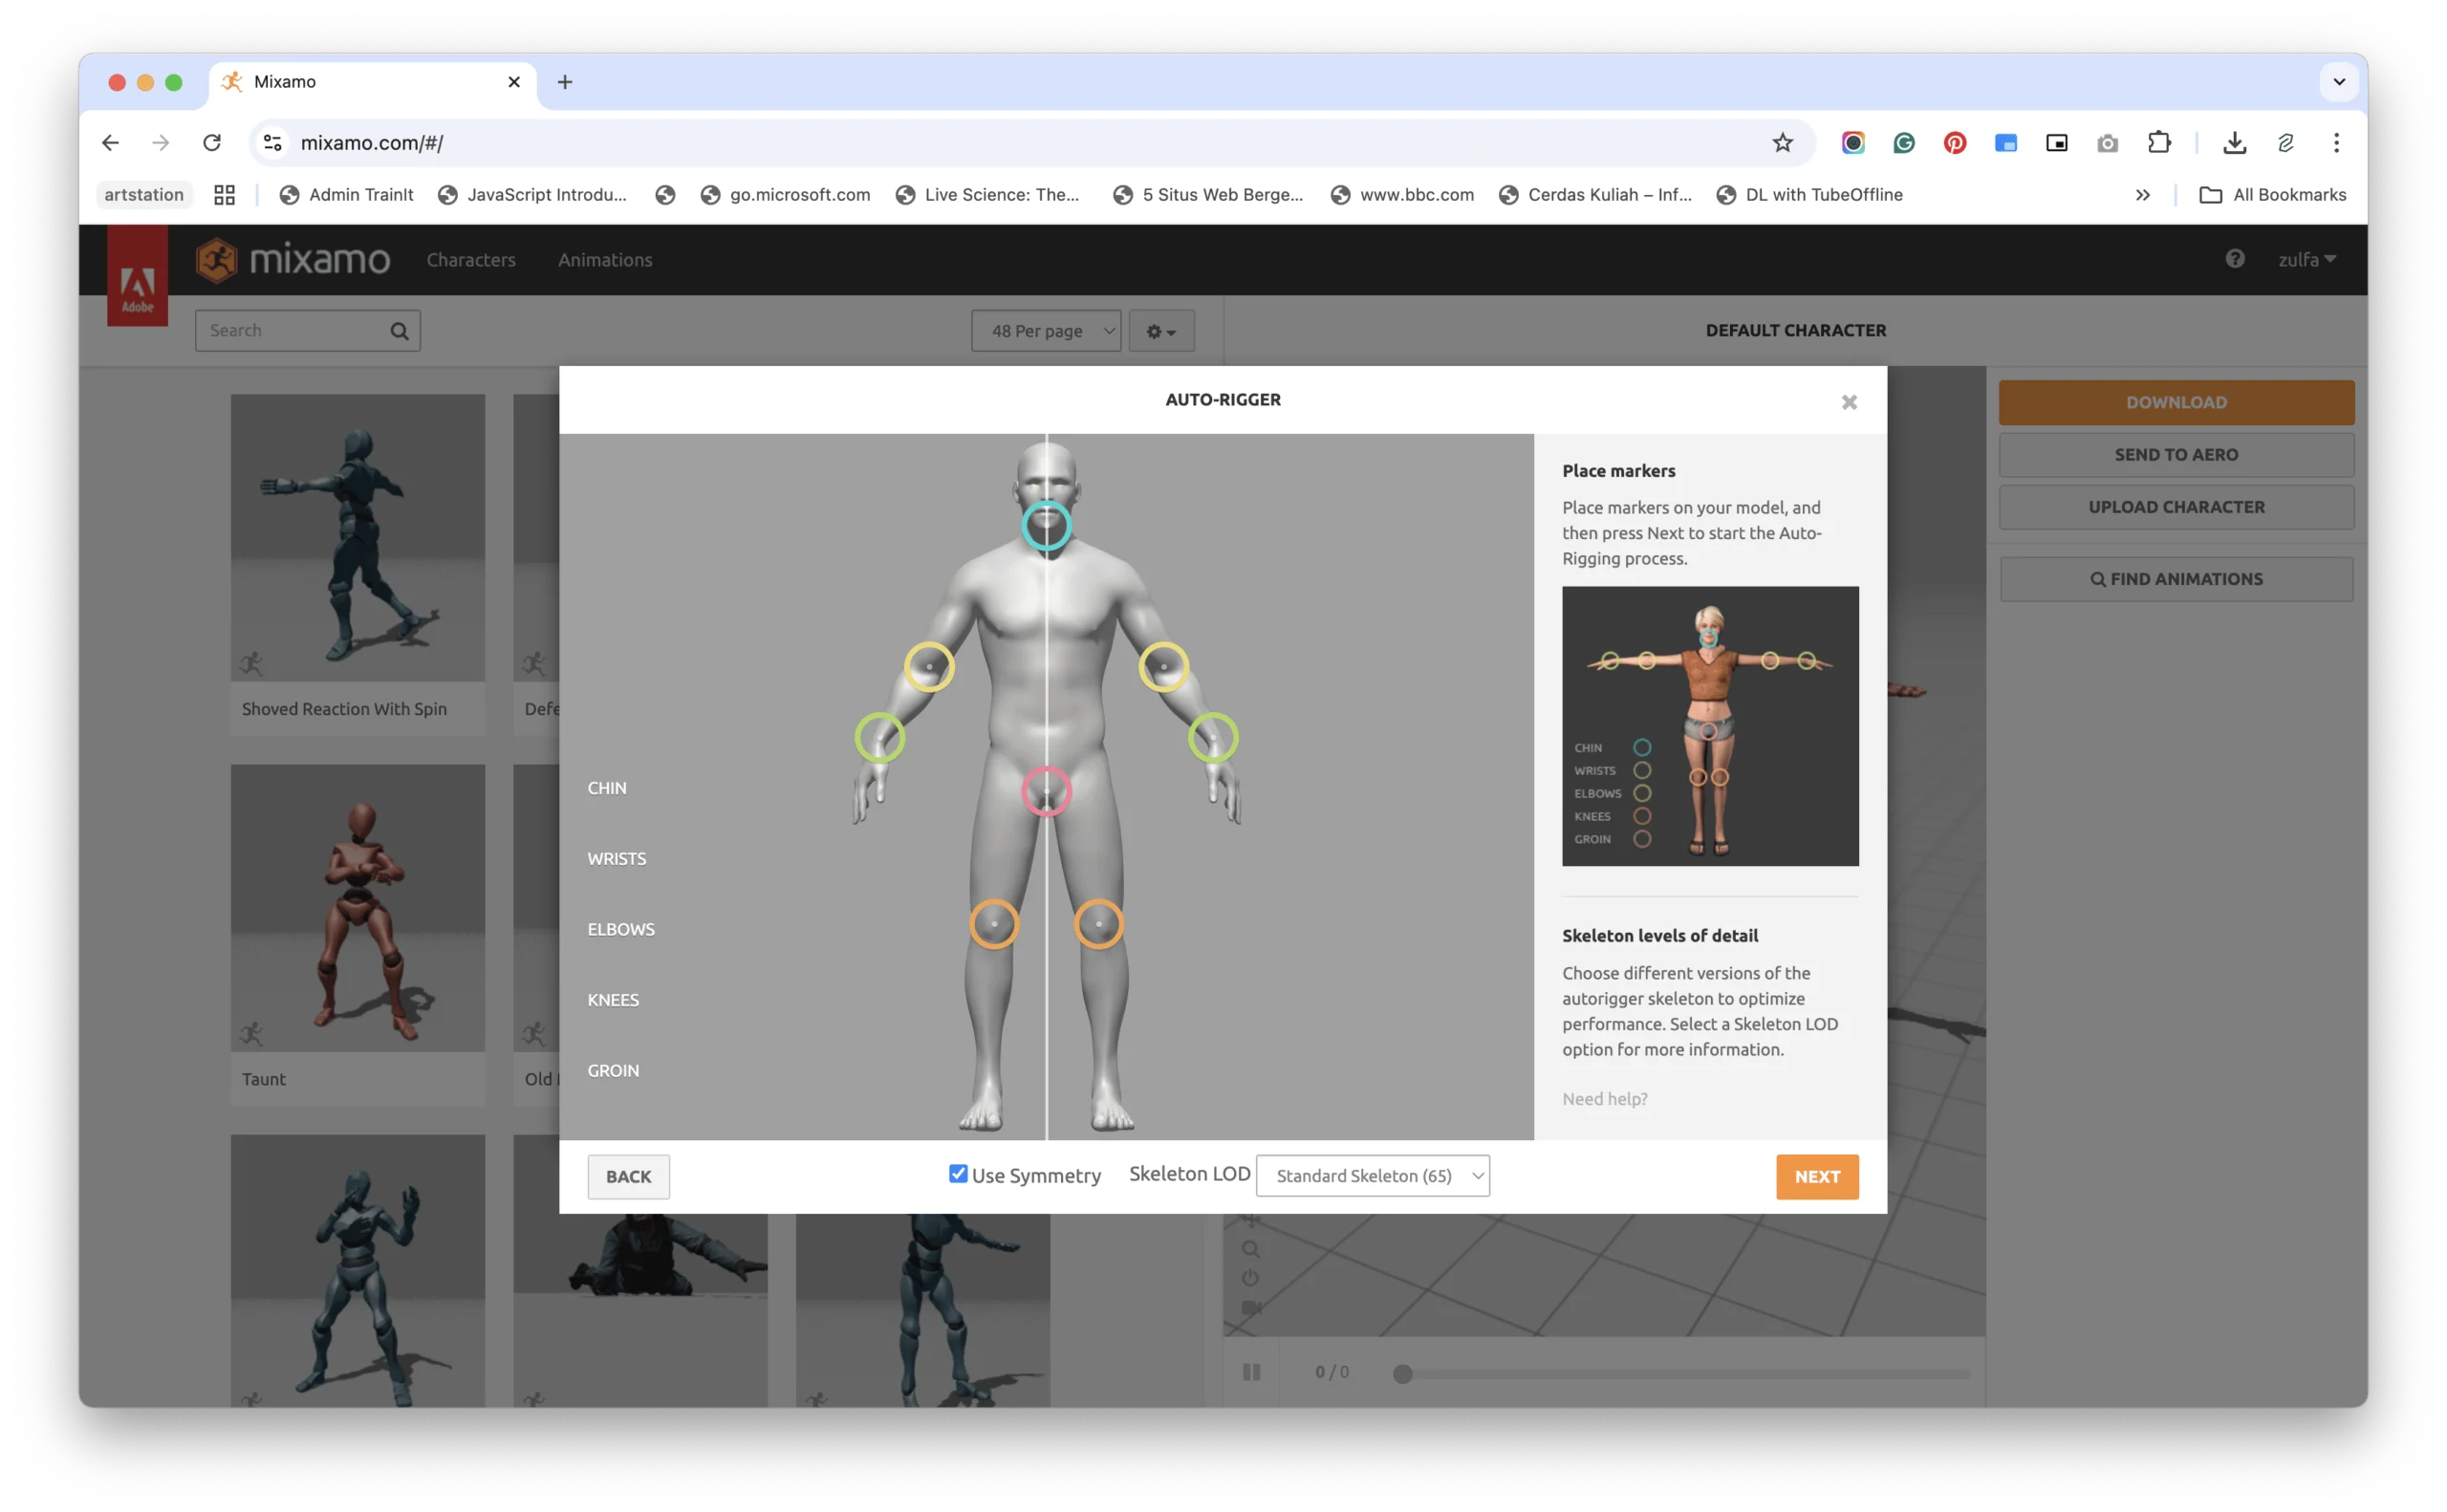
7. After it is uploaded correctly, the page will switch like this
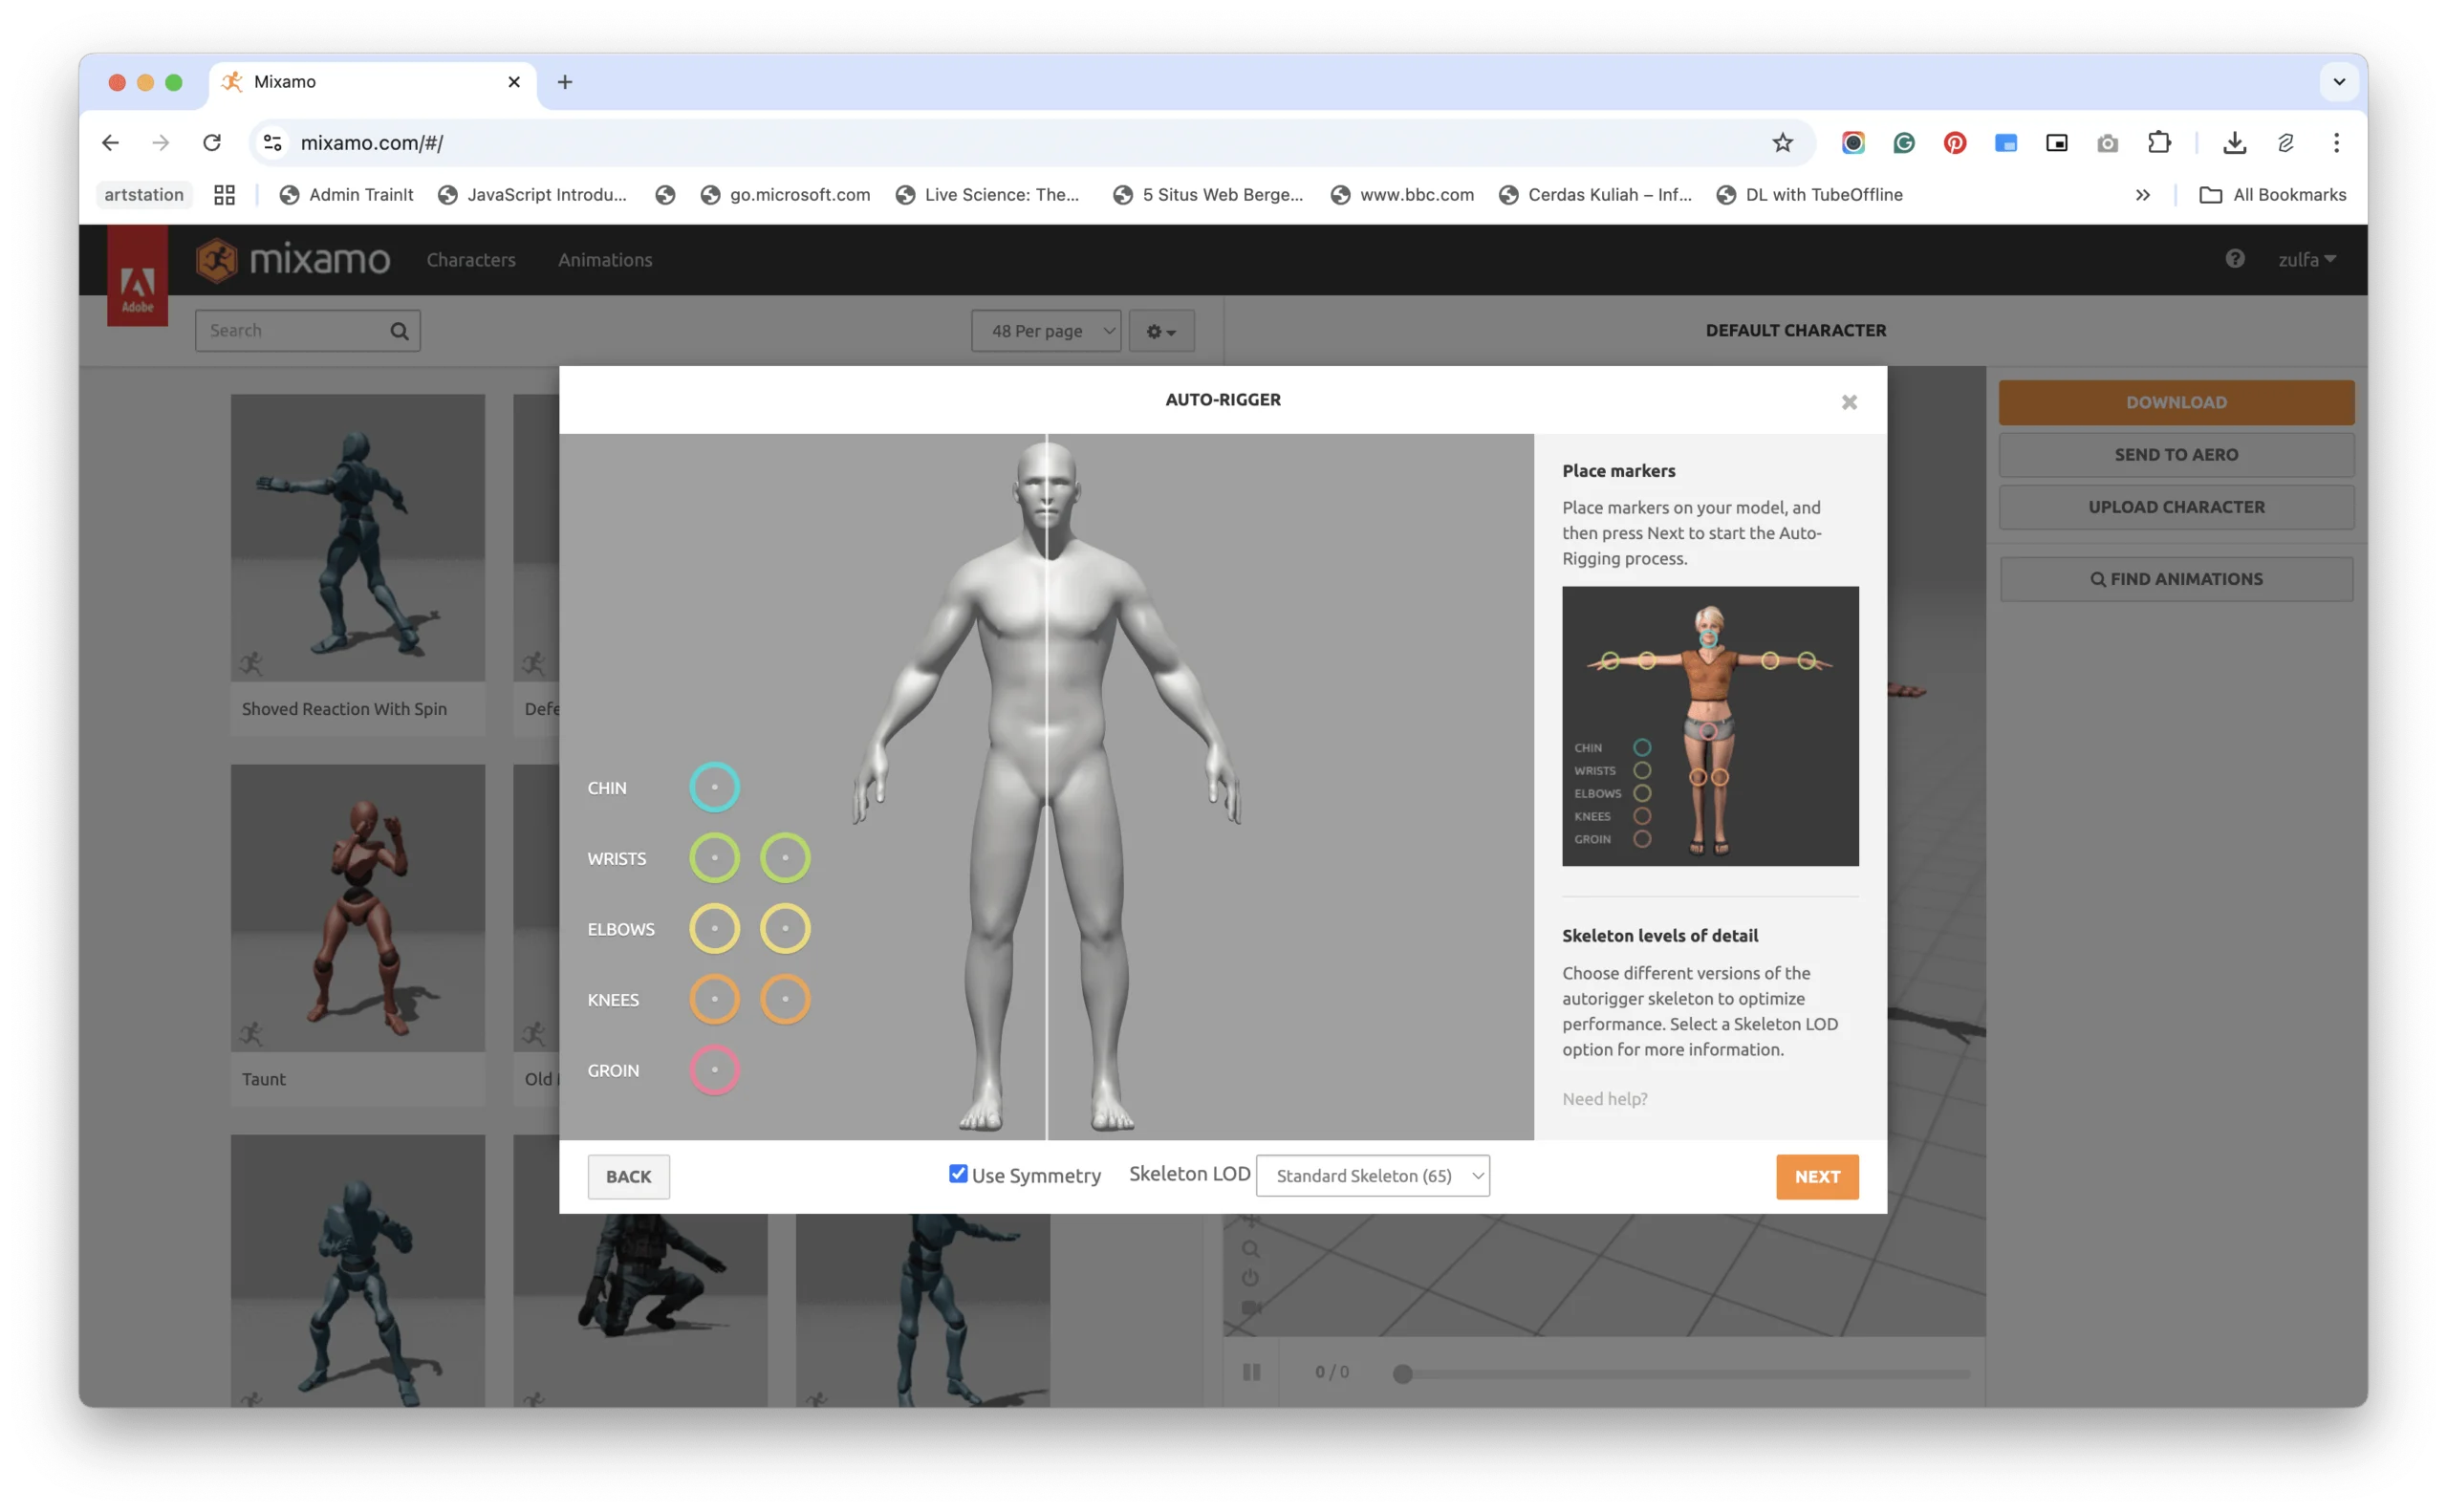
8. Set the markers according to the 3D character created, then click next
9. Wait for Mixamo to process its automatic rigging
10. If it is finished, the display will look like this. Then click next
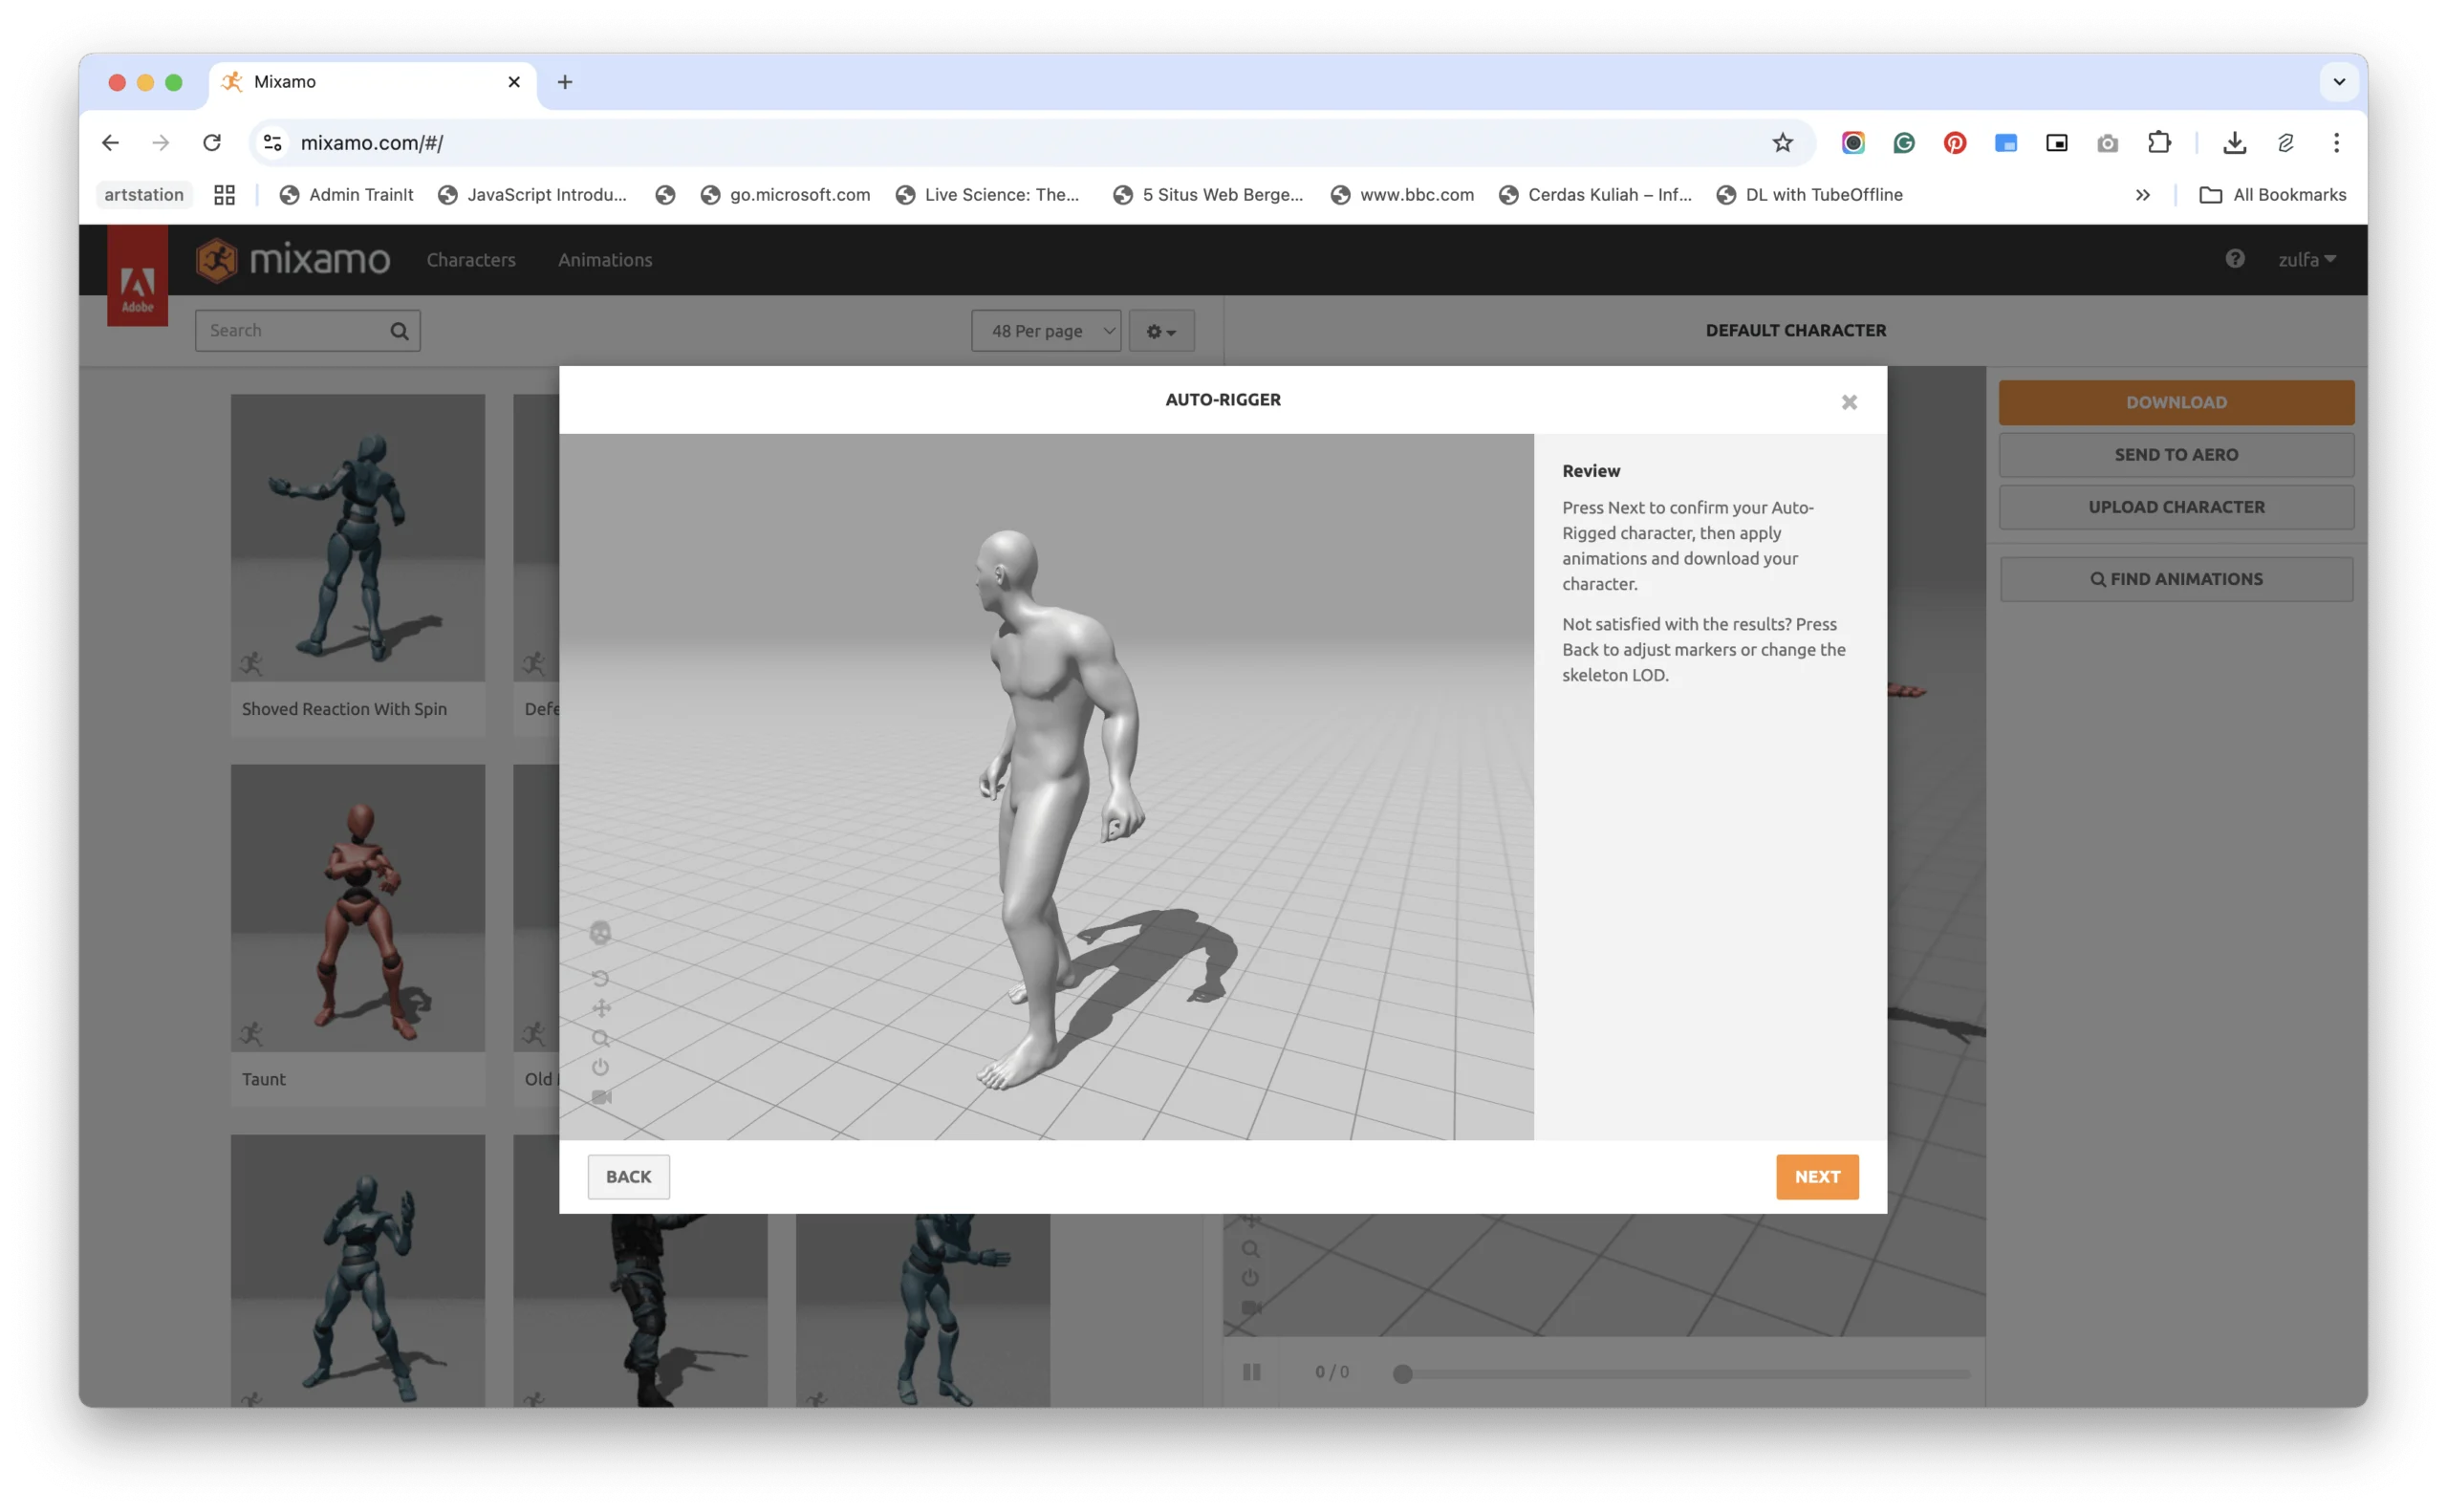
11. Click the “download” button
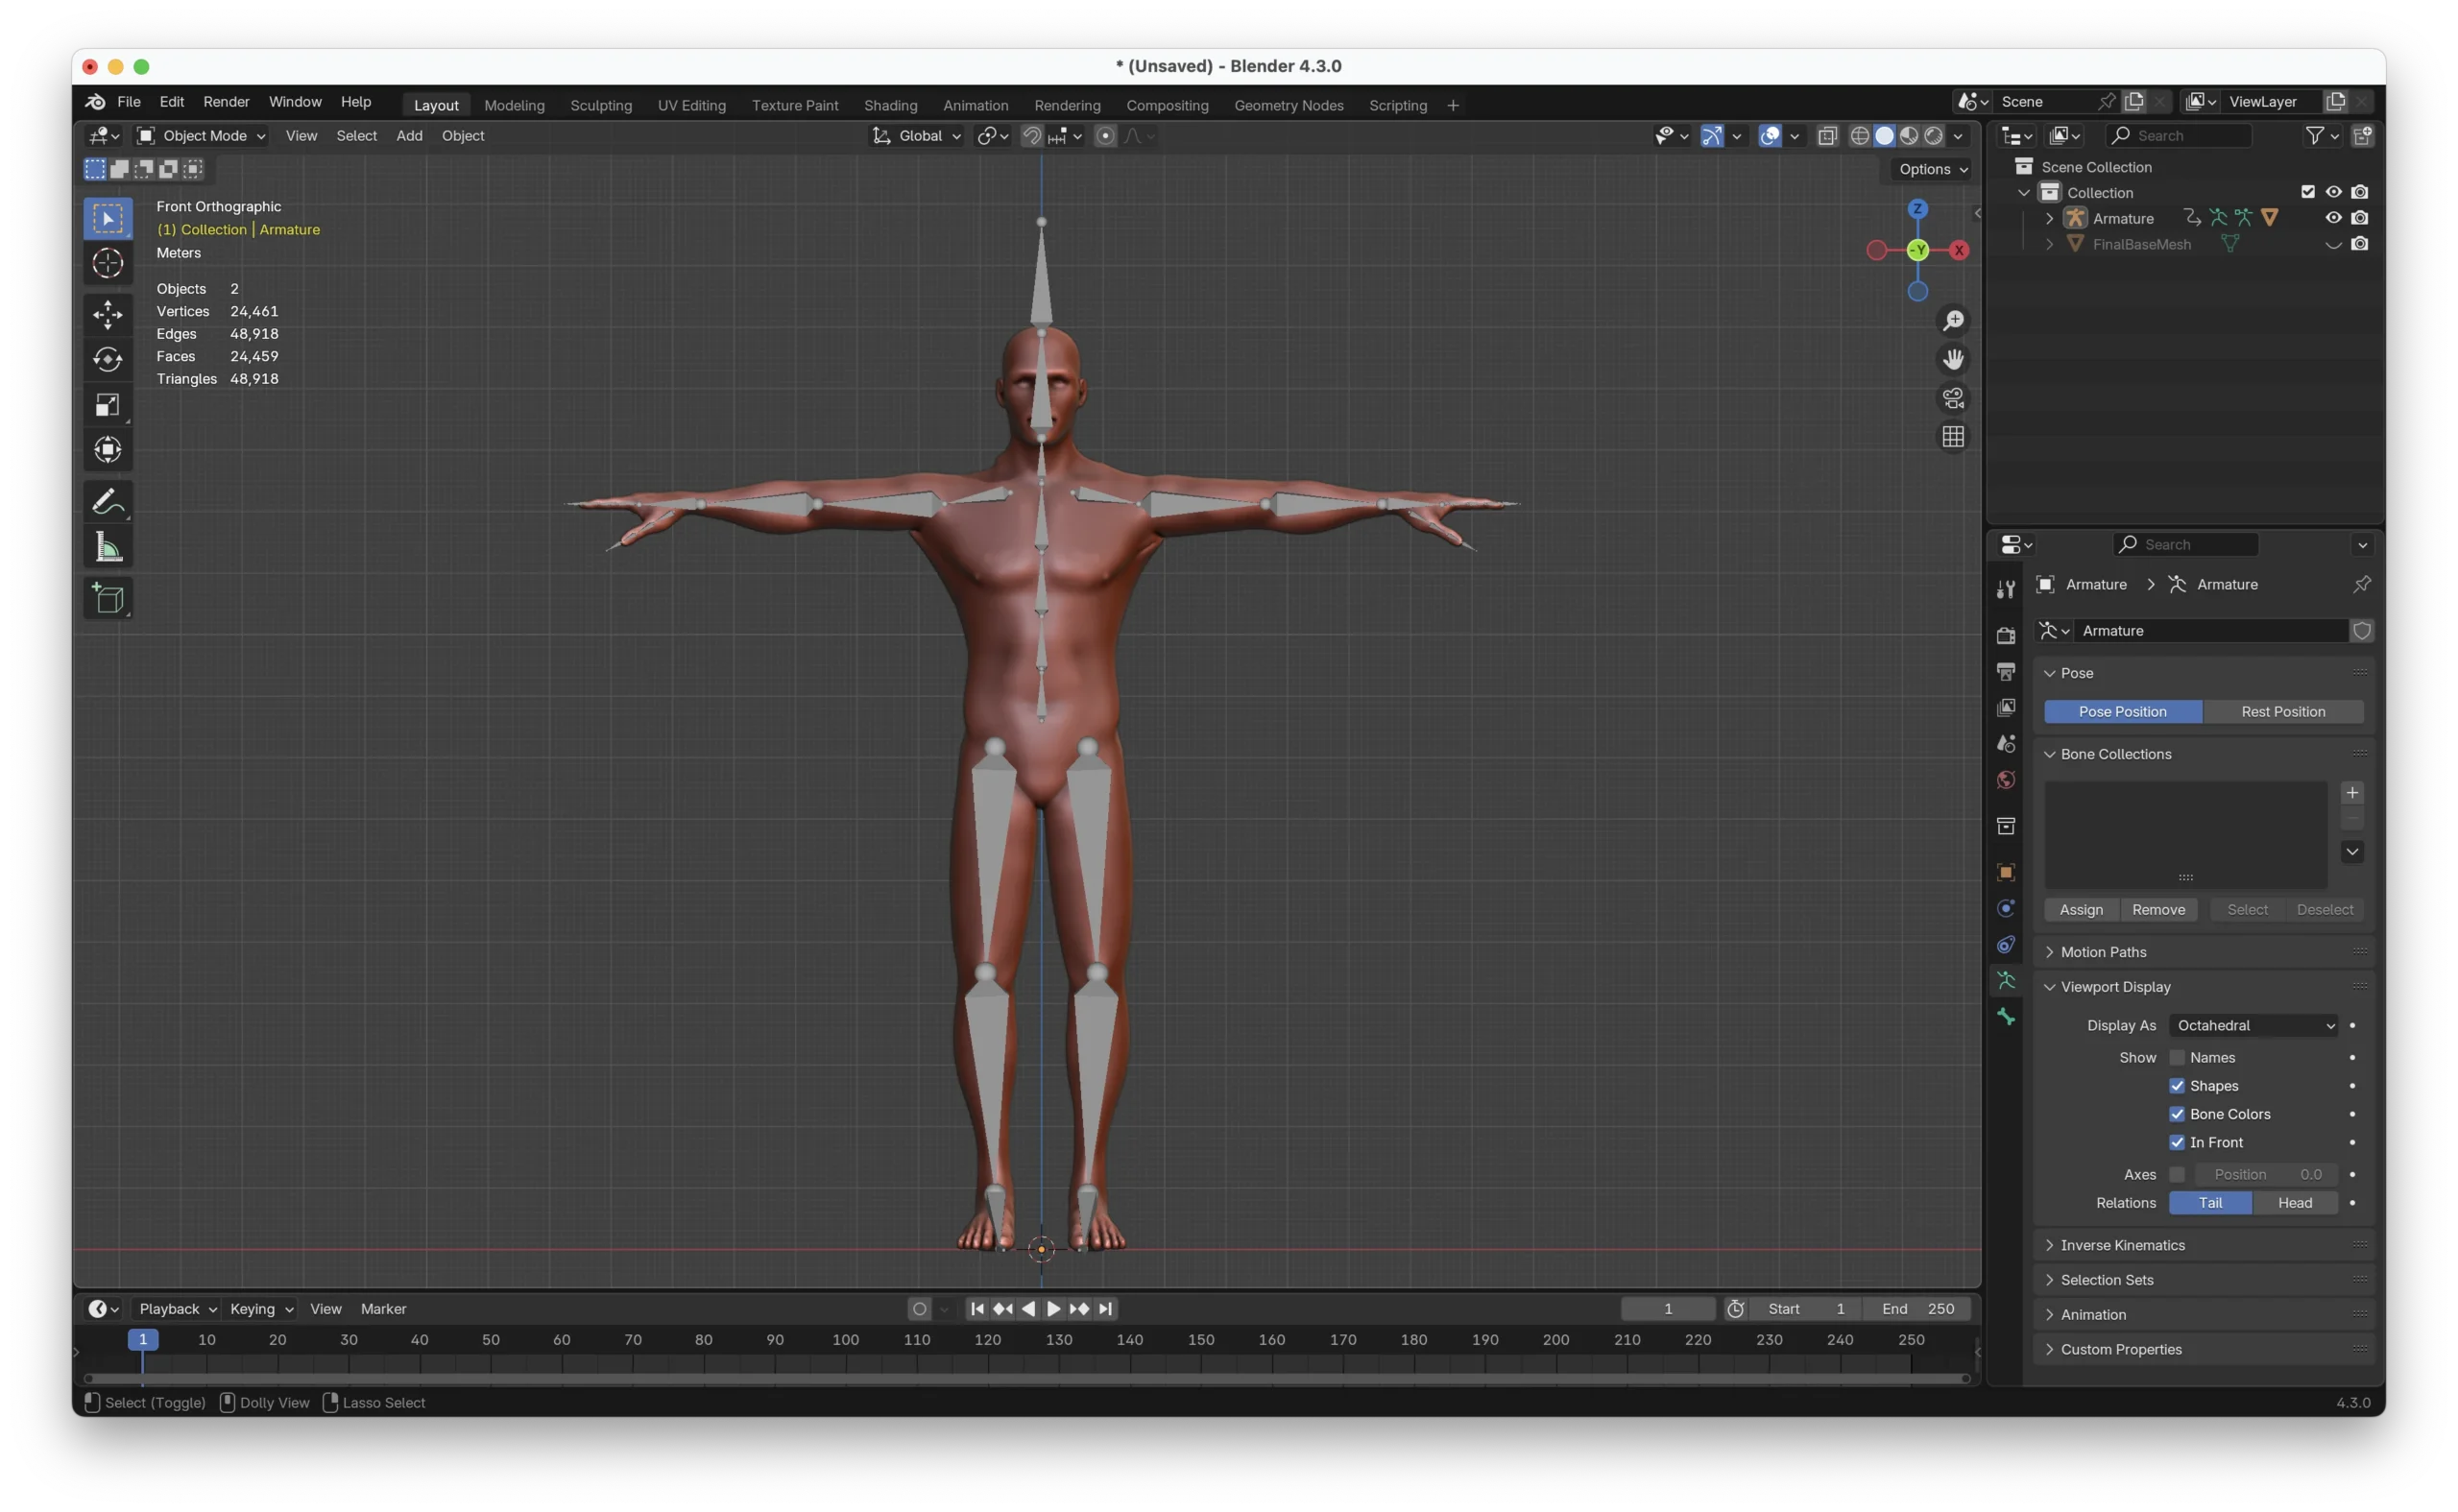
12. Import to blender and the 3D character is rigged automatically
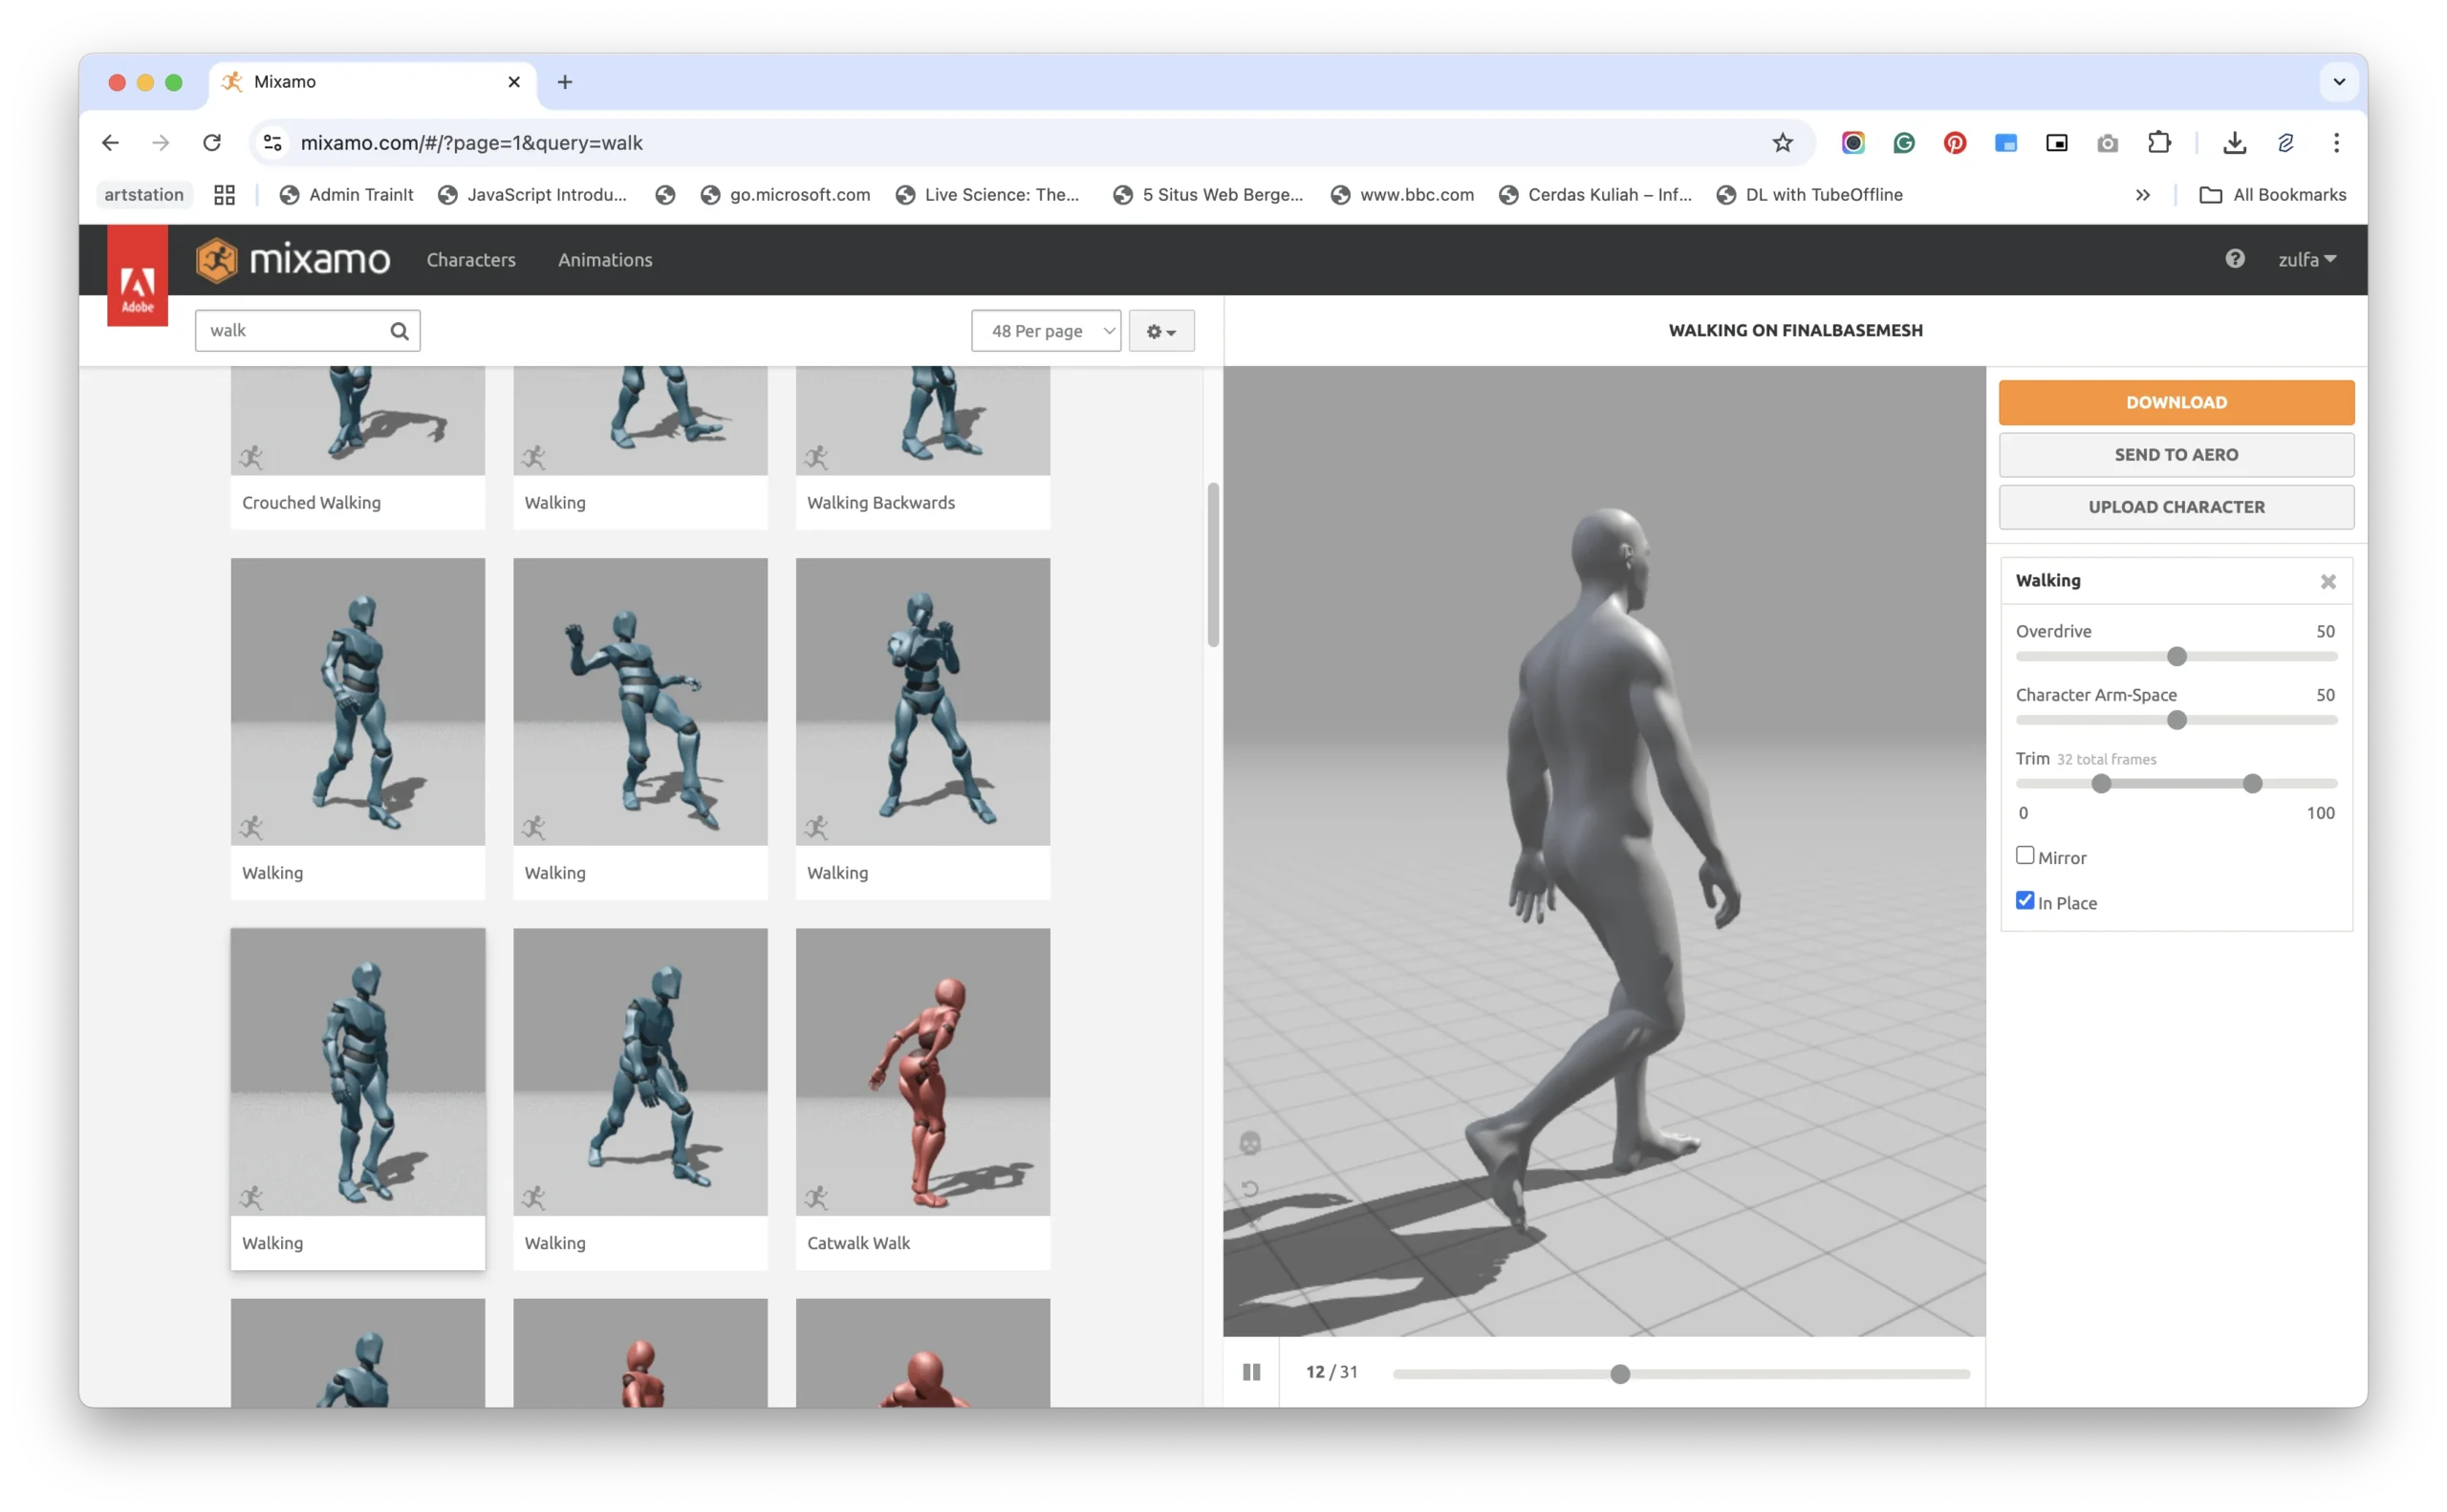
And there you have it, your character is rigged and ready to animate, all within a few minutes using Mixamo. This workflow is perfect for prototypes, indie game projects, animation studies, or anyone who wants to skip the heavy technical setup and jump straight into creativity.
Of course, while Mixamo is fast and convenient, it might not cover every advanced need. But for most creators, it’s a powerful shortcut that gets the job done beautifully.
Keep experimenting, keep creating and let your characters move the way you imagine!