SPECIAL OFFER ✦ BUY 2 GET 1 FREE! ✦ ADD 3 PRODUCTS TO YOUR CART, AND THE DISCOUNT APPLIES AUTOMATICALLY!
SPECIAL OFFER ✦ BUY 2 GET 1 FREE! ✦ ADD 3 PRODUCTS TO YOUR CART, AND THE DISCOUNT APPLIES AUTOMATICALLY!
SPECIAL OFFER ✦ BUY 2 GET 1 FREE! ✦ ADD 3 PRODUCTS TO YOUR CART, AND THE DISCOUNT APPLIES AUTOMATICALLY!
SPECIAL OFFER ✦ BUY 2 GET 1 FREE! ✦ ADD 3 PRODUCTS TO YOUR CART, AND THE DISCOUNT APPLIES AUTOMATICALLY!
Opening a 3D model in your viewport and applying a wood or metal tileable texture only to watch it warp, stretch, or smear into a blurry mess can break any artist’s momentum. Understanding UV unwrapping in Blender transforms that frustrating process into a smooth workflow, bridging the gap between flat 2D image textures and 3D geometric surfaces.
Think of a 3D mesh like a cardboard box. If you slice its edges cleanly and press it flat against a table, you get a 2D layout. In Blender, that flattened layout acts as the coordinate map for your textures.
Key Takeaways
Seams dictate your cuts: Strategic seam placement breaks down complex shapes into clean, flat 2D islands without visual pinching.
Consistent scale prevents distortion: Applying your model’s scale (Ctrl + A) before unwrapping guarantees uniform texture proportions.
Texel density controls resolution: Standardizing Texel density across your model keeps all texture details sharp and uniform.
Understanding the UV Unwrapping Workflow in Blender
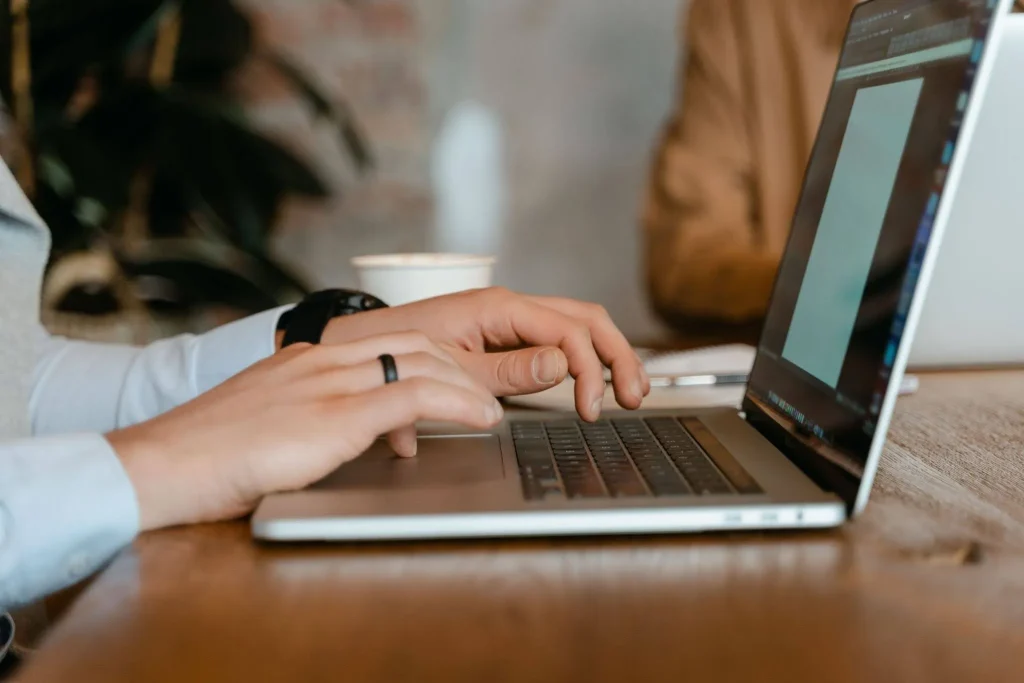
A man in a striped shirt typing on a laptop at a wooden table with a plant and coffee cup nearby. (Source: Pexels/Zen Chung)
UV unwrapping works best when you follow a clear sequence, from preparing your mesh to checking texture distortion and arranging UV islands. Each step builds on the previous one, helping you achieve accurate texture placement and consistent visual quality.[1]
Let’s walk through the process step by step.
1. Preparing Your Mesh Before You Cut
Before touching a single edge or seam, prepare your 3D geometry. Skipping basic mesh cleanup creates immediate texture warping down the line.
Apply Object Scale: In Object Mode, hit Ctrl + A and choose Scale. If your scale is unapplied (e.g., X: 2.0, Y: 1.0), Blender calculates the flat UV layout based on stretched proportions.
Clean Up Geometry: Remove stray vertices, double faces, or internal geometry (Mesh > Clean Up > Merge by Distance).
Display a Grid Texture: Assign a temporary UV Grid or Checker texture to your shader. The squares on the checker pattern reveal instant visual feedback regarding texture stretching or distortion.
2. Placing Seams and Executing the Unwrap
Marking seams tells Blender where to split the 3D surface. Placing them strategically hides seam lines from primary camera angles.
Switch to Edit Mode by pressing Tab, then enter Edge Select Mode by pressing 2.
Select the edges where you want to cut and unfold the mesh.
Right-click on the viewport and select Mark Seam (or press Ctrl + E and pick Mark Seam).
Select all faces on your mesh by pressing A.
Press U to open the UV Mapping menu, then choose Unwrap.
Mastering how to unwrap an UV in Blender relies heavily on choosing logical seam placement. For instance, on a character model, place seams along the inner arms, beneath clothing collars, or behind the head. For hard-surface objects like furniture, align seams along sharp 90-degree bevels or natural structural seams.[1]
3. Detecting Stretching and Checking Distortion
Once unwrapped, your 2D layout appears inside the UV Editor window. Inspecting island distortion ensures your textures lay flat without squeezing or tearing.
Display the Heatmap: In the UV Editor header, open the Display Overlays menu and check Display Stretch.
Interpret the Colors: Dark blue indicates zero distortion (ideal), while green, yellow, or red highlight active stretching or squishing.
Fix Pinching: If an area shows high stretch, add a seam through the peak of the curve to relieve structural tension.
4. Understanding Texel Density and Island Packing
Arranging UV islands efficiently maximizes your available texture space (0-1 UV space) and maintains crisp image quality across your model.
Concept
Purpose
Best Practice
Island Packing
Fits all flattened UV shells inside the 1×1 grid square.
Use UV > Pack Islands (Ctrl + P) with a small margin setting (0.001 – 0.005) to prevent color bleeding across island borders.
Texel Density
The ratio of texture pixels to the physical 3D surface area.
Keep Texel density uniform across connected objects so one part doesn’t look blurry while another looks ultra-sharp.
Rotation & Alignment
Lines up rectangular islands straight along X or Y axes.
Align wood grain or fabric patterns horizontally or vertically to simplify texture painting.
Learning how to make good UV unwrap layouts involves treating Texel density as a strict rule: hero elements facing the camera get maximum resolution space, while hidden underside faces can be scaled down slightly to conserve overall texture space.[2]
5. Common Distortion Pitfalls and How to Avoid Them
Avoid these frequent traps when mapping 3D objects in your pipeline:
Unapplied Object Transformations: Unwrapped meshes stretch wildly if scale values aren’t reset to 1.0 before running the unwrap operator.
Overlapping UV Islands: Stacking islands intentionally works for mirrored geometry, but accidental overlapping causes textures to bleed onto unintended mesh sections.
Subdivision Surface Distortion: Applying a Subdivision Surface modifier warps UV edges. Toggle Use Limit Surface or Correct Face Attributes in your modifier settings to retain grid proportions.
Many beginners ask, “Is UV unwrap difficult?” when learning Blender, but breaking complex models into simpler shapes makes the process much easier to manage. This UV unwrapping tutorial Blender guide walks you through the essential steps to create clean UV layouts and achieve distortion-free textures.
Frequently Asked Questions (FAQ)
Should I mirror my UVs to save texture space?
Yes. For symmetrical objects (like vehicles, weapons, or character bodies), unwrapping one half, mirroring the geometry, and overlapping the identical UV islands doubles your effective texture resolution.
How do Smart UV Project and manual unwrapping differ?
Smart UV Project automatically cuts seams based on angle thresholds. It is fast for quick prototyping or lightmaps, but it creates fragmented islands. Manual seam marking yields far cleaner, production-ready results for hero game assets or detailed character models.
Why are my textures blurry despite a high-resolution image?
Blurry textures usually stem from poor Texel density distribution. If a tiny UV island occupies only a few pixels inside a 4K texture map, the resulting surface detail will appear stretched or pixelated on the 3D model.
Final Thoughts
Mastering UV unwrapping in Blender takes practice, but following proper scale application, seam placement, and island packing guarantees professional 3D production results.
Ready to elevate your 3D workflow even further? Browse Tridimensi to discover over 5,000 curated, premium 3D assets designed for immediate commercial use. Try our Unlimited Access plans today and transform your landing pages, brand campaigns, and visual presentations effortlessly!