SPECIAL OFFER ✦ BUY 2 GET 1 FREE! ✦ ADD 3 PRODUCTS TO YOUR CART, AND THE DISCOUNT APPLIES AUTOMATICALLY!
SPECIAL OFFER ✦ BUY 2 GET 1 FREE! ✦ ADD 3 PRODUCTS TO YOUR CART, AND THE DISCOUNT APPLIES AUTOMATICALLY!
SPECIAL OFFER ✦ BUY 2 GET 1 FREE! ✦ ADD 3 PRODUCTS TO YOUR CART, AND THE DISCOUNT APPLIES AUTOMATICALLY!
SPECIAL OFFER ✦ BUY 2 GET 1 FREE! ✦ ADD 3 PRODUCTS TO YOUR CART, AND THE DISCOUNT APPLIES AUTOMATICALLY!
Ever looked at a rock in a game or animation and thought, “How do they make that look so real?” You’re not alone. If you’ve been wondering how to make 3D rocks that feel natural, you’re in the right place
Key Takeaways:
Start with real-world references. Study real rocks’ shapes, textures, and lighting to create believable 3D models.
Block out first, then refine. Create basic shapes first, then add realistic features with sculpting tools.
Focus on texturing and rendering. Texturing is crucial to make 3D rocks look realistic, while rendering enhances lighting, shadows, and surface detail.
Breaking Down How to Make 3D Rocks
So, where do you start? Believe it or not, great 3D rocks begin long before you touch any sculpting tool. Let’s go through the creative journey of how to 3D model realistic rocks, from observing real-world forms to polishing the final digital asset.
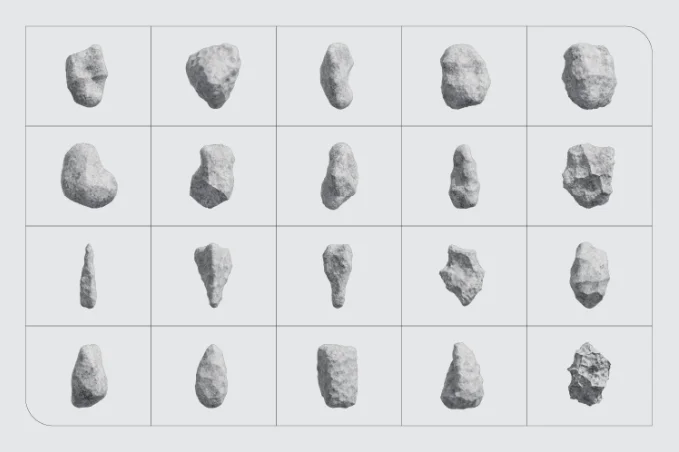
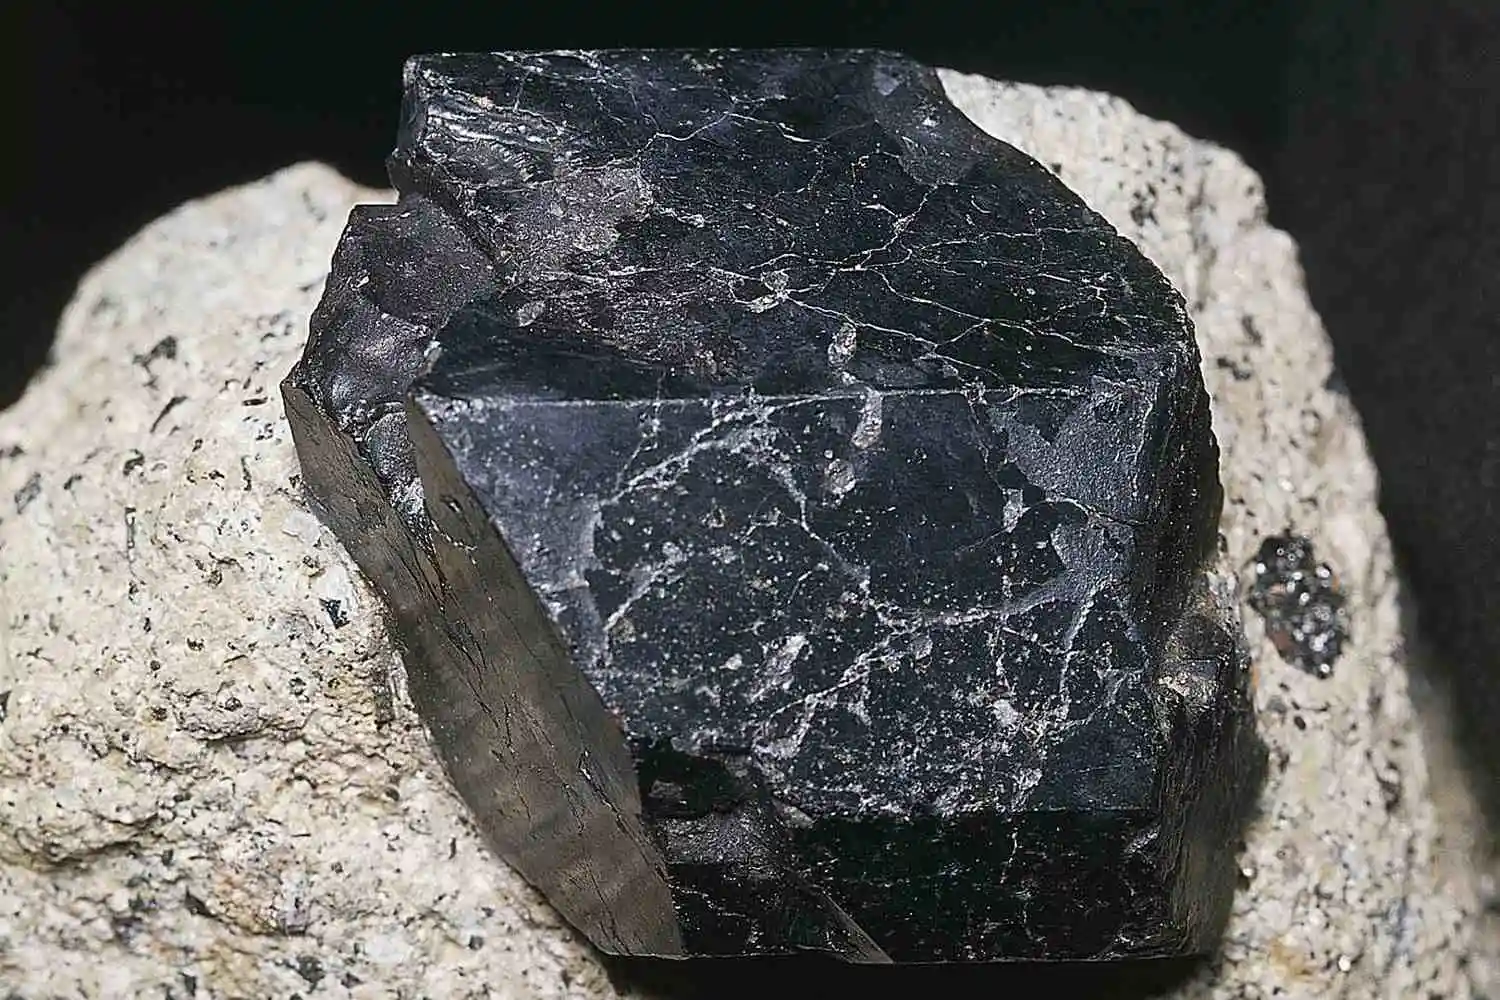
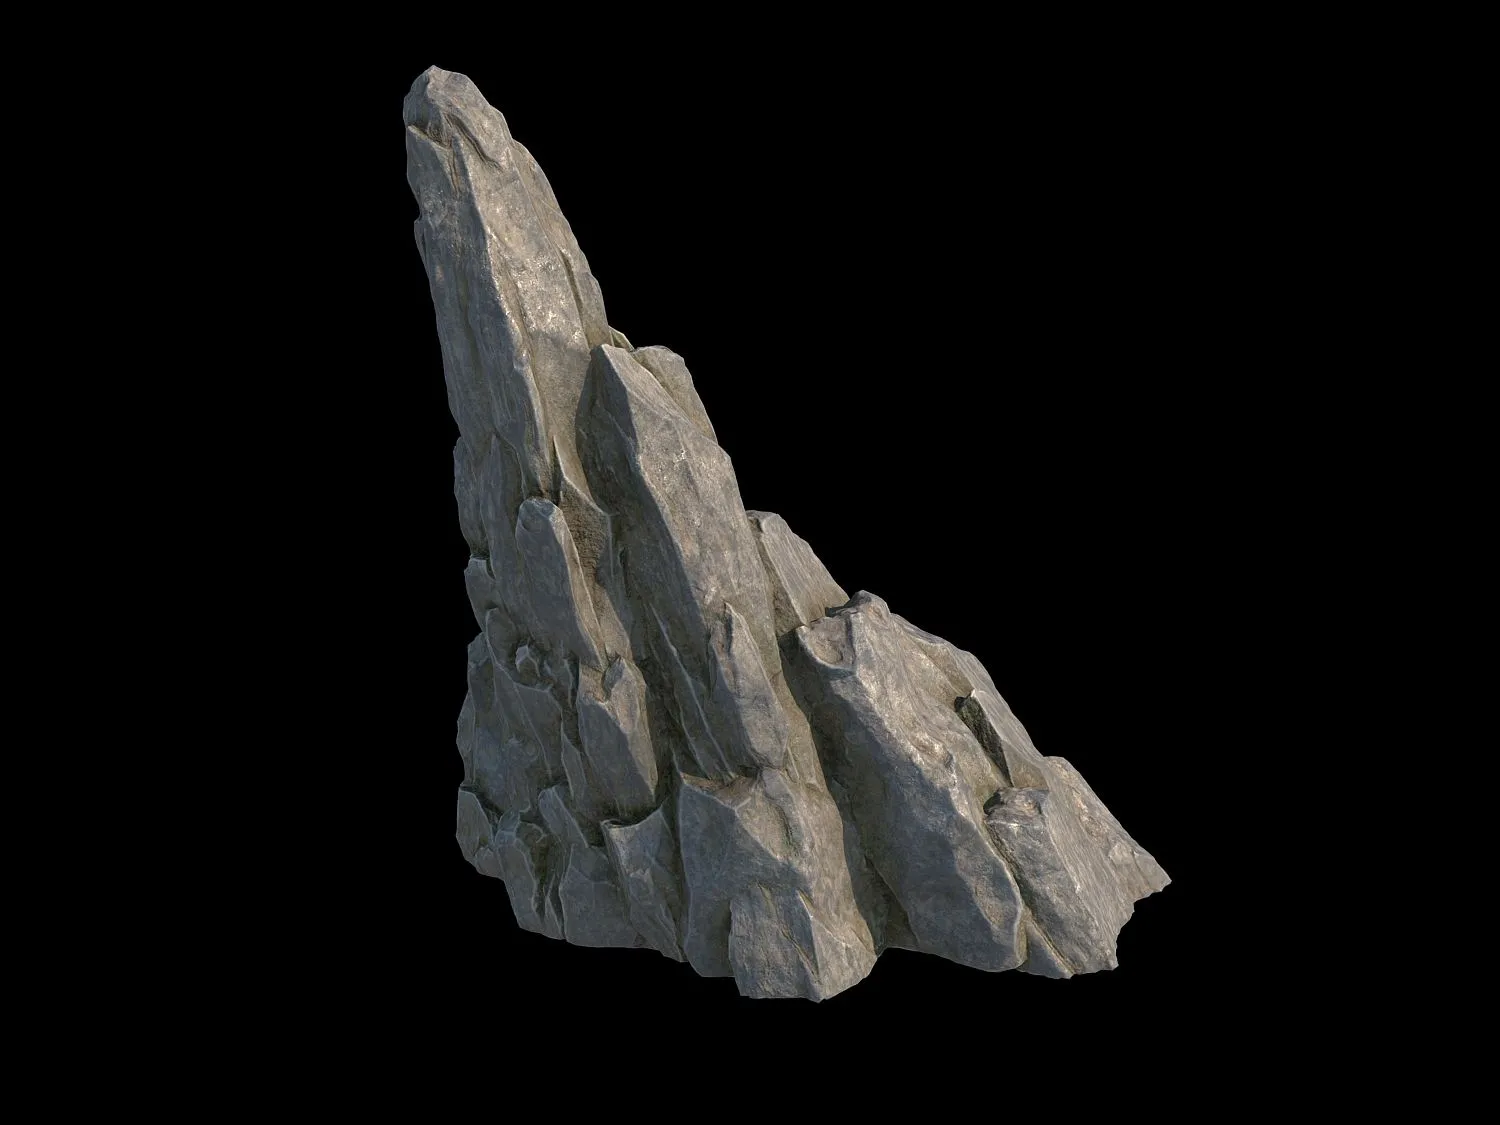
1. Observing and Referencing Real Stone Shapes
Real Mineral, Augite (Source: ThoughtCo)
Before you jump into sculpting rocks, take some time to study the real thing. Look up clear photos of cliffs, boulders, and natural stone formations. Notice their shapes, cracks, erosion patterns, and how they sit in their environment.
Notice how light hits the surface, where shadows fall, highlights appear, and textures respond. These subtle details greatly enhance realism.
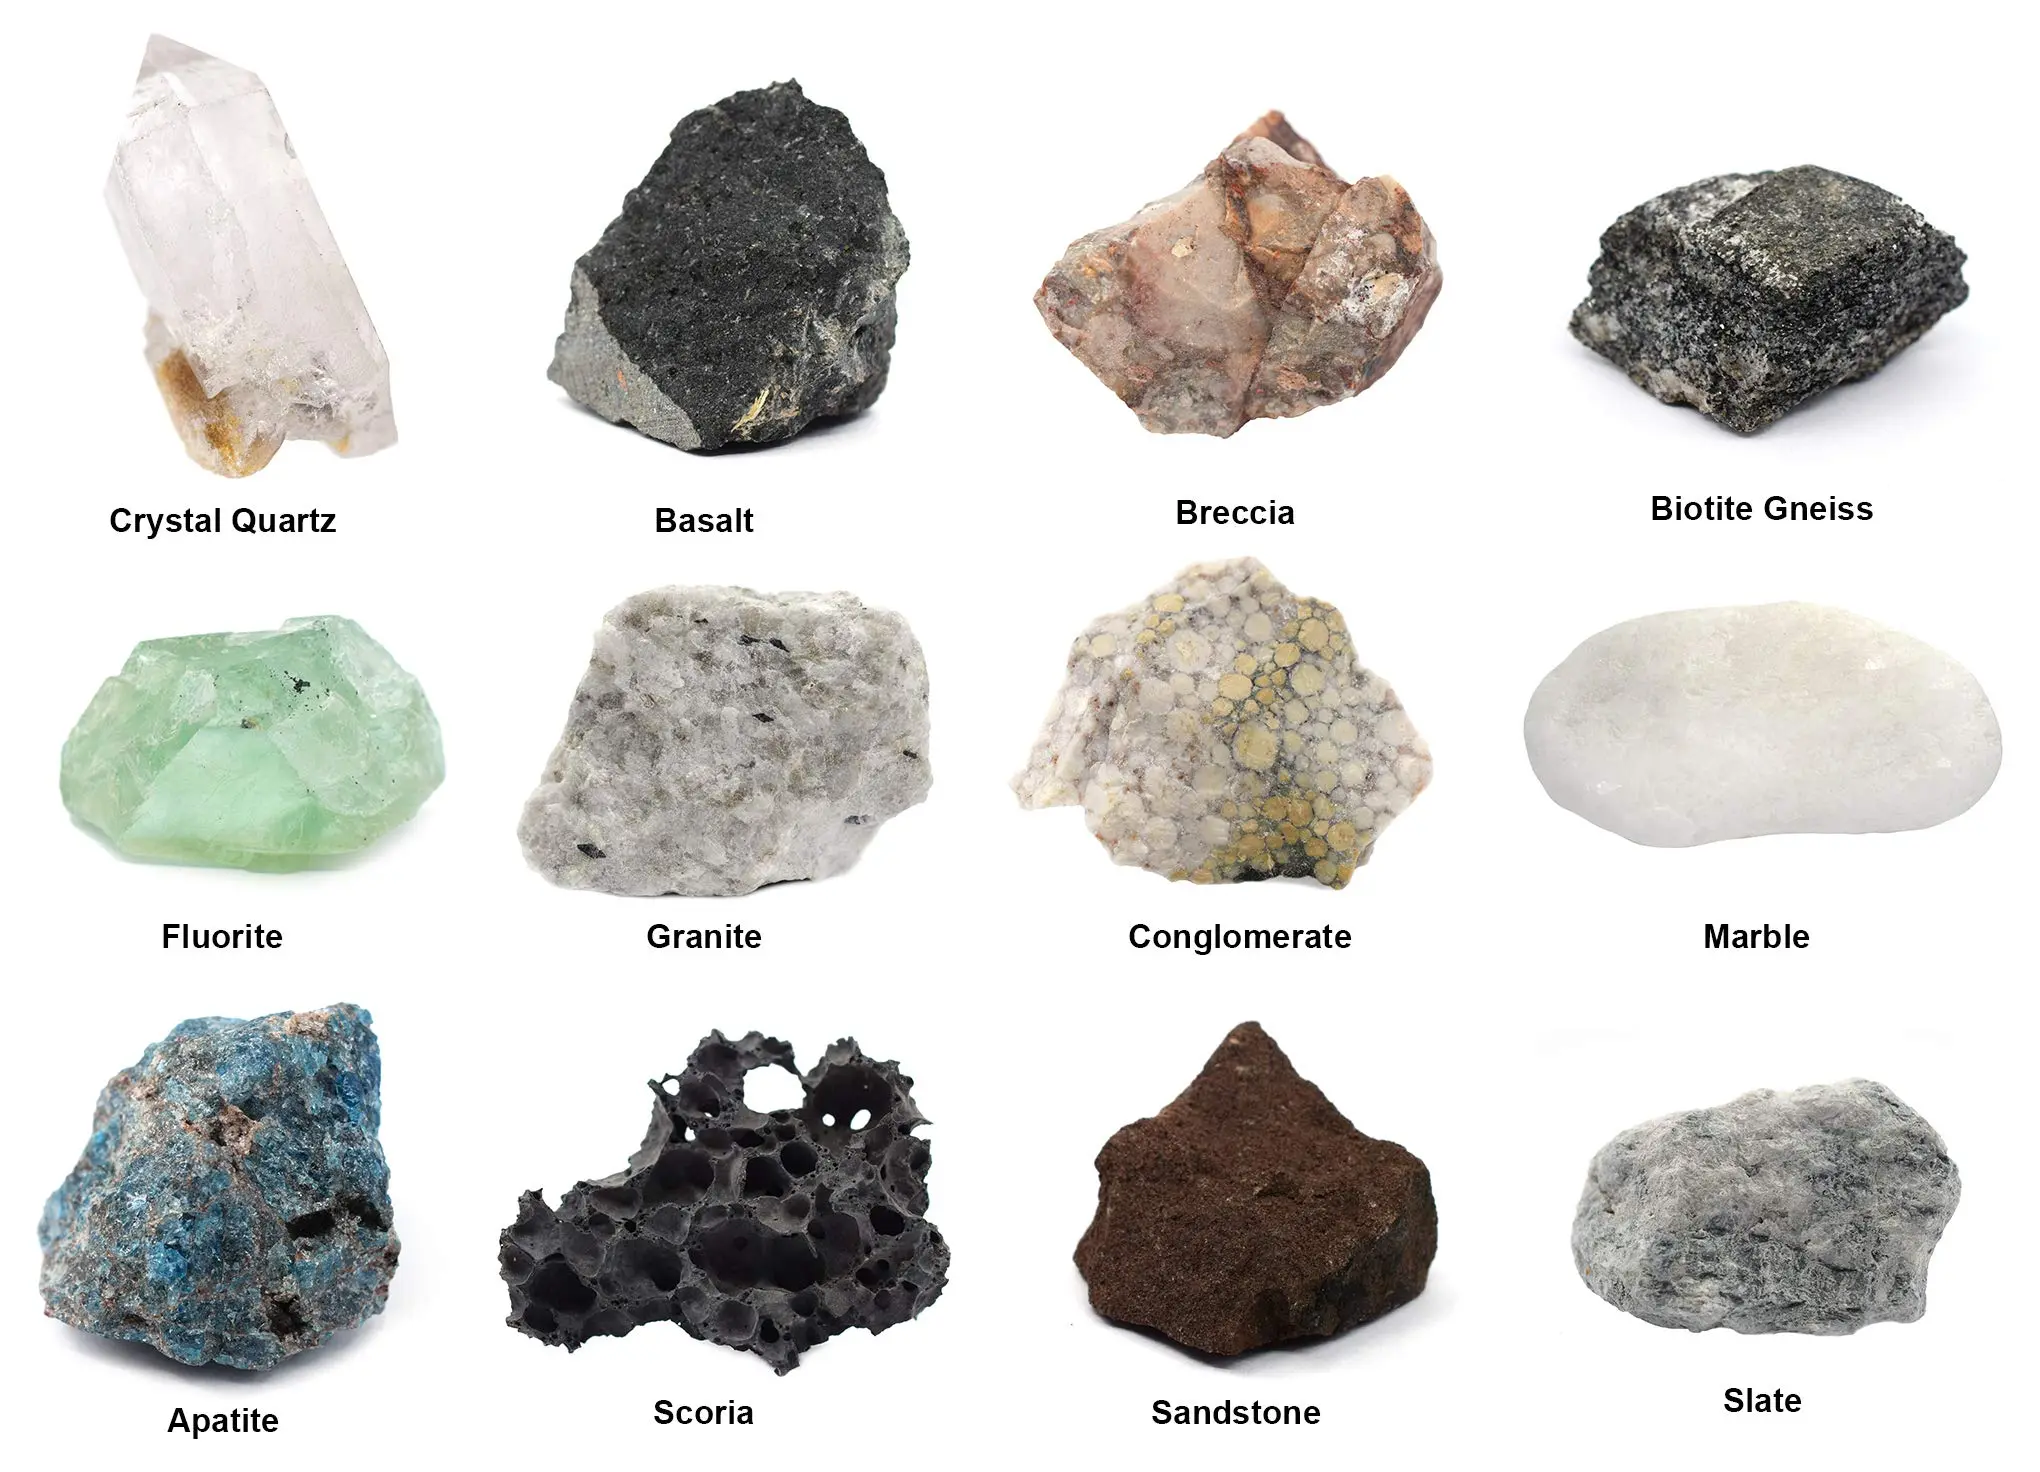
Rocks and Minerals (Source: Amazon)
Additionally, look at material properties too. Some rocks are flat and spherical, whereas others are segmented, porous, or covered in moss. Observing texture, reflectivity, and dirt patterns will give you a better idea of how to recreate them realistically later in your project.
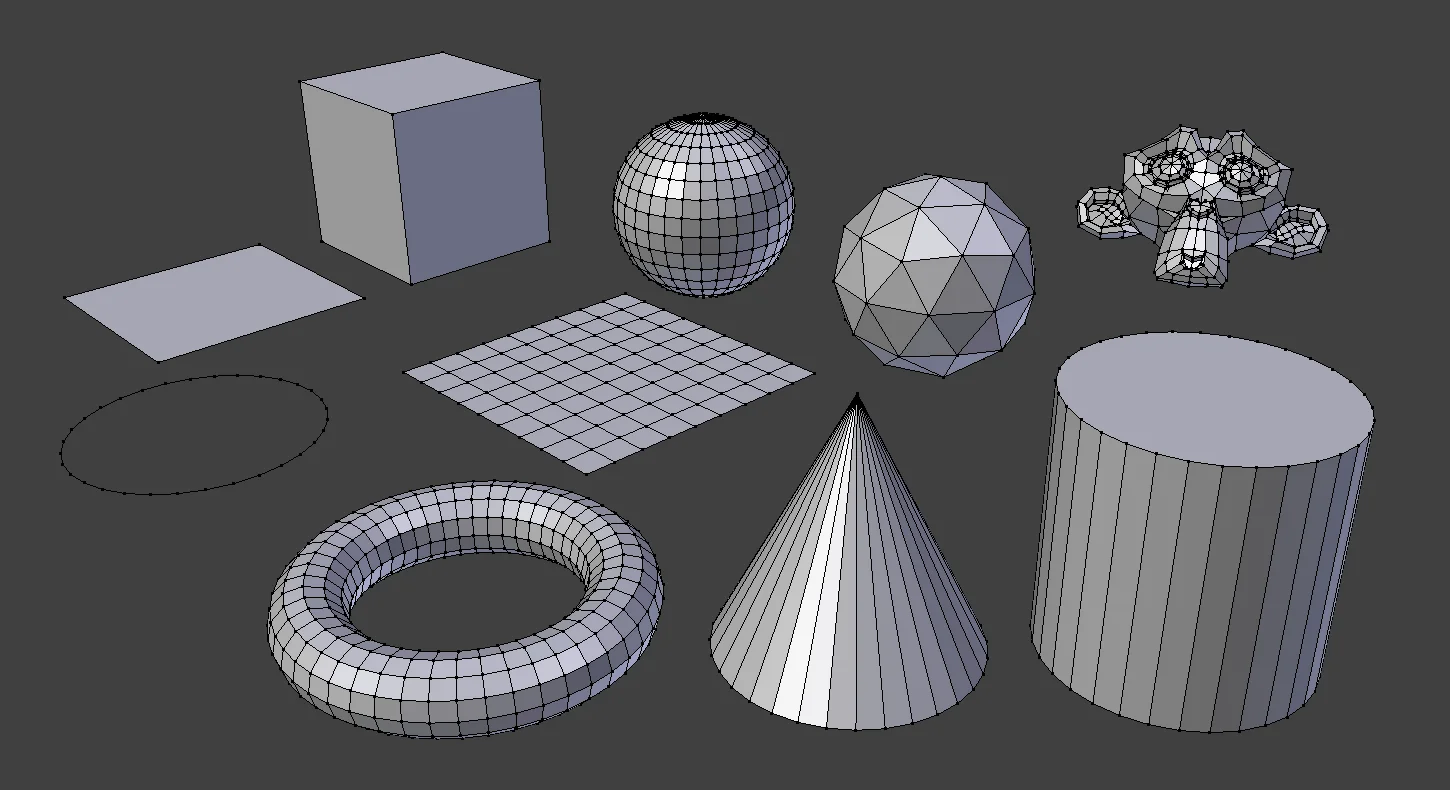
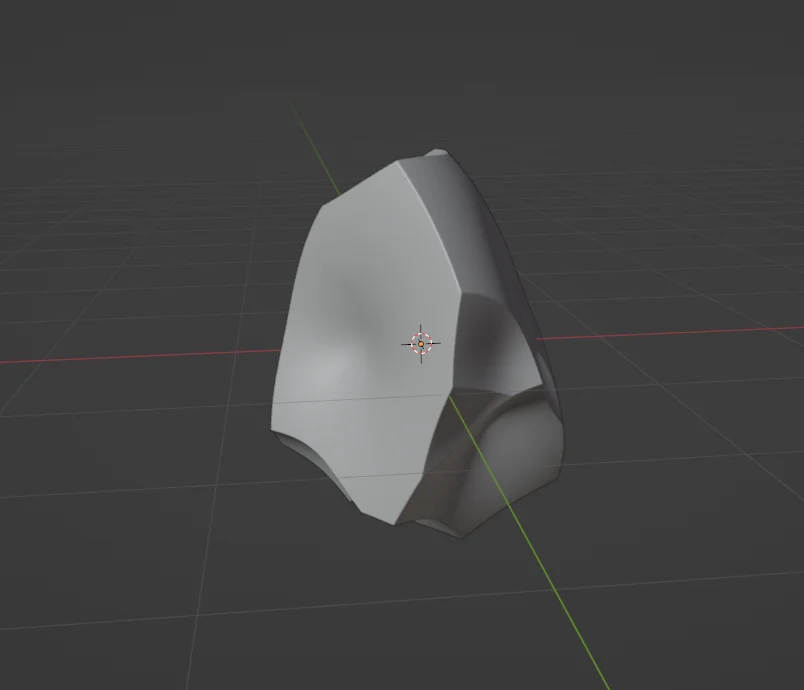
Blocking is an essential first step in how to make 3D rocks, as it lays down the shape and structure that will guide your sculpting later. Try primitive shapes, like cubes or spheres, as the foundation in your rock-making process. Adjust the shape by scaling, rotating, and moving parts around until they resembling your references.
Rough Rock Shape (Source: Blender Market)
Before you sculpt, add subdivisions to your mesh. This gives you more geometry to work with, making your rock smoother. Focus on rough proportions and breaking symmetry early. Real rocks are rarely uniform, so let things get a little erratic.
If you’re planning to build a larger scene, it’s helpful to create a “rock kit” with various shapes and sizes. Also, peruse through some tutorials; there might be some hidden features you haven’t turned on.
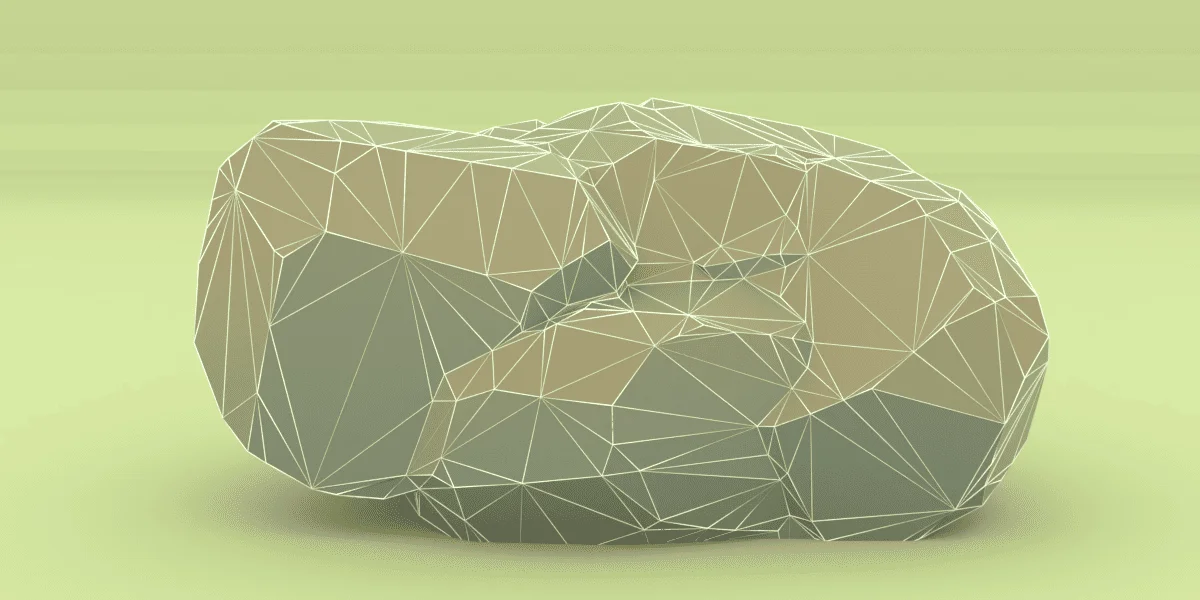
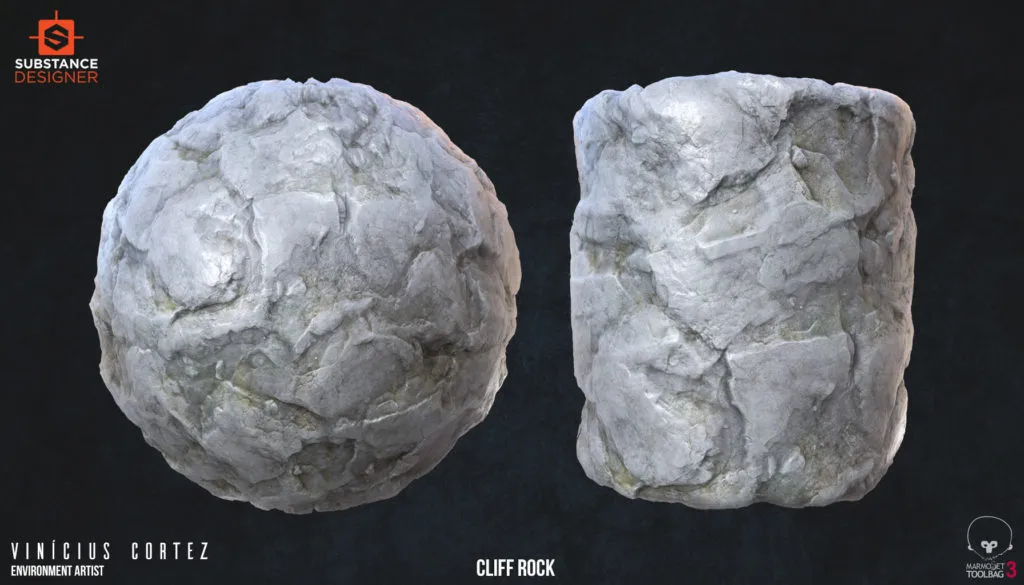
3. Detailed Sculpting
3D rock sculpture (Source: Digital Art Hub)
Now it’s time to sculpt. Use tools like Blender’s Sculpt Mode or ZBrush to shape the form. Start with broad features like chips, edges, and layering, and work from large to small.
Sculpted Rock (Source: Digital Art Hub)
Custom brushes with real rock textures can speed up the process. These let you quickly add surface detail (like rough patches or grain) without sculpting every little bump by hand. Use masking to protect clean areas while adding detail elsewhere.
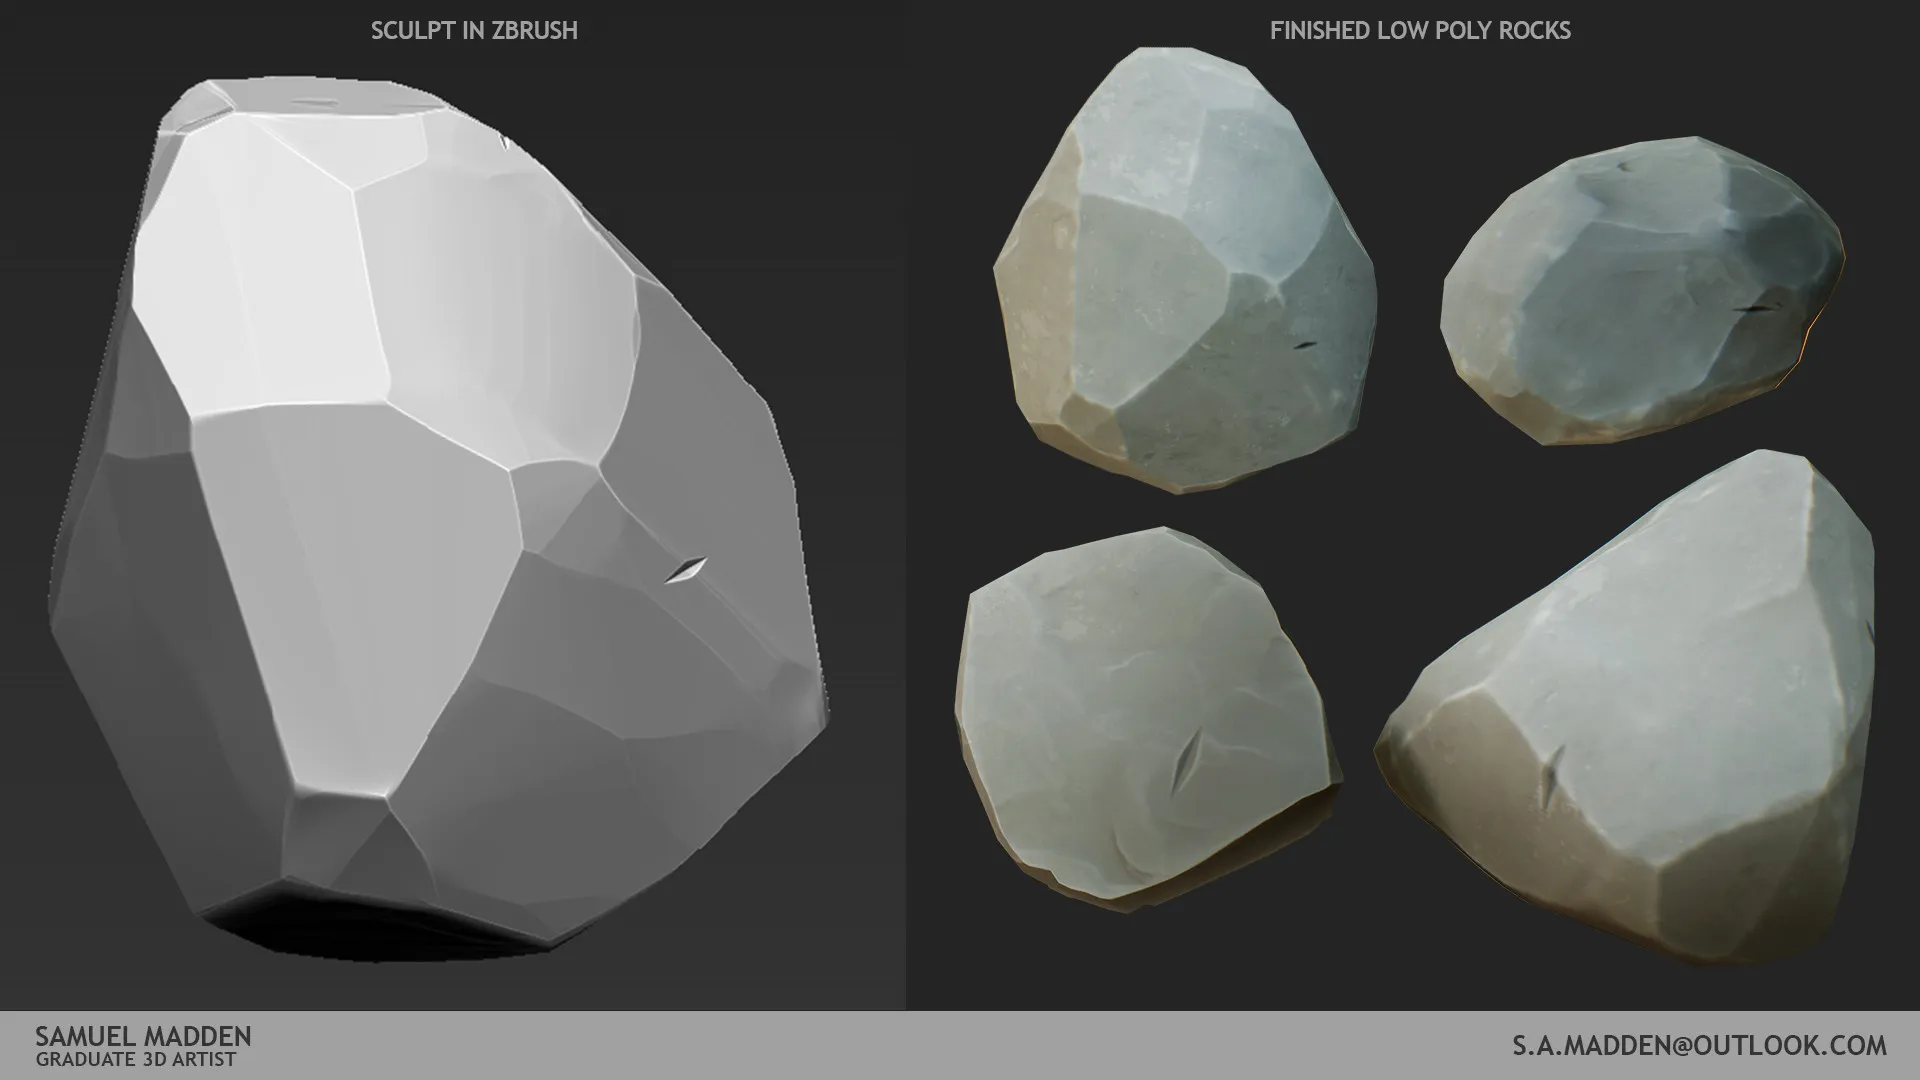
After sculpting, you’ll need to prepare the model for real-time use. That means creating a lower-poly version and unwrapping the UVs. Be smart in placing seams strategically and try to use space efficiently for clean, high-res textures.
Next, bake your maps, bringing them down to the low-poly model. These maps carry over the detail without needing extra geometry. Always check that your texture scale feels right. Avoid obvious tiling, especially if the rock will appear multiple times in a scene.
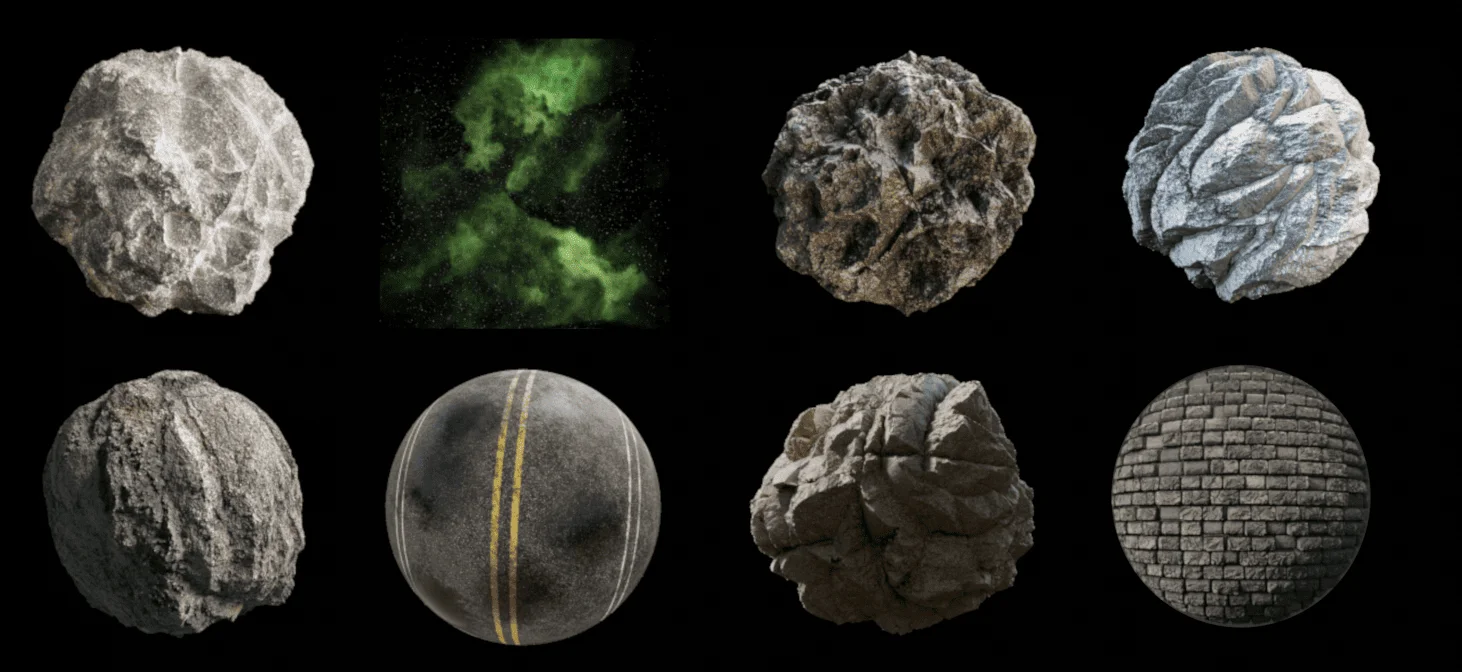
Substance Painter Rock Texture (Source: 80 Level)
Use a tool like Substance Painter to layer your textures. Start with the base color, then add moss, dirt, cracks, and worn edges. Texturing plays a huge role in how to make 3D rocks that look realistic and natural. Use smart masks for natural variation. Lighter edges and darker crevices helps mimic how light interacts with real stone.
5. Rendering and Optimization
Fantasy 3D Rock Render (Source: Free3D)
Once you’re happy with the look, it’s time to optimize. Use mesh decimation to reduce geometry for distant rocks. This helps your scene run smoother, especially in games or real-time engines. Group rocks with the same material to reduce draw calls, and utilize instancing for repeated assets.
3D Rock Render (Source: RenderHub 3D Models)
For rendering, use natural lighting setups like HDRIs to test how your rock reacts to real-world lighting. Tweak your settings until the shadows, textures, and highlights look just right. Do a final check for any UV or texture issues using a checker pattern. Then, export the item with accurate scale, clean name, and placement-specific pivot points.
There’s no shortcut to natural-looking results. Each stage, from the rock reference to polishing, adds something essential. With practice and experiments, and most importantly, fun, your next rock might be the one that anchors an entire world.