SPECIAL OFFER ✦ BUY 2 GET 1 FREE! ✦ ADD 3 PRODUCTS TO YOUR CART, AND THE DISCOUNT APPLIES AUTOMATICALLY!
SPECIAL OFFER ✦ BUY 2 GET 1 FREE! ✦ ADD 3 PRODUCTS TO YOUR CART, AND THE DISCOUNT APPLIES AUTOMATICALLY!
SPECIAL OFFER ✦ BUY 2 GET 1 FREE! ✦ ADD 3 PRODUCTS TO YOUR CART, AND THE DISCOUNT APPLIES AUTOMATICALLY!
SPECIAL OFFER ✦ BUY 2 GET 1 FREE! ✦ ADD 3 PRODUCTS TO YOUR CART, AND THE DISCOUNT APPLIES AUTOMATICALLY!
Whether you’re just starting out or refining your workflow, having the right guidance is essential. Practical 3D rendering tips not only save time but also bring clarity to how lighting, textures, and composition can transform your projects into professional-quality results.
Key Takeaways:
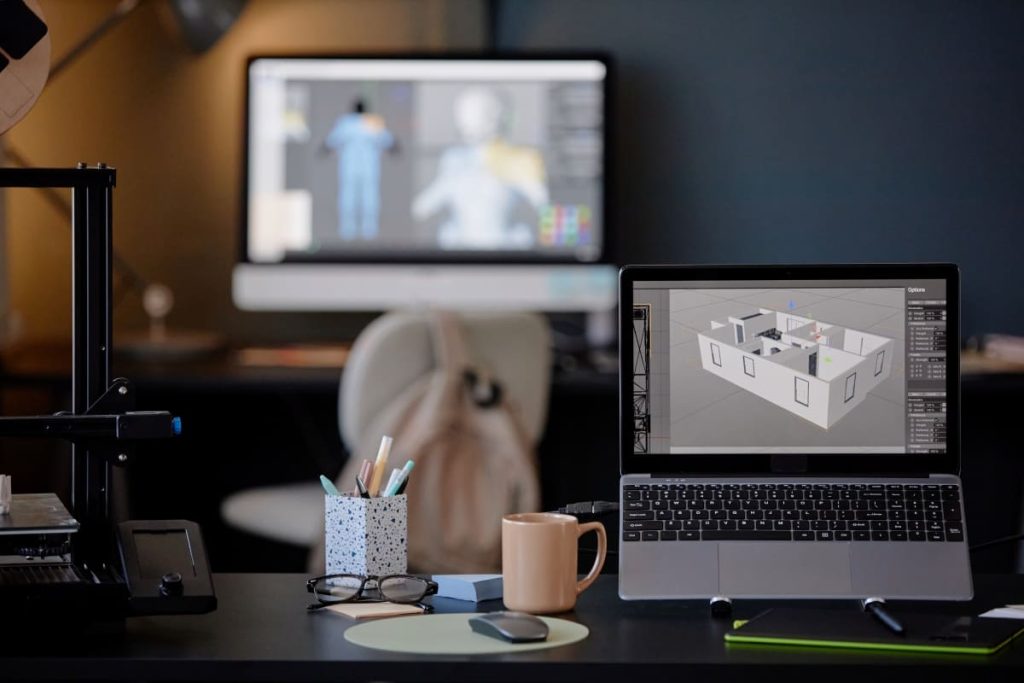
Begin with clean models. Use high-quality reference images to help you achieve realistic proportions, materials, and lighting.
Experimenting with different camera angles can make your 3D renders more dynamic and visually compelling.
Post-processing in software like Photoshop or After Effects can elevate a render from good to professional.
Building Strong Foundations with Reliable 3D Rendering Tips
Strong renders begin with intentional choices, not guesswork. By exploring these tips for making 3D rendering, you’ll understand the essentials of proportion, lighting, and textures, along with key elements that bring consistency to every creative project you tackle.
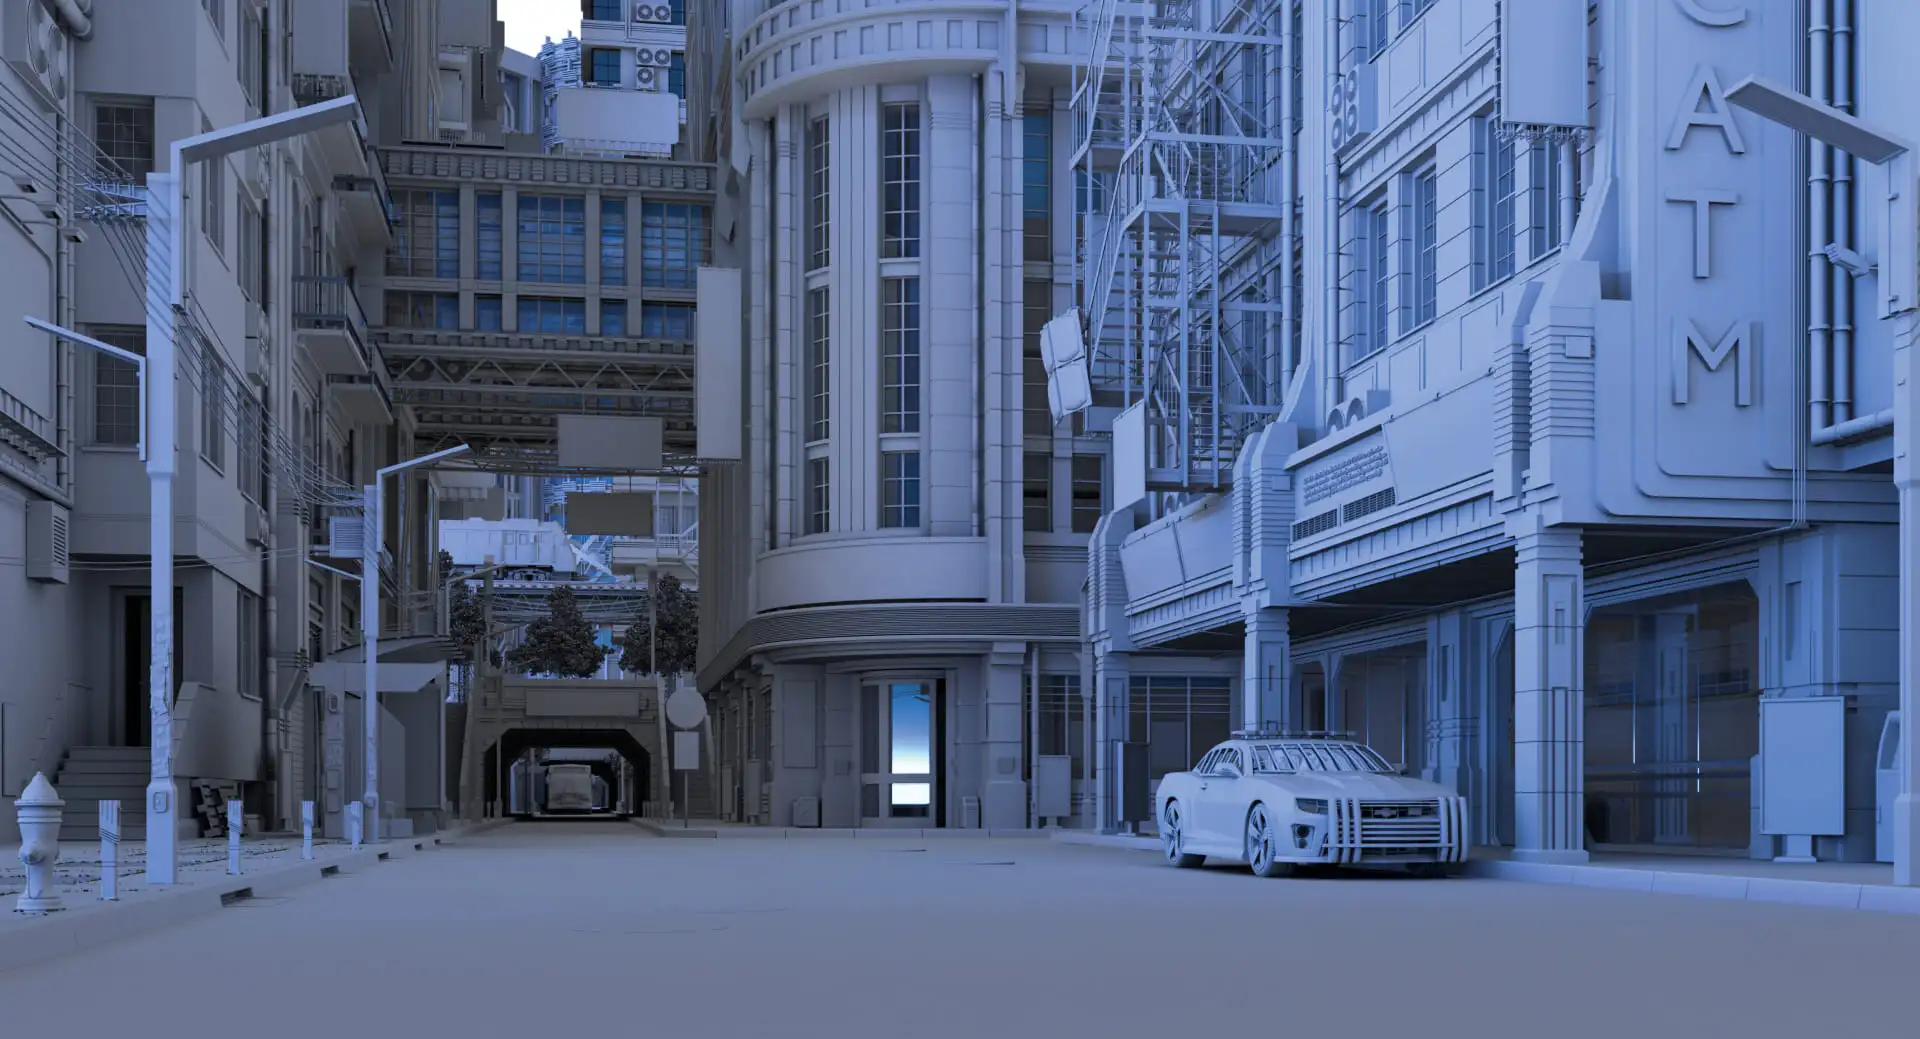
1. Start with the Basic and Accurate Proportions
When beginning a render, focus on building your scene with uncomplicated shapes before moving into detail. Overly complex geometry too early often leads to distorted proportions and inefficient polygon use. Rely on reference images to maintain scale accuracy, realism, and a clean foundation to expand upon.
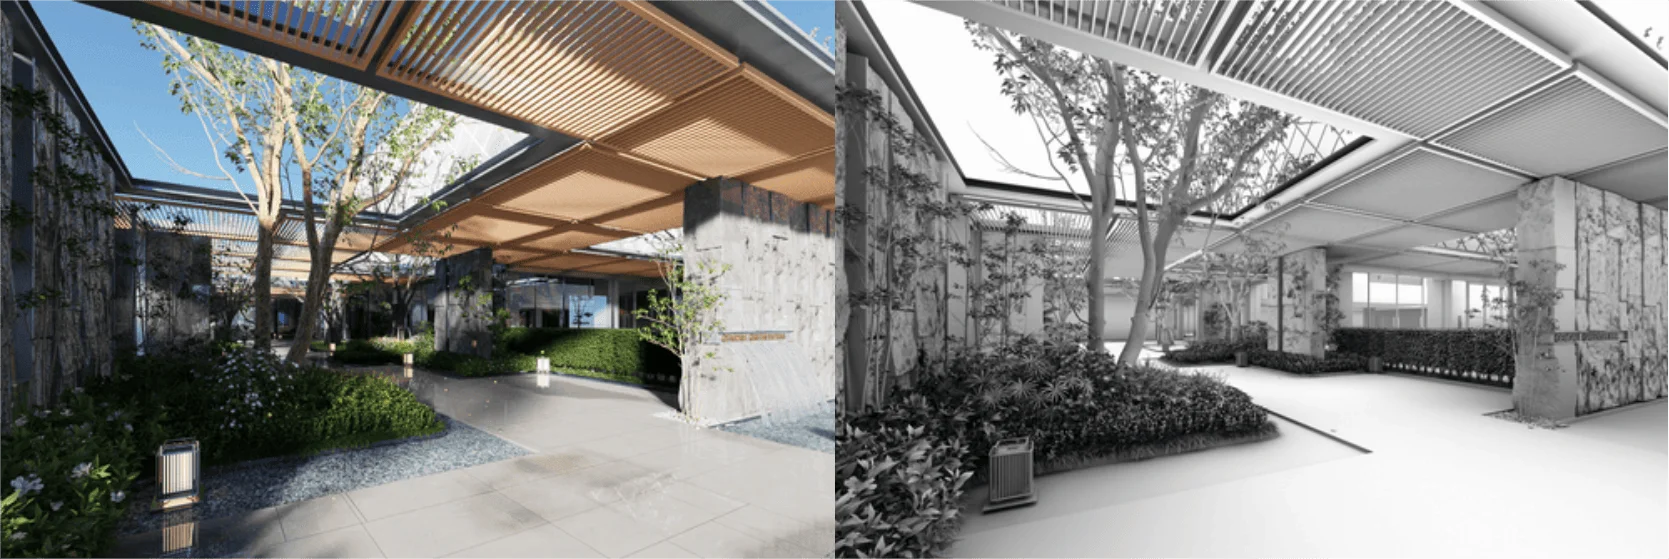
2. Mastering Lighting with Global Illumination (GI)
The Role of Global Illumination (Source: iRender)
Global Illumination is one of the most effective tools for creating believable lighting. It replicates the way natural light scatters and reflects within a space. For interiors, adjust bounce depth and samples carefully. Pair GI in places with soft lights to achieve a convincing shadow effect and balanced luminosity.
3. Experiment with Different Light Types and Intensities
Don’t stick to a single light source; try to combine different kinds for a more layered effect. Area lights, HDRI maps, and volumetric lights each add unique qualities. Fine-tune exposure and intensity so your scene avoids looking washed out or overly bright, while shadows enhance depth and character.
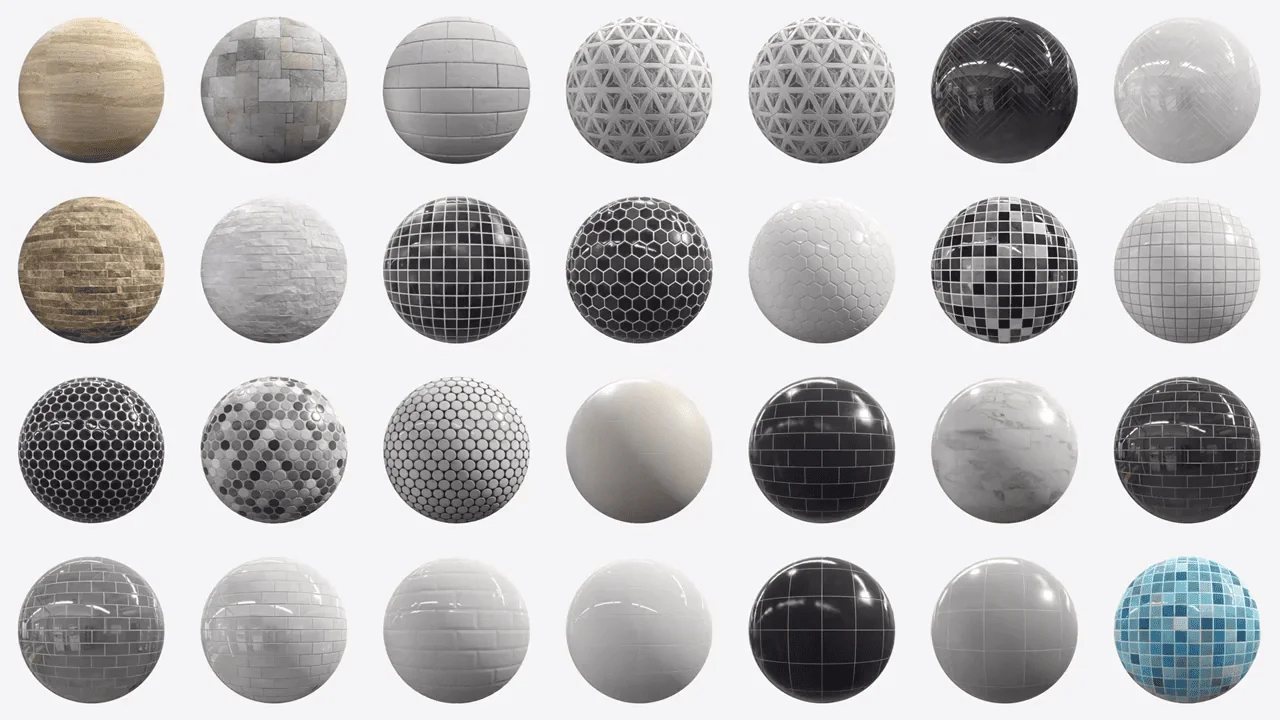
4. Use High-Quality Scaled Textures
3D Rendering Texture (Source: CG Record)
Textures can elevate or ruin realism depending on their quality. Always match resolution to your model’s size and check scaling, especially with tiled surfaces like brick walls or flooring. Test textures under different lighting setups to catch inconsistencies, and avoid maps that appear blurry, pixelated, or unnaturally sharp.
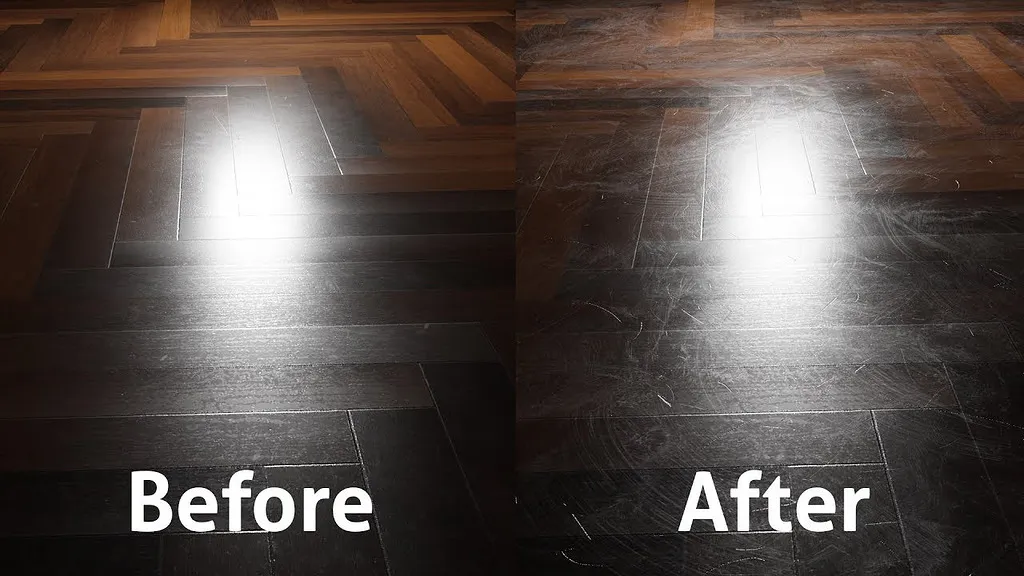
More 3D rendering tips take real-life surfaces that are never flawless, and your renders shouldn’t be either. Adding faint scratches, fingerprints, or subtle variations in reflectivity can make materials look far more authentic. Think about how different surfaces (glass, metal, or wood) interact with light, and use those responses to enrich overall realism.
6. Plan Composition Using Camera Angles and Depth
Composition determines the impact of your final image. Explore varied perspectives, like low angles for scale, wide shots for openness, or eye-level views for balance. Use the rule of thirds as guidance, and layer elements into foreground, midground, and background for visual depth and flow.
7. Leverage Focal Points and Environment Colors
Depth of Field (Source: Creative Bloq)
Strong renders direct the viewer’s eye. Establish clear focal points through contrast, detail, or brightness, and tie them into an environment with a complementary color scheme. Adding slight camera shifts or movements can introduce subtle energy, making even static scenes feel more alive and captivating.
8. Optimize Geometry: Use LOD and Instancing
Efficiency is key for complex projects. Simplify distant models with lower-resolution models (LOD) and reuse repeating objects with instancing. These strategies cut down on unnecessary polygon counts, reduce system load, and speed up rendering, while ensuring the parts viewers notice most remain visually detailed.
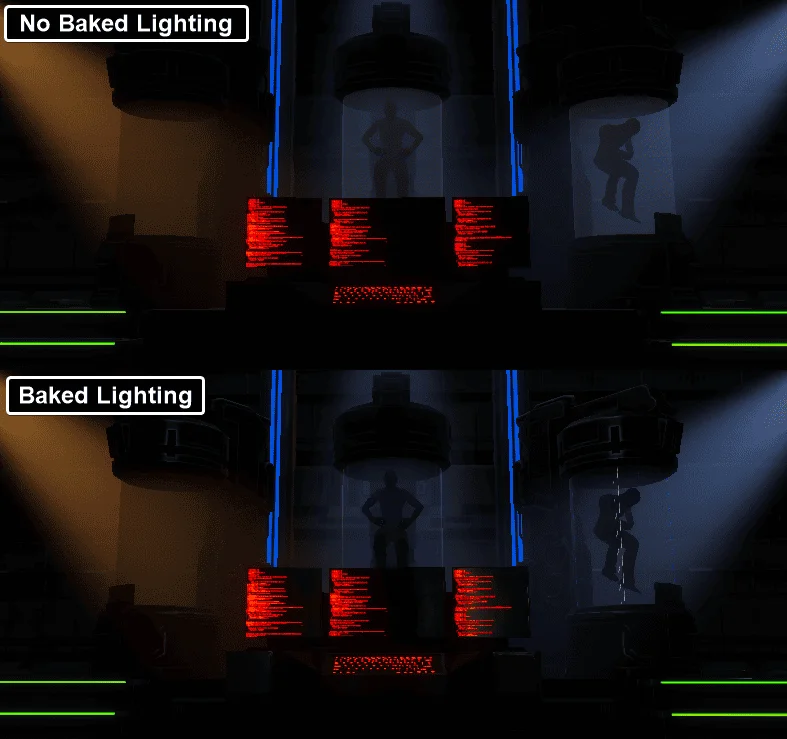
Complex effects like fluid, cloth, or particles are resource-intensive. Baking them beforehand locks in their movement, eliminating recalculations during renders. Similarly, precomputing lighting and shadows ensures consistent results while reducing render times. Both workflows free up your computer for faster, smoother production.
10. Balance Render Settings: Lower Where Possible
One of the expert tips in 3D rendering says that great results don’t always require maxed-out settings. Experiment by lowering ray depth, samples, or GI values until you get a workable balance. Modern denoising tools can clean up grainy outputs, allowing you to render with fewer samples while still producing images that look sharp and professional.
11. Use Proxies and Caching for Complex Scenes
Proxy in Large Scene (Source: Creative Bloq)
Large-scale scenes often strain hardware, but proxies and caching help. Proxies let you place heavy assets without loading their full geometry during editing. Caching saves simulation data, preventing repeated calculations. Together, these techniques keep projects responsive, minimize crashes, and improve efficiency in complex environments.
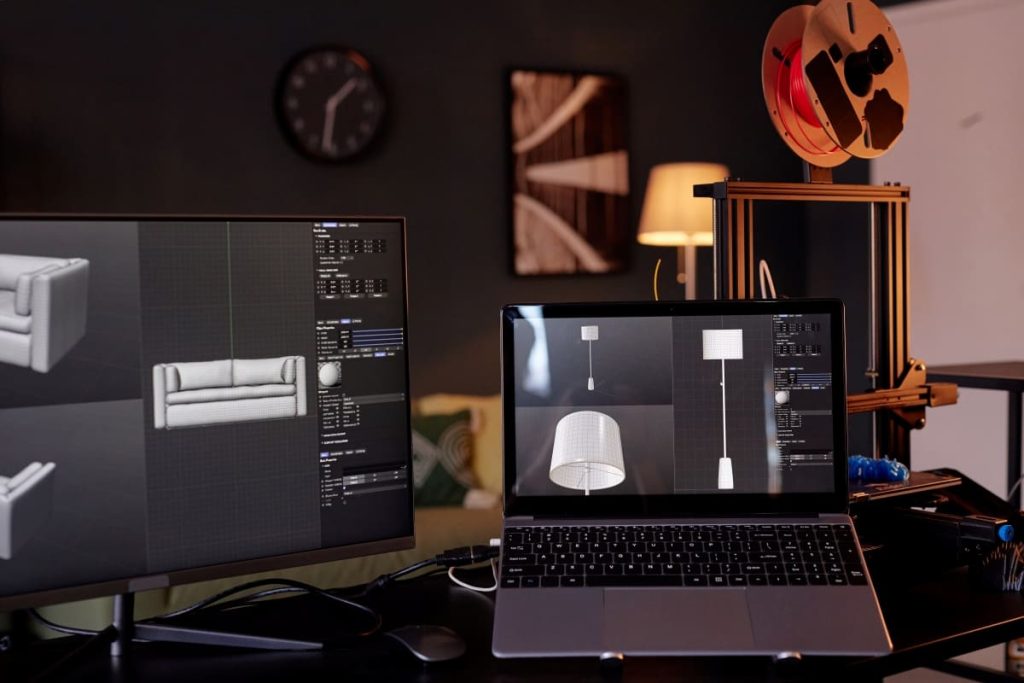
12. Post-Process for Final Touches
The rendering process doesn’t truly end until post-production. Tools like Photoshop or After Effects allow you to fine-tune exposure, visual tension, and color balance. Even slight adjustments can elevate atmosphere, making a good render stand out as polished, professional, and visually memorable without adding to render times.
Essentially, 3D rendering is about storytelling. Using these 3D rendering tips for your new insights, you can enhance composition, lighting, and textures, ensuring every scene feels immersive while conveying the narrative you want viewers to experience.
Even with solid tips in the 3D rendering process, reliable resources can save hours of work. Tridimensi offers a wide selection of work-ready 3D assets, backgrounds, and animations, helping you focus on creativity while ensuring high-quality results.