SPECIAL OFFER ✦ BUY 2 GET 1 FREE! ✦ ADD 3 PRODUCTS TO YOUR CART, AND THE DISCOUNT APPLIES AUTOMATICALLY!
SPECIAL OFFER ✦ BUY 2 GET 1 FREE! ✦ ADD 3 PRODUCTS TO YOUR CART, AND THE DISCOUNT APPLIES AUTOMATICALLY!
SPECIAL OFFER ✦ BUY 2 GET 1 FREE! ✦ ADD 3 PRODUCTS TO YOUR CART, AND THE DISCOUNT APPLIES AUTOMATICALLY!
SPECIAL OFFER ✦ BUY 2 GET 1 FREE! ✦ ADD 3 PRODUCTS TO YOUR CART, AND THE DISCOUNT APPLIES AUTOMATICALLY!
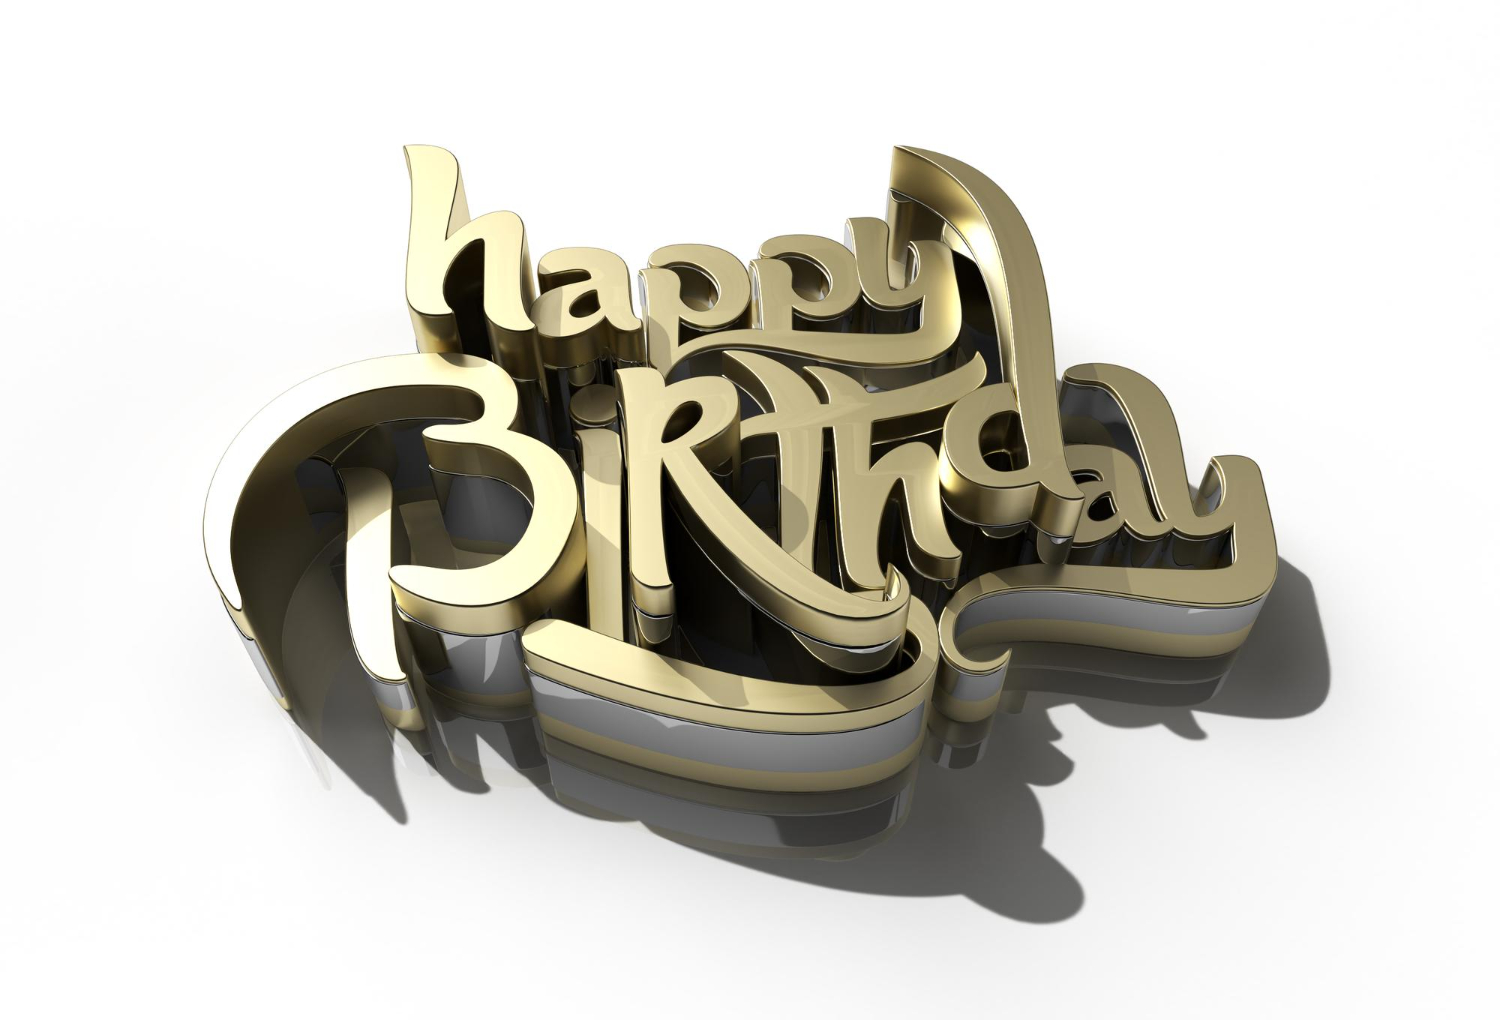
For graphic designers today, knowing how to make 3D text in Photoshop can be an essential skill. Because of how the text looks, you can use it to turn any headline from something flat into something mindblowing.
Key Takeaways:
3D text adds depth and visual impact, helping headlines, logos, and marketing graphics attract more attention.
Photoshop can create 3D text effects through layer duplication, gradients, shadows, highlights, and extrusion techniques.
Strong contrast, realistic lighting, and clean depth layers make 3D text look polished and professional.
How 3D Text Makes Anything Look Livelier
Ever since 3D text became popular, everyone has rushed into using it for various purposes. With 3D text, headlines suddenly got a massive boost in visual quality and ability to catch people’s interest.
In that regard, according to Cropink, 56% of social media users prefer brands that use visually appealing content. This explains why more brands are experimenting with striking visual formats, including the use of 3D texts.
Pop culture and cinema have naturally embraced this format to elevate storytelling. It immediately makes the branding feel more playful and dimensional.
Shrek film logo (Source: Sketchfab)
Take the Shrek movie logo title, for example. Since its first film, the Shrek series uses thick, extruded green letterforms that show the film’s playful personality to audiences before the story even begins.
Toy Story 4 film logo (Source: YouTube)
Another contender is the Toy Story series, which consistently uses bold 3D block letters with sharp cast shadows that give the title a physical, tangible weight on screen.
Shortcuts for Creating 3D Texts in Photoshop
While most designers assume 3D text requires dedicated software like Cinema 4D, simulating 3D text in Photoshop is actually possible.
The key lies in using the following techniques:
Using Bevel and Emboss to sculpt light and shadow directly onto each letterform to simulate a rounded 3D surface.
Using Gradient Overlay to add tonal variation across the text, making letter surfaces appear curved or lit.
Duplicating and offsetting layers to build the visible extrusion side panels that turn flat letters into solid 3D block shapes.
Although Photoshop has deleted features to make 3D text, you can still make 3D text in Photoshop with this workaround (credit to the YouTube channel PANTERvision for the method).
1. Create the Document and Type Your Text
Setting up the document
To start, open Photoshop and create a new canvas with the size you need. Choose the Type Tool, write your text, and select a bold font so the 3D effect will look recognizable.
After that, resize the text until it fills the composition nicely. Then, pick a main color for the front face of the text and center the text on the canvas.
Before moving on, duplicate the text layer so you have a backup that you can use for other purposes.
2. Build the 3D Depth with Duplicates
Duplicating the layers
In this step, select the text layer and duplicate it several times. Move each duplicate slightly downward and sideways to create the illusion of depth.
Then, keep repeating the same small movement so the layers form a clean, stacked 3D extrusion behind the main text. The front text layer should stay on top, while the duplicated layers create the side area.
When the depth looks thick enough, group or merge the duplicated layers to make the file easier to manage.
3. Add Color to the Side Area
Adding colors to the side layer
Once you’ve made the extrusion, separate the front text from the 3D side layer. Keep the front layer brighter, then make the side layer darker to create contrast.
After that, you can use Layer Styles, Color Overlay, or a Gradient Overlay to make the side area look more dimensional.
If the edges look too flat, add a slightly darker shade toward the bottom or back.
In this step, add a shadow behind the 3D text to make it stand out from the background. You can duplicate the full text shape, fill it with black, blur it, and lower the opacity.
Then, place the shadow behind the text and move it in the same direction as the 3D depth. Furthermore, you should add small highlights on the front text using a soft brush, gradient, or layer style. By adding these details, you can make the effect feel more realistic and polished.
In this final step, you must check the spacing, color balance, and readability of the text. If the 3D layer looks messy, clean the edges with a mask or merge the depth layers carefully.
Then, you should add a simple background color or texture that does not compete with the text. You can also adjust brightness, contrast, and sharpness to make the final design pop.
Once everything looks balanced, save the Photoshop file and export the final image as PNG or JPG.
Create the Most Impactful 3D Text with the Best Resources
Considering the visual impact of 3D texts, making 3D text in Photoshop has become a crucial skill for graphic designers. Apart from designing it themselves, graphic designers can also use pre-designed resources to make it.
In that regard, Tridimensi is the best provider of 3D resources for designing anything, including 3D texts. In particular, Tridimensi’s Nature 3D Fonts are the studio’s flagship product for this purpose, with examples like below.
Tridimensi’s 3D letter examplesTridimensi’s 3D number examplesTridimensi’s 3D punctuation examples
With 108 high-resolution elements, you can rely on these elements to help design your desired 3D text.