SPECIAL OFFER ✦ BUY 2 GET 1 FREE! ✦ ADD 3 PRODUCTS TO YOUR CART, AND THE DISCOUNT APPLIES AUTOMATICALLY!
SPECIAL OFFER ✦ BUY 2 GET 1 FREE! ✦ ADD 3 PRODUCTS TO YOUR CART, AND THE DISCOUNT APPLIES AUTOMATICALLY!
SPECIAL OFFER ✦ BUY 2 GET 1 FREE! ✦ ADD 3 PRODUCTS TO YOUR CART, AND THE DISCOUNT APPLIES AUTOMATICALLY!
SPECIAL OFFER ✦ BUY 2 GET 1 FREE! ✦ ADD 3 PRODUCTS TO YOUR CART, AND THE DISCOUNT APPLIES AUTOMATICALLY!
3D modeling might seem complex, but getting started is easier than you think. This article is your starting point for how to learn 3D modeling in a way that’s practical, beginner-friendly, and, most importantly, fun.
Key Takeaways:
Starting with simple shapes and tools is the most effective way to build a strong foundation in 3D modeling.
Consistent practice and observation are more valuable than mastering every tool right away.
Small personal projects are essential for applying skills and identifying areas for improvement.
How to Learn 3D Modeling with Confidence
There’s no perfect path, but there is a smart way to approach it. This guide focuses on the building blocks you need as a beginner. Let’s take a peek at each stage of how to create 3D models with clarity and confidence.
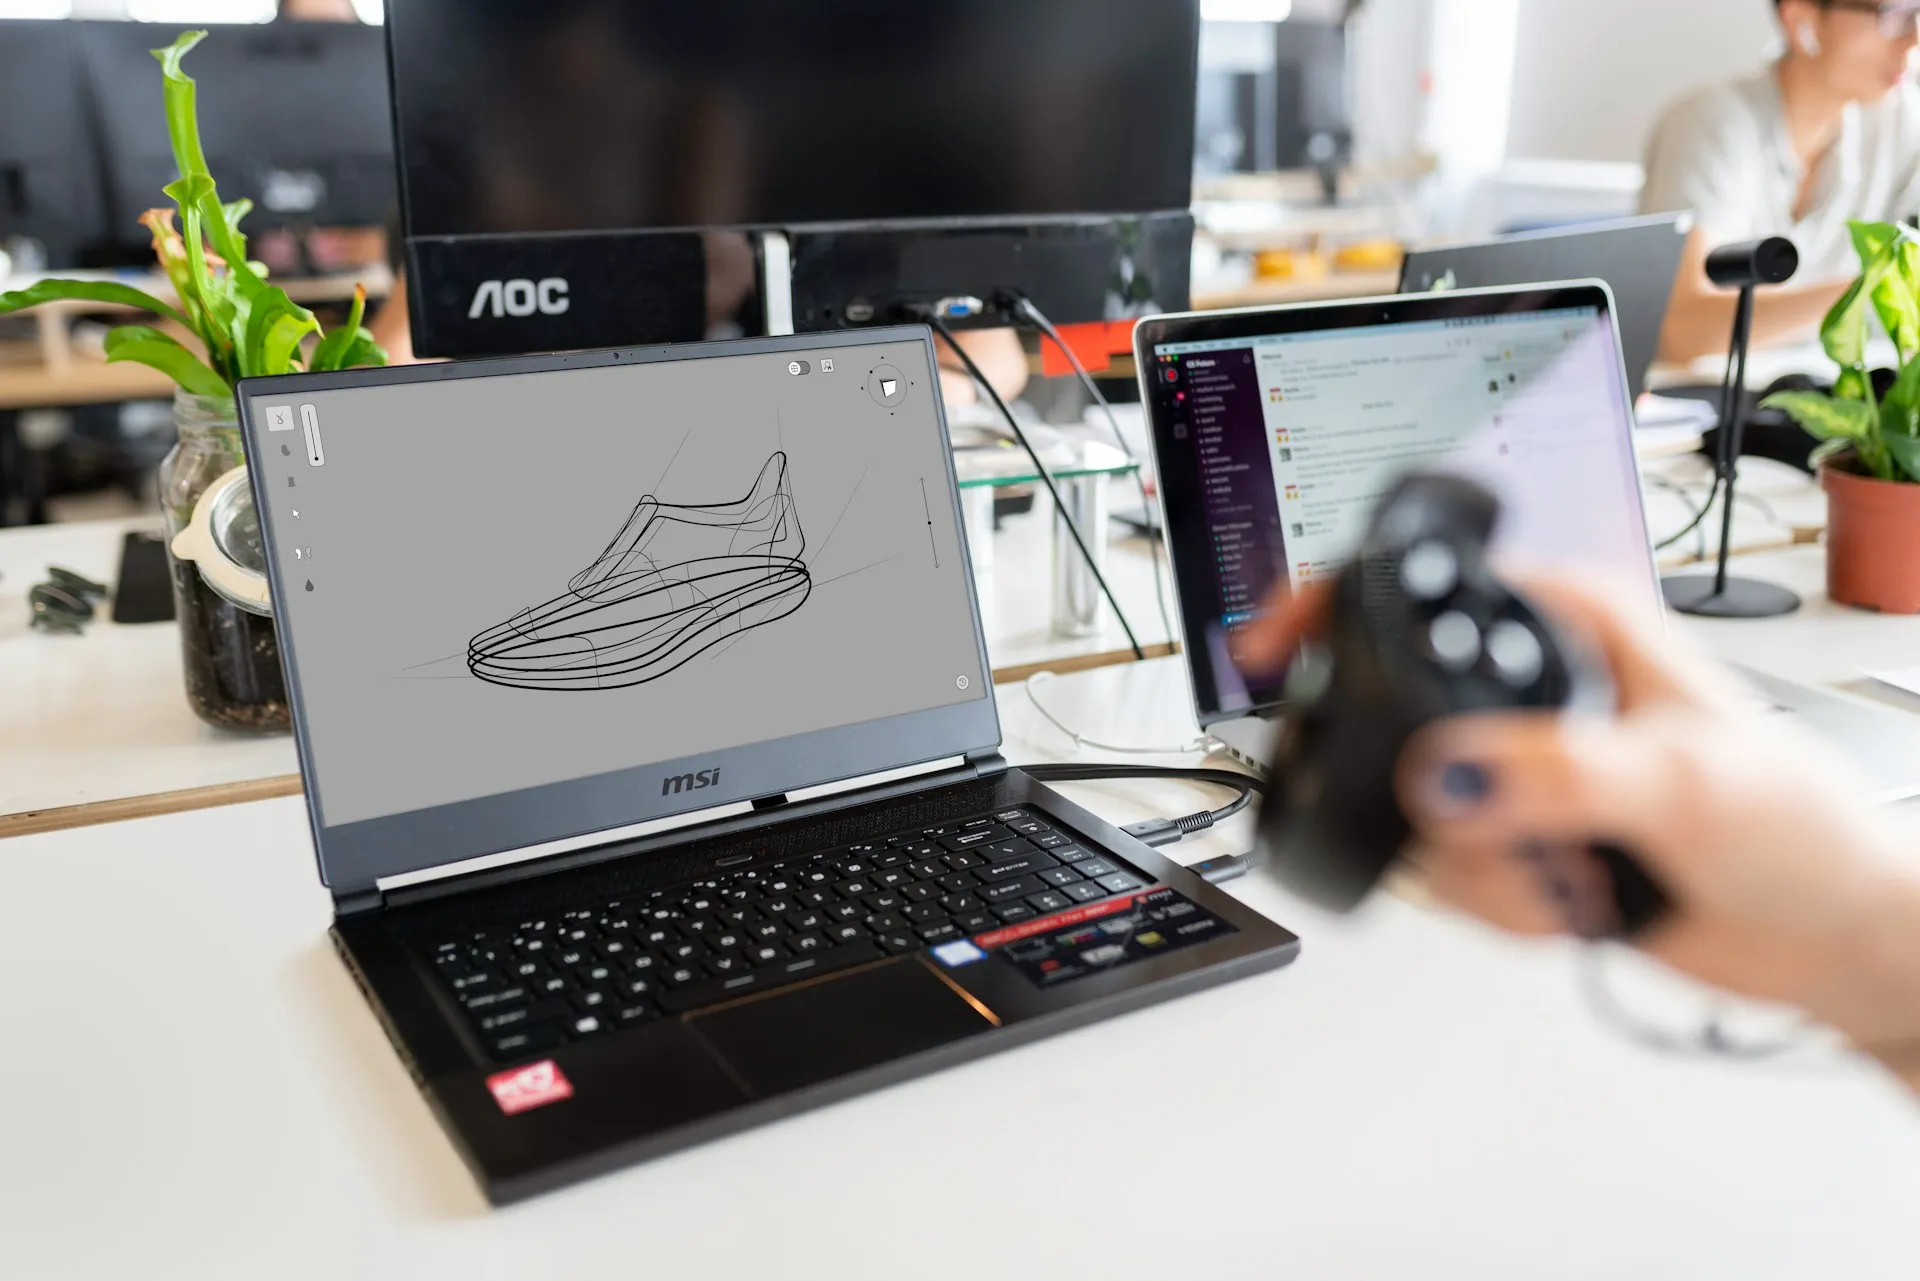
1. Get to Know Primitive Shapes And The Software Interface
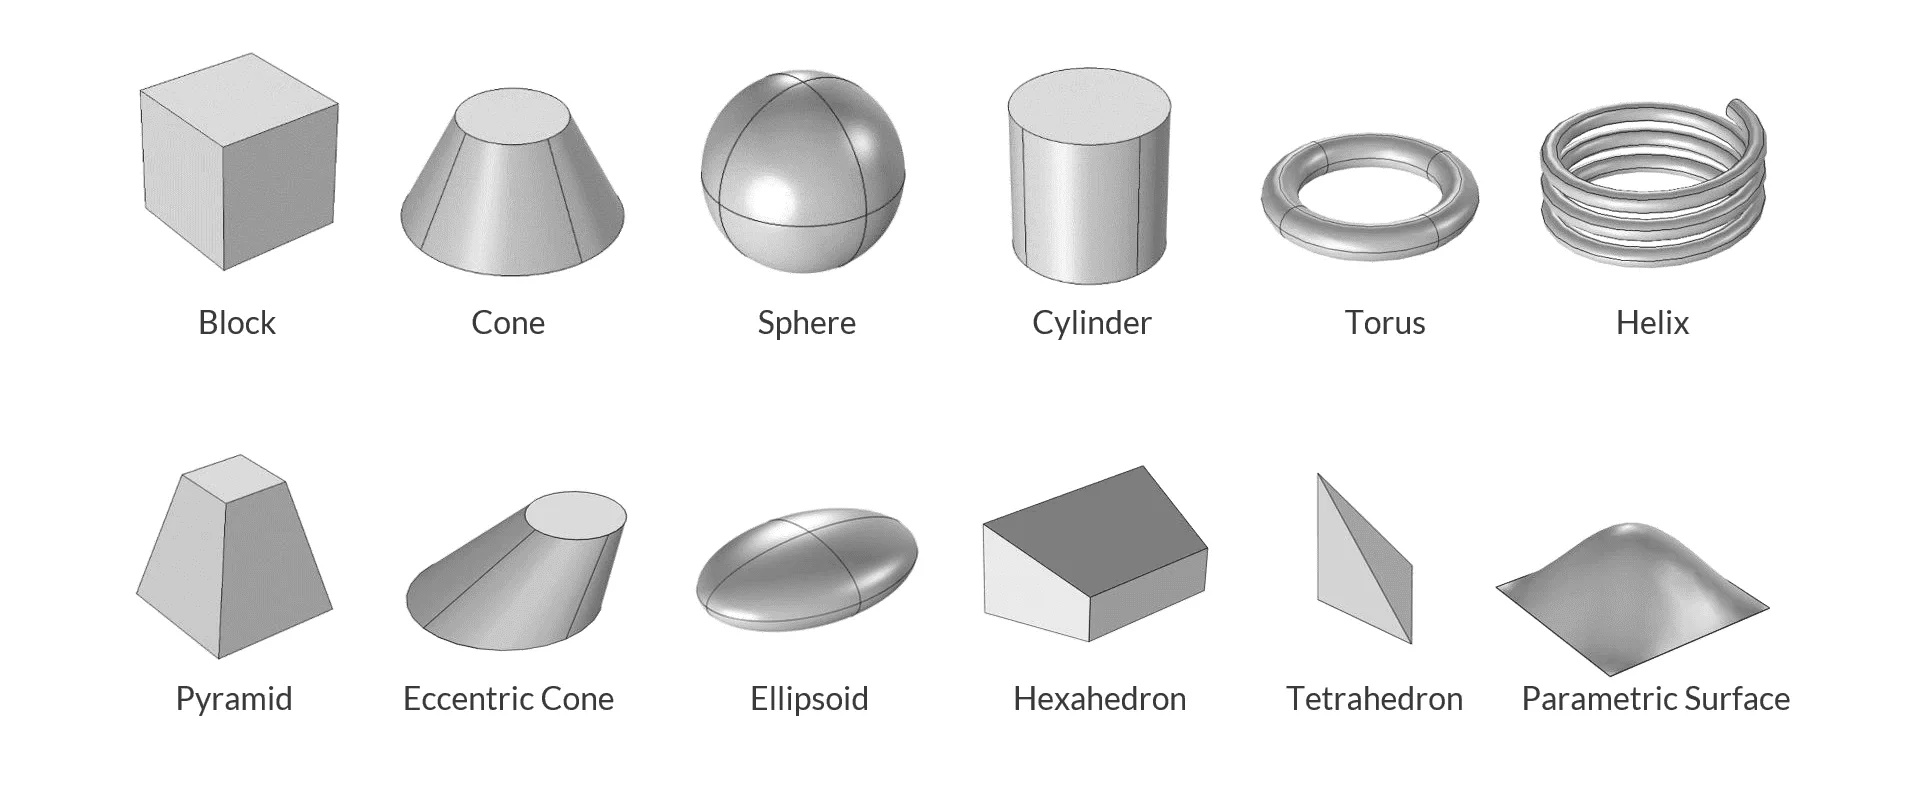
Primitive Shapes (Source: COMSOL)
3D modeling begins with primitive shapes, the basic forms like cubes, spheres, and cones. They’re the building blocks for more complex models.
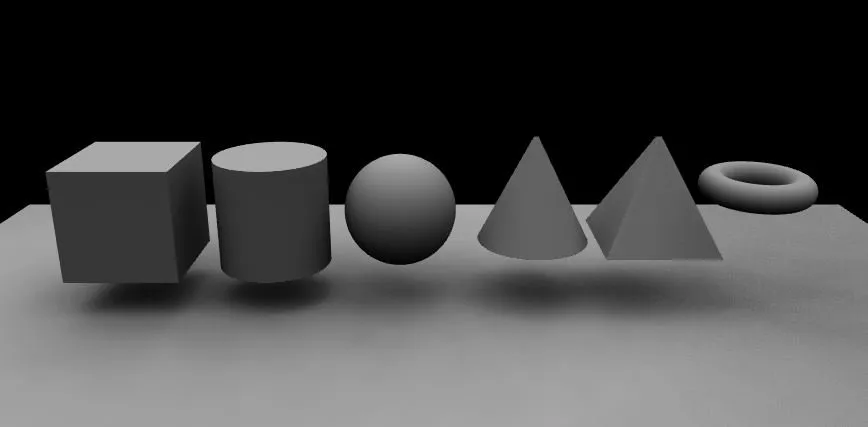
3D Simple Shapes (Source: Notch)
Pick a software that suits you. Spend some time getting familiar with the layout: viewports, toolbars, and menus. Then, find the primitives panel and place a few shapes into your scene. Practice moving, rotating, and scaling them, and try navigating your scene using orbit, pan, and zoom.
Once you know your way around the software, learn how to shape objects. Key functions like Move, Scale, Rotate, Extrude, and Bevel let you manipulate geometry. Enter Edit Mode and try moving individual sides or planes. Use Extrude to pull out new geometry, and Bevel to round off hard edges.
Combining these tools helps you turn basic shapes into more refined forms. It’s all about experimenting and getting used to how each tool changes your object.
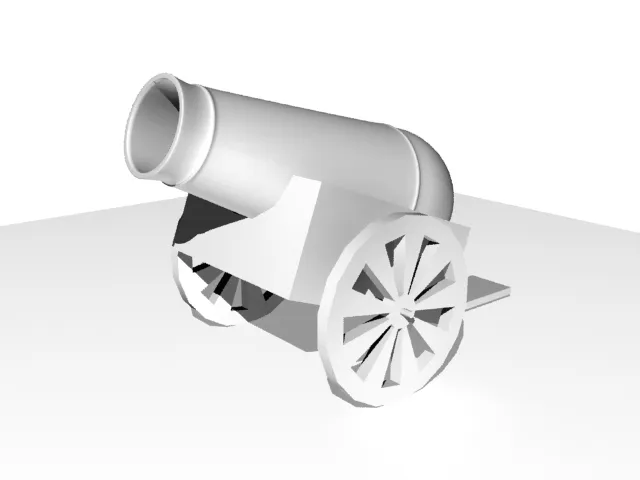
3. Practice Creating Simple Objects
Simple Canon (Source: CGCreativeshop)
Now it’s time to put your skills to the test by modeling simple items you recognize, such as a cup, table, or chair. Think of them as 3D models to begin Blender with. For example, a mug might be a cylinder with a curved handle.
You can merge different parts and use Boolean operations to blend shapes together. Focus on getting the overall proportions right rather than perfecting every detail. Save your work frequently, and experiment with a few variations to explore different approaches.
4. Learn To Sculpt For Organic Details
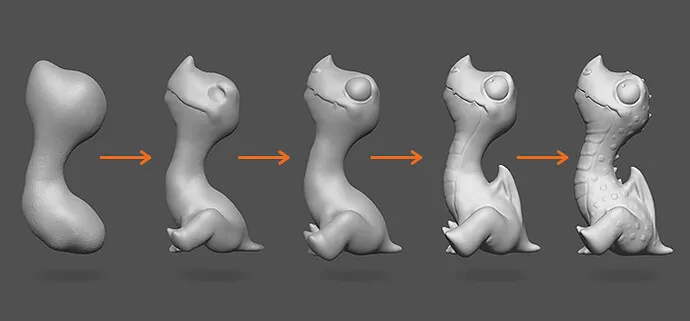
Sculpting Cute Dragon (Source: Nomad Sculpt)
When you’re ready to move beyond blocky forms, sculpting is a great next step. This approach is perfect for organic models like faces, creatures, or anything with soft curves. Many programs, including Blender and ZBrush, offer Sculpt Mode with brushes that let you push, pull, and smooth the mesh.
Start with a shape and experiment with your software’s basic features. Adjust brush size and strength to see how they affect the shape, and turn on symmetry for easier shaping of mirrored designs.
5. Understand The Anatomy Of Shapes And Real-world References
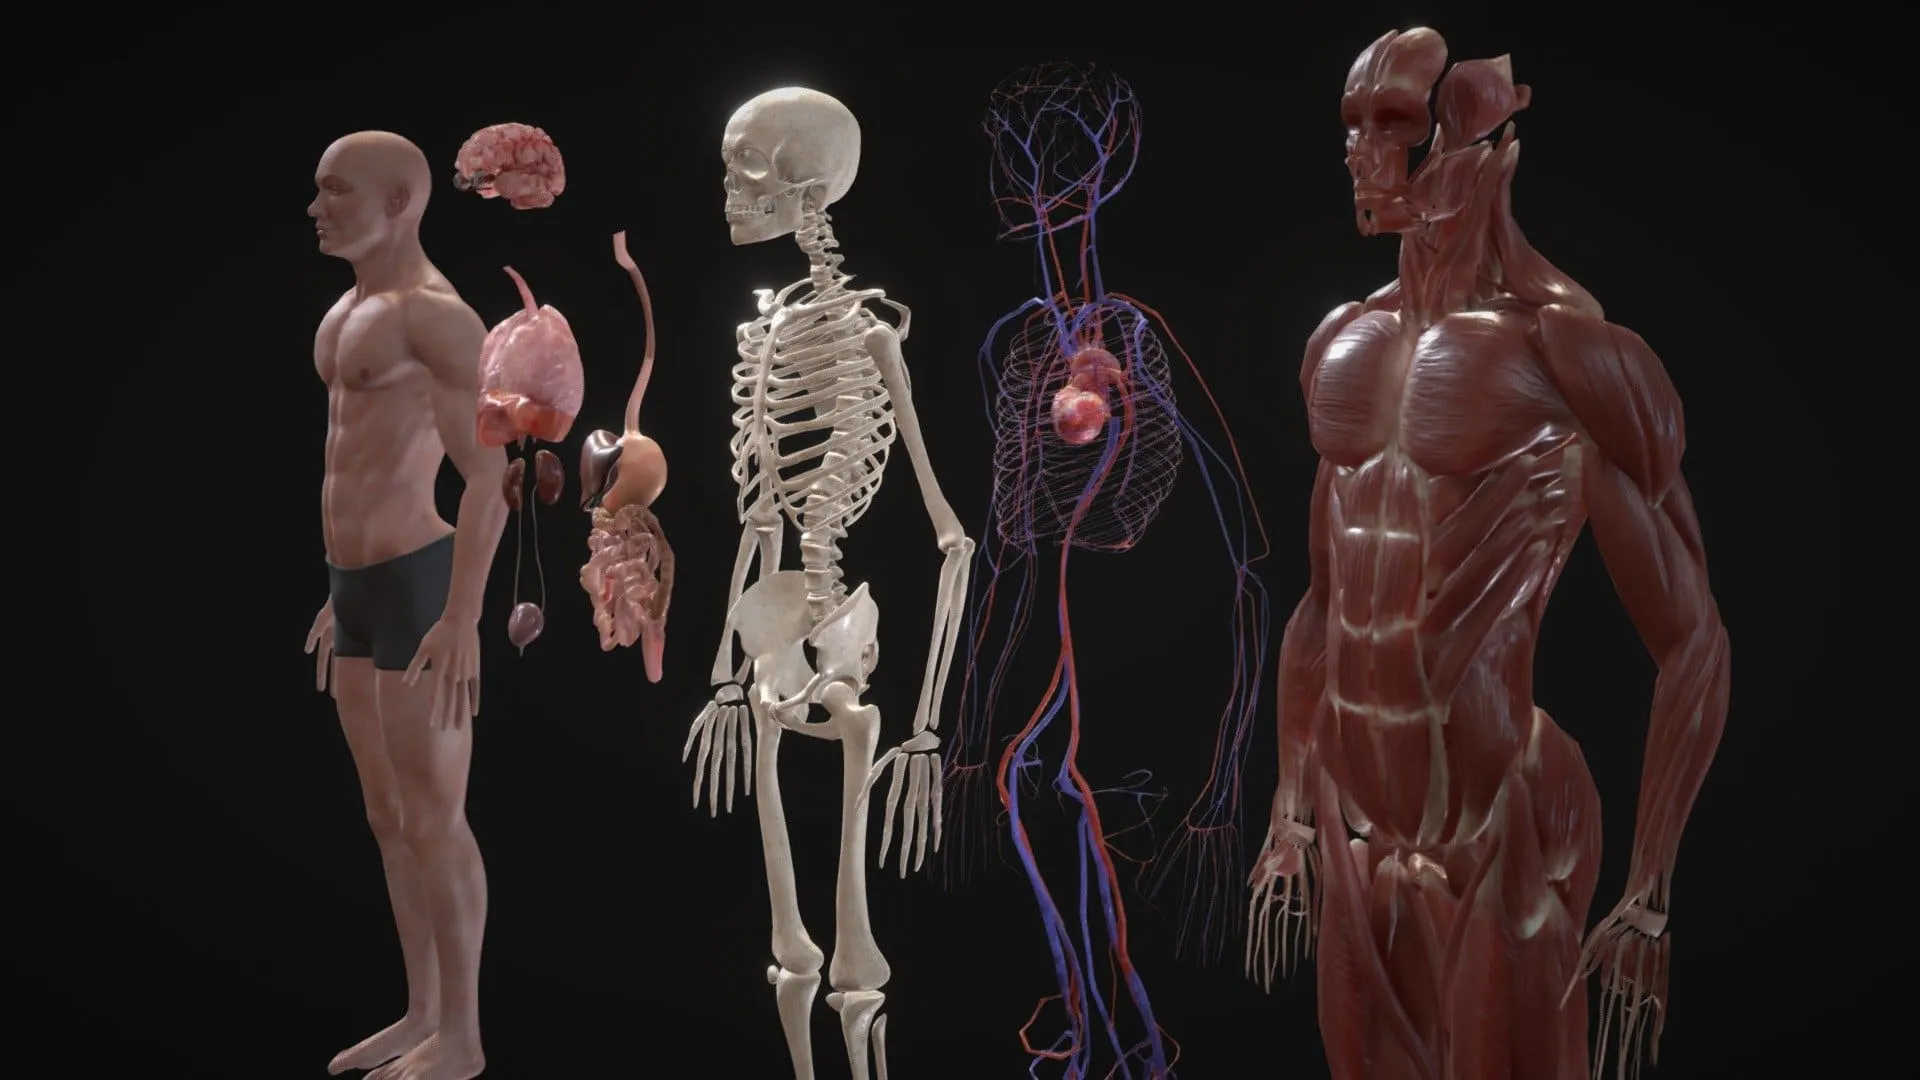
Anatomy in 3D (Source: Sketchfab)
To make your models believable, study how things look and work in the real world. Use source images, diagrams, or even 3D scans. Observe how big shapes transition into smaller ones and how different parts are connected.
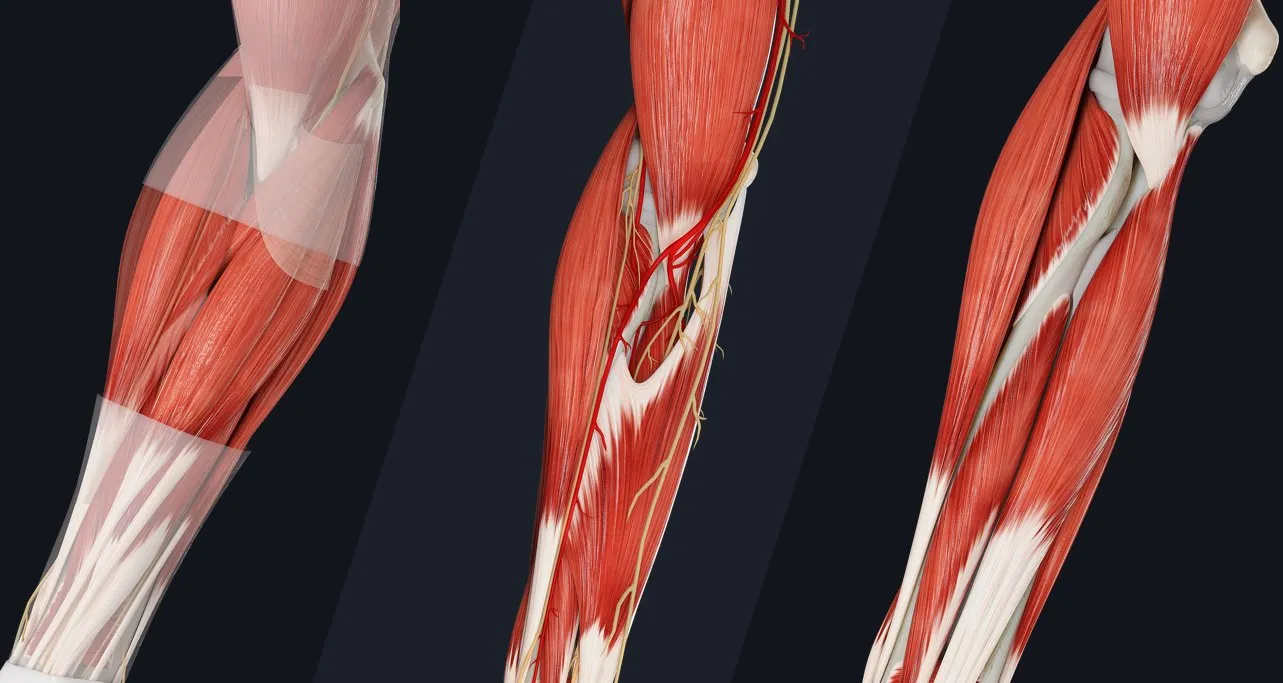
Muscle Group (Source: Complete Anatomy)
For character design, learn basic anatomy, like bone structure and muscle groups, as this understanding greatly enhances realism. For mechanical objects, pay attention to joints, hinges, and overall design flow. Sketching your ideas before moving into 3D can also help you work more efficiently.
Improvement in how to learn 3D modeling comes from consistent practice, not just talent. Set aside 15–30 minutes each day to model, even if it’s something small. Remodel objects you’ve modeled previously to improve your ability to observe and translate forms.
Study models by other artists and examine their wireframes to understand construction techniques. Recreate them just for practice (but never claim them as your own). Keep a dedicated folder of your work so you can track your growth over time. When done right, it’s encouraging to see progress.
7. Start Creating Small Projects (Character Or Product Studies)
3D Rotating Stair (Source: Parametric Architecture)
Once you’ve built some confidence, put your skills into action with small personal projects. This could be a stylized character, a fantasy item, or a fun product design. Begin with sketches or references, then block out the big shapes and add details gradually.
3D Caricature Character (Source: Sketchfab)
Combine both modeling and sculpting techniques to make your ideas feel alive. When you finish, share your work in communities like ArtStation, Reddit, or Polycount. Feedback from others can help you learn faster and stay motivated.
If you’re just getting started, don’t worry about being perfect. Let these 3D modeling tips for beginning artists guide your early steps, and you’ll build confidence as you go. Over time, those simple shapes will transform into something you’re truly proud of.
As you venture further into modeling, the need for direction evolves from simple tutorials to context-rich learning. Tridimensi bridges that transition, offering the essential assets and professional inspiration for your next mini projects.